by
by Power Automate has an amazing set of actions for SharePoint, but none is more versatile than the “Send an HTTP request to SharePoint” action. With this action, you can use SharePoint’s API to do what other actions can’t. It’s a nice touch from Microsoft to enable this, so let’s explore it a bit further.
Where to find it?
You can find it under “Standard.”
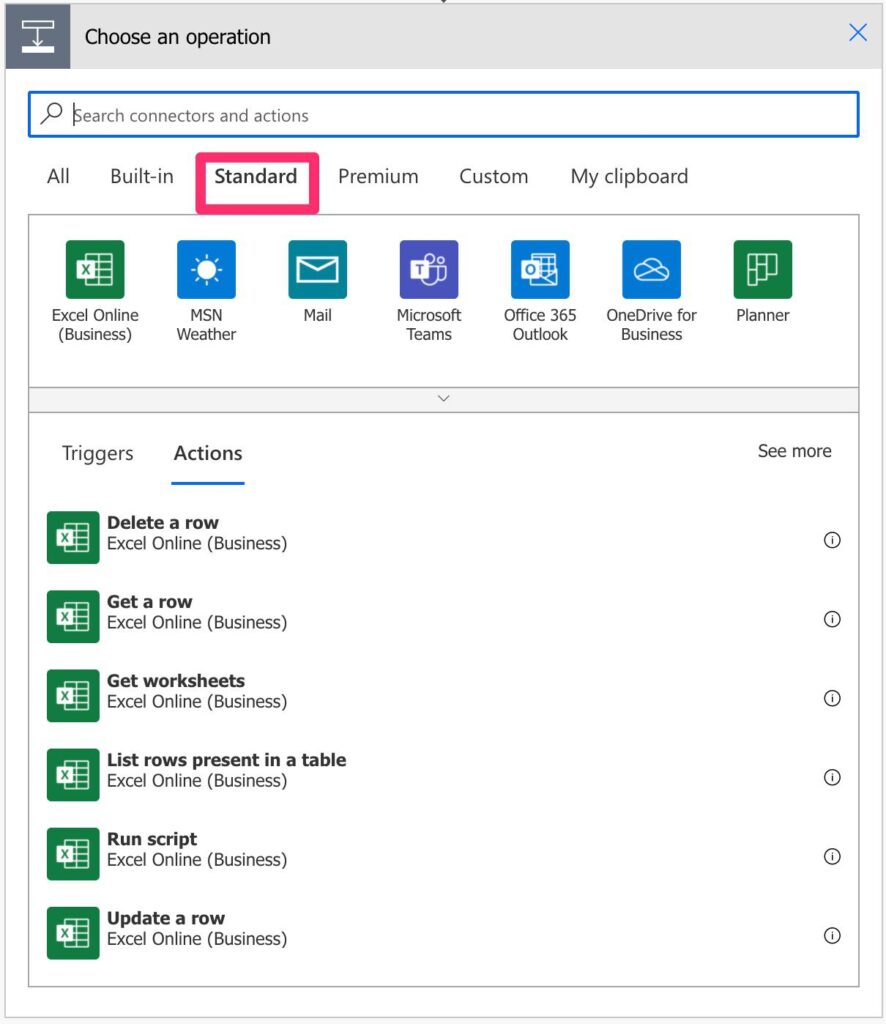
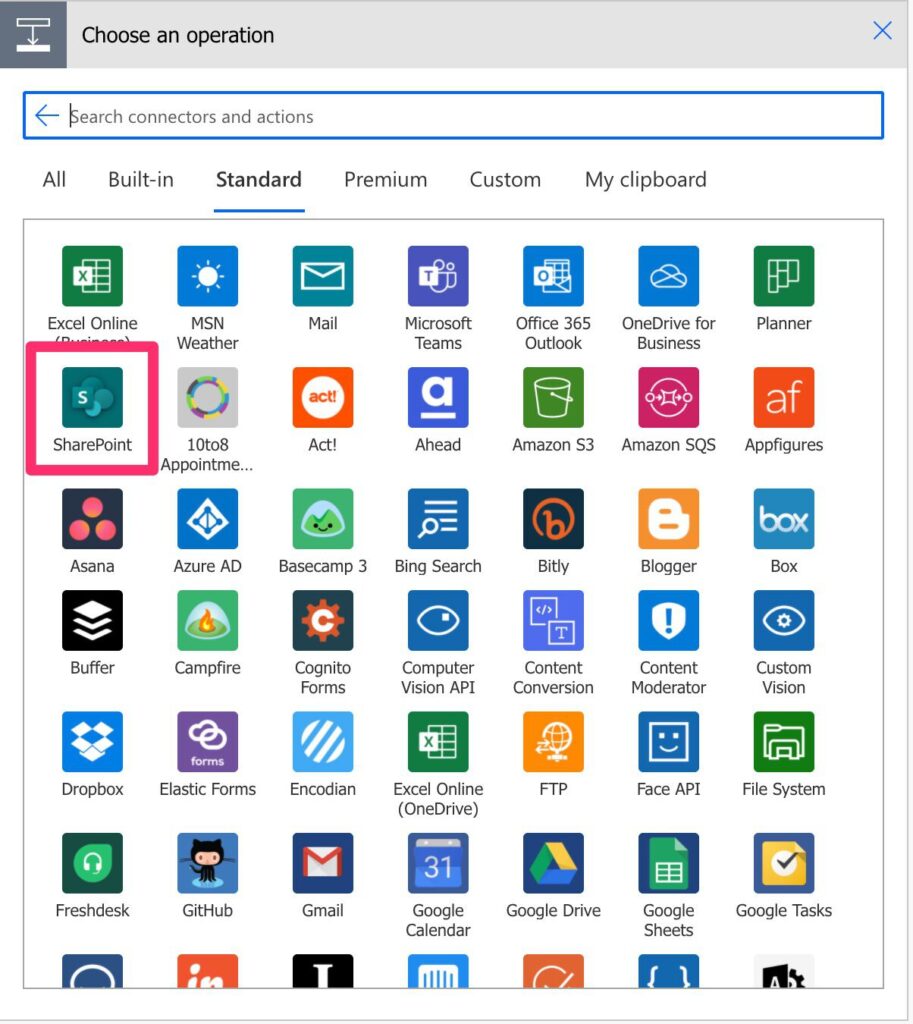
Then expand, and you’ll find SharePoint in the list.
The select the “Send an HTTP request to SharePoint” action in the list:
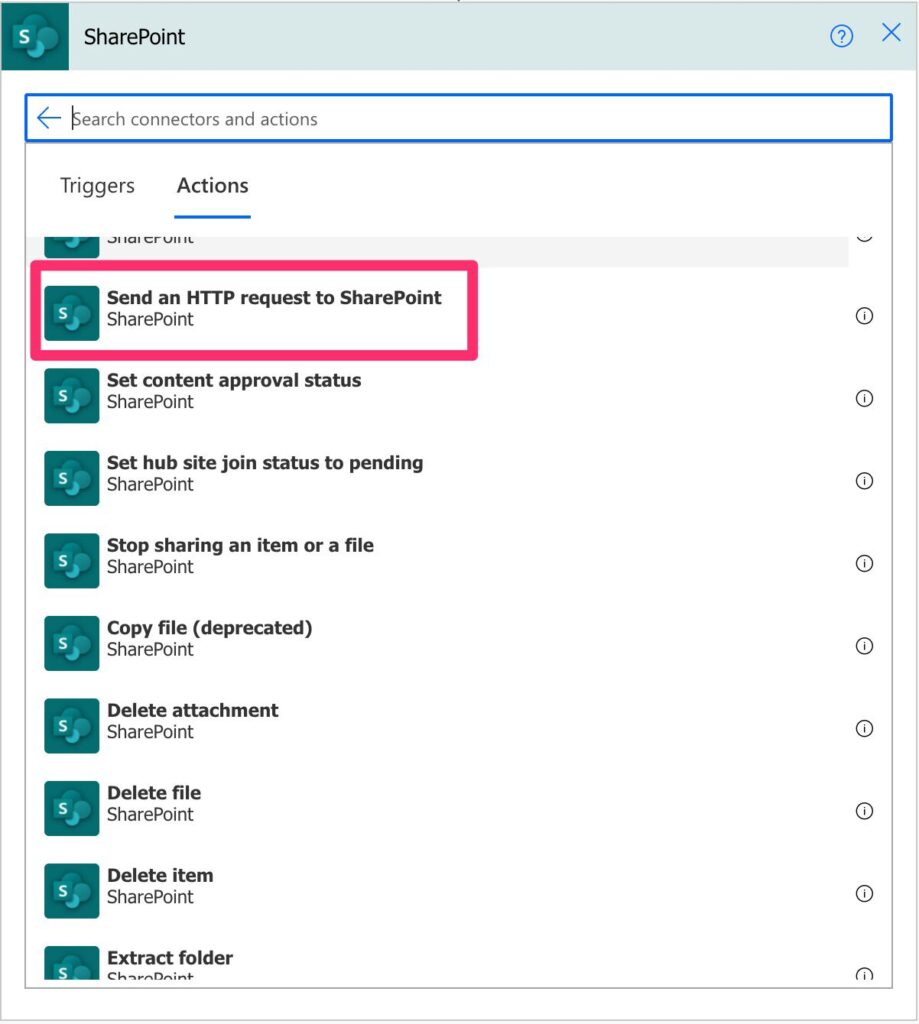
Power Automate tends to save the most common actions in the main screen, so check there before going trough the full hierarchy. Also you can use the search to quickly find it.
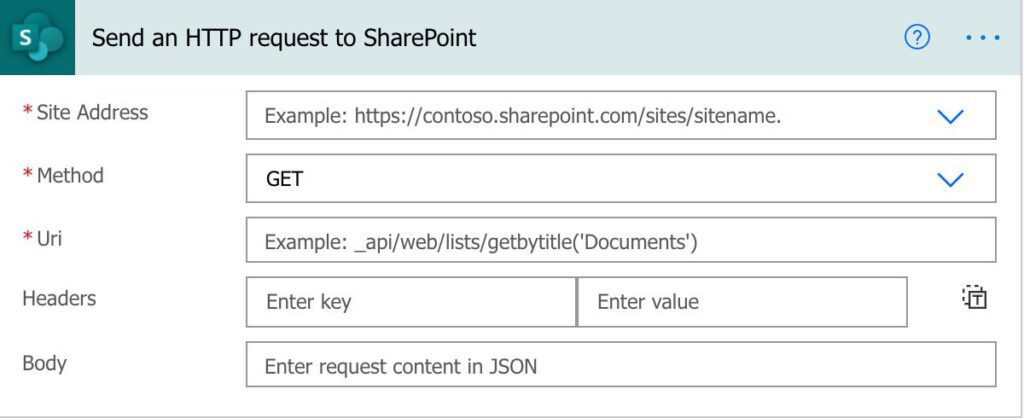
Here’s how it looks like:
Although some rules define how APIs should behave, it’s always at the discretion of the development team to define the structure. Please check the documentation because it’s quite complex and provides you with the structure you need to use. Also, it can change, so pay special attention to that if your Flow starts to fail.
Usage
We’re going “into the weeds” a bit here with this, but it’s important to understand what we’re doing. We’re defining an HTTP request that will send to SharePoint’s API. All other SharePoint actions do this, but they “abstract” the most technical stuff from us. Since we want to do something more specific, we need to do the request ourselves.
There is a lot that we can do and many “endpoints” that we can call to get information. Microsoft provides a list with them so that I won’t replicate them here.
Also, I have many articles that take advantage of this, so please take a look to see it in “action.”
To publish news on a modern SharePoint site:
To fetch a dynamic Excel path
- Power Automate: Access an Excel with a dynamic path – The first try in getting Excel’s dynamic path.
- Power Automate Access Excel with a dynamic path II – Better workflow with more details and explanation.
What’s important to know?
Let’s focus on the basics so that you can build your own requests. This is a high-level overview for you to know the basics of a request.
- Site address – Here, you can insert your site as you do in any other actions. This will indicate what the site that we’ll perform the actions is.
- Method – This is the type of action that we’ll perform. There’s a great explanation of what the methods mean here, but it’s important to follow Microsoft’s reference to know what method should we use.
- URI – This is the “part” of the API that we’ll query. For example, if we query the
listsAPI part, we’ll get access to several actions that we can perform. - Headers – they provide basic information and configuration to the API. For example, headers are commonly used to define the type of information we want to receive (for example, a JSON or XML) and the authentication. These are two examples, but there are a lot more. The documentation will help you in
- Body – Provide the information to the API. This is where the API will fetch the data that it needs and do the necessary actions.
Again this is a gross oversimplification, but more articles in the future will come explaining these concepts.
Limitations
SharePoint’s API itself imposes the main limitations for this action. Also, please be aware that this action is only available for SharePoint Online and SharePoint 2019.
Recommendations
Here are some things to keep in mind.
Only use it if there’s no action.
Power Automate provides a lot of actions that you can use to perform actions in SharePoint. These make things a lot easier, so don’t try to create custom “Send an HTTP request to SharePoint” actions if you don’t need to.
Name it correctly
The name is significant here because the action is quite broad. You can do a lot, so it’s important to name it to provide context on what you are doing. Always build the name so that other people can understand what you are using without opening the action and checking the details.
Always add a comment.
Adding a comment will also help to avoid mistakes. Since the API is quite broad, explain what you’re trying to fetch and why you’re using the “Send an HTTP request to SharePoint” action instead of the other actions. Also, write the comment before you start building your request. It will allow you to think about what you want and provide a reference if something goes wrong.
Always deal with errors.
Have your Flow fail graciously when the file doesn’t exist and notify someone that something failed. It’s horrible to have failing Flows in Power Automate since they may go unlooked for a while or generate even worse errors. I have a template and a template that you can use to help you make your Flow resistant to issues. You can check all details here.
In the case of the “Send an HTTP request to SharePoint” action, since the API can return a lot of states, you should always have it inside a “try-catch” block to ensure that the information is parsed correctly.
Back to the Power Automate Action Reference.
Photo by Nick Fewings on Unsplash