I was writing the “For a selected row” Trigger article and noticed that the explanation for installing the add-in in Excel was starting to get long. I always try to put as many screenshots and information as possible, so I thought about breaking things into two separate articles. So we’ll discuss how to install Flow’s add-in in Excel and show you some things that you should keep in mind.
So let’s look at how to add the Flow’s add-in in Excel.
Check if it’s already installed
Before we proceed, we’ll look at Excel and check if the add-in is indeed installed. To do it, you can go to “My Add-ins.”

Excel will show you the “add-ins” you have installed.
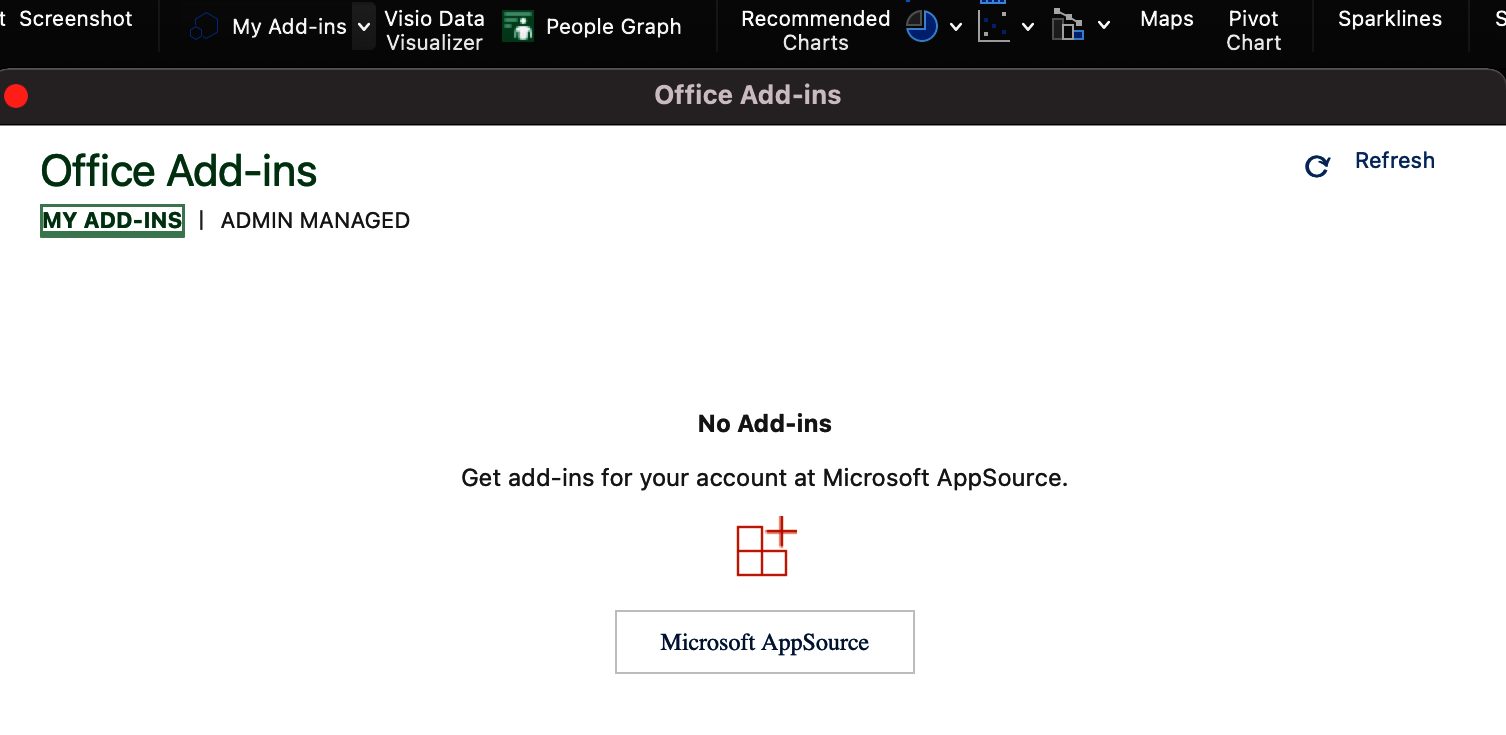
Your system administrator can pre-approve some add-ins, so please check in the “admin managed” tab if the “Flow for Excel” add-in is there.
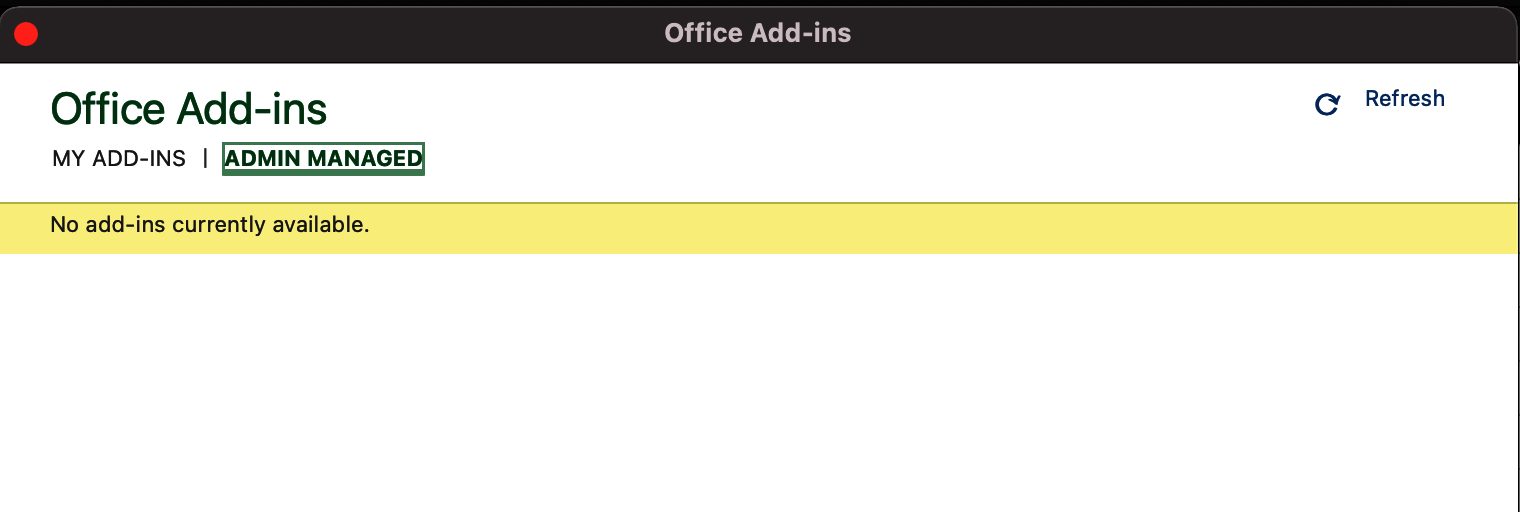
If you can’t find it there, let’s look for it in the store.
Adding the “add-in.”
Pick the “Get Add-ins,” A new page will show up in your browser.

You’ll be presented with Microsoft’s store, where you can explore other “add-ins” that are useful to you. For example, at this point, Microsoft may ask you to authenticate with a window like this:

Microsoft requires you to understand what type of account you have. We’ll see the impact on this below when we install the “add-in.”
The easiest way to find it is to search for “Flow for Excel.”

Press “Get it now.”
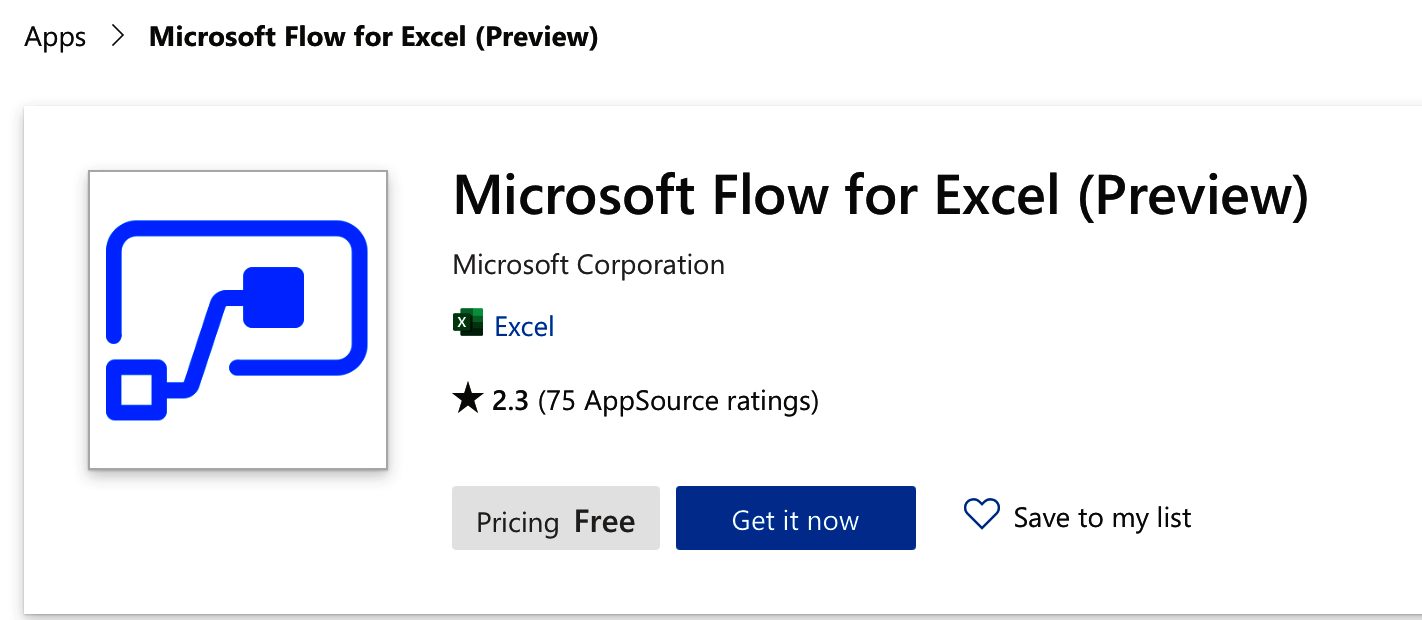
You can also find it in the list like this:

Regardless of where you find it press “Get it now.” You’ll get the following screen:
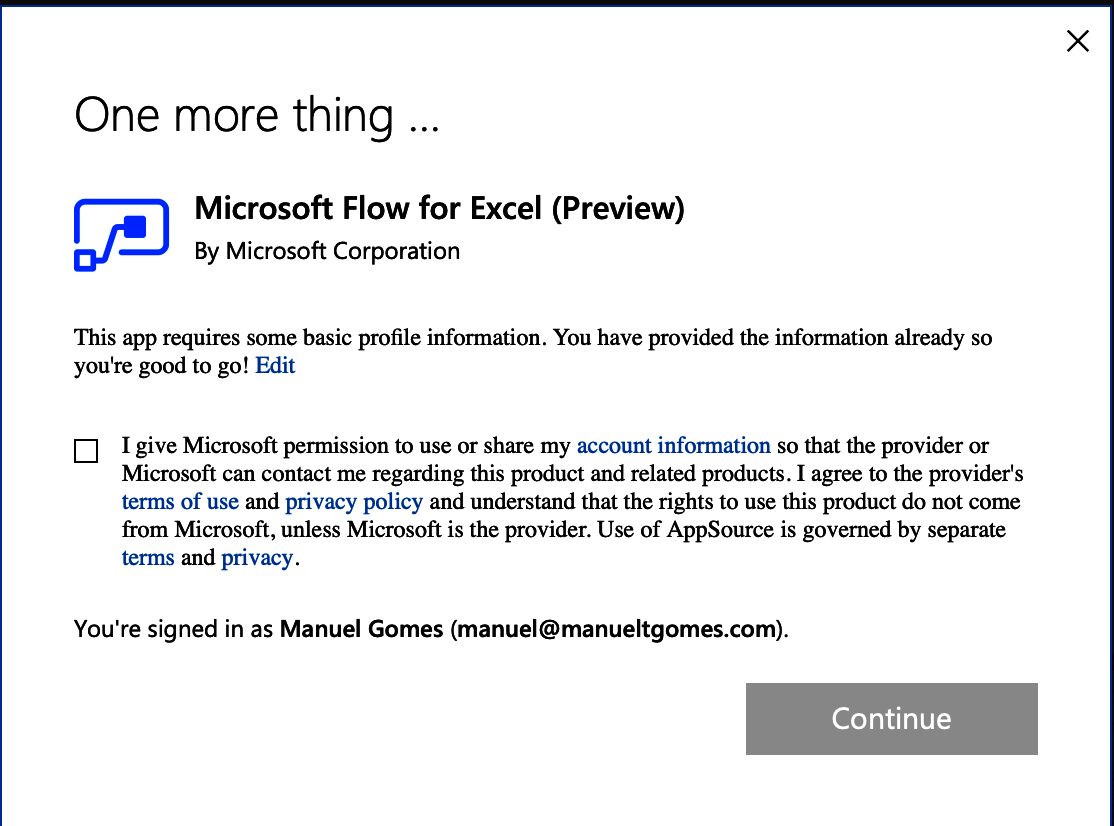
As in all Microsoft’s services, we need to give permissions to access personal information. In this case, we need to provide information to Flow so that it can return it when a Flow runs.
Please check the “For a selected row” trigger for an example of why we need to provide the permissions, but as a side note, here’s what the trigger returns:
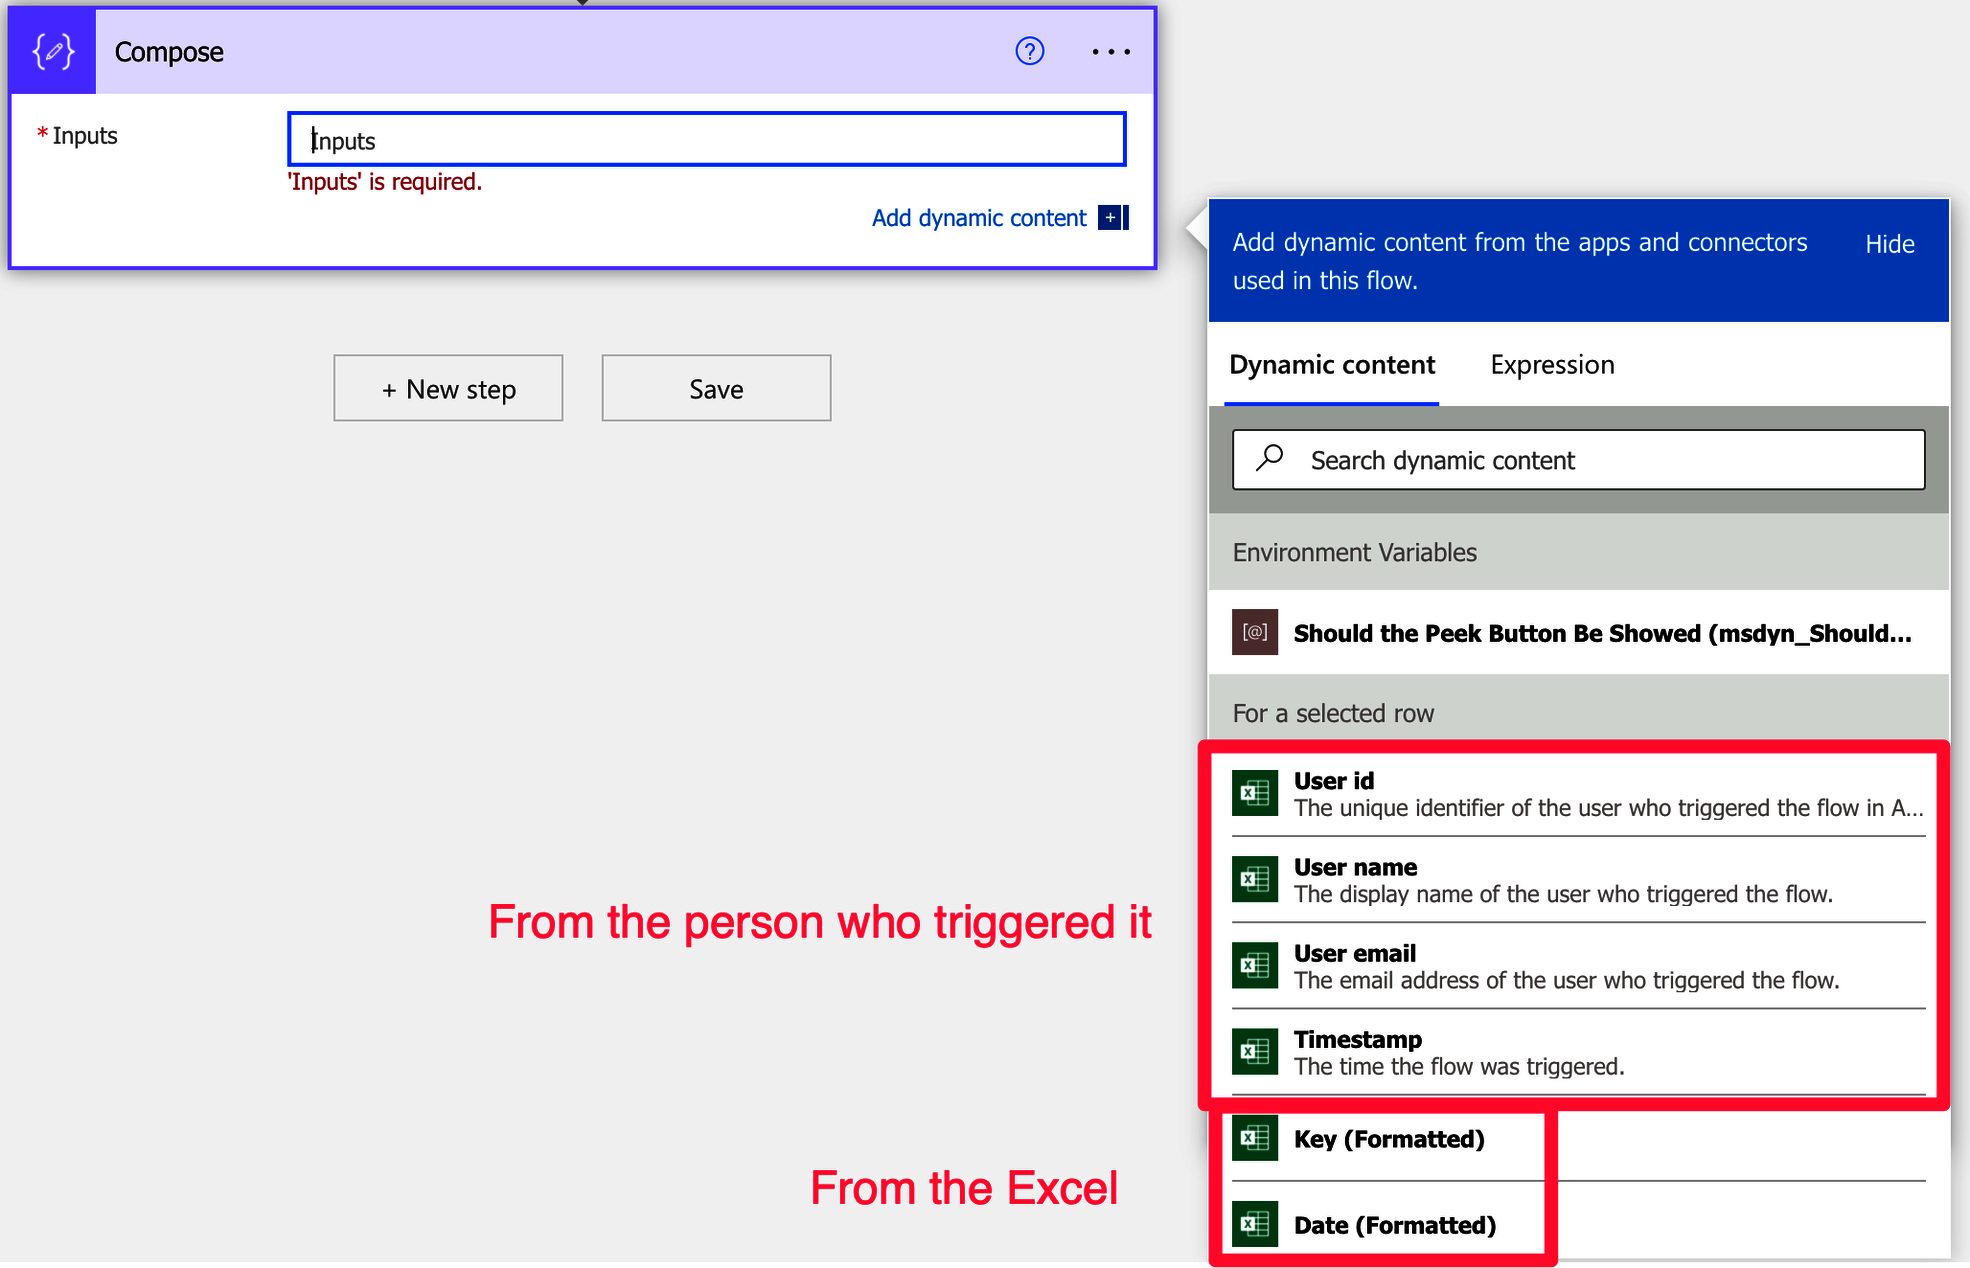
As you can see, the personal information will be returned when the Flow runs.
Now comes the part where you may not continue without administration permissions. So, again, please ask your system administrator to follow the steps, or if you have administration privileges, here are the steps.
The admin part
Depending on the subscription, you can be asked to identify the ” add-in ” people you want to pick the target for the “add-in.”
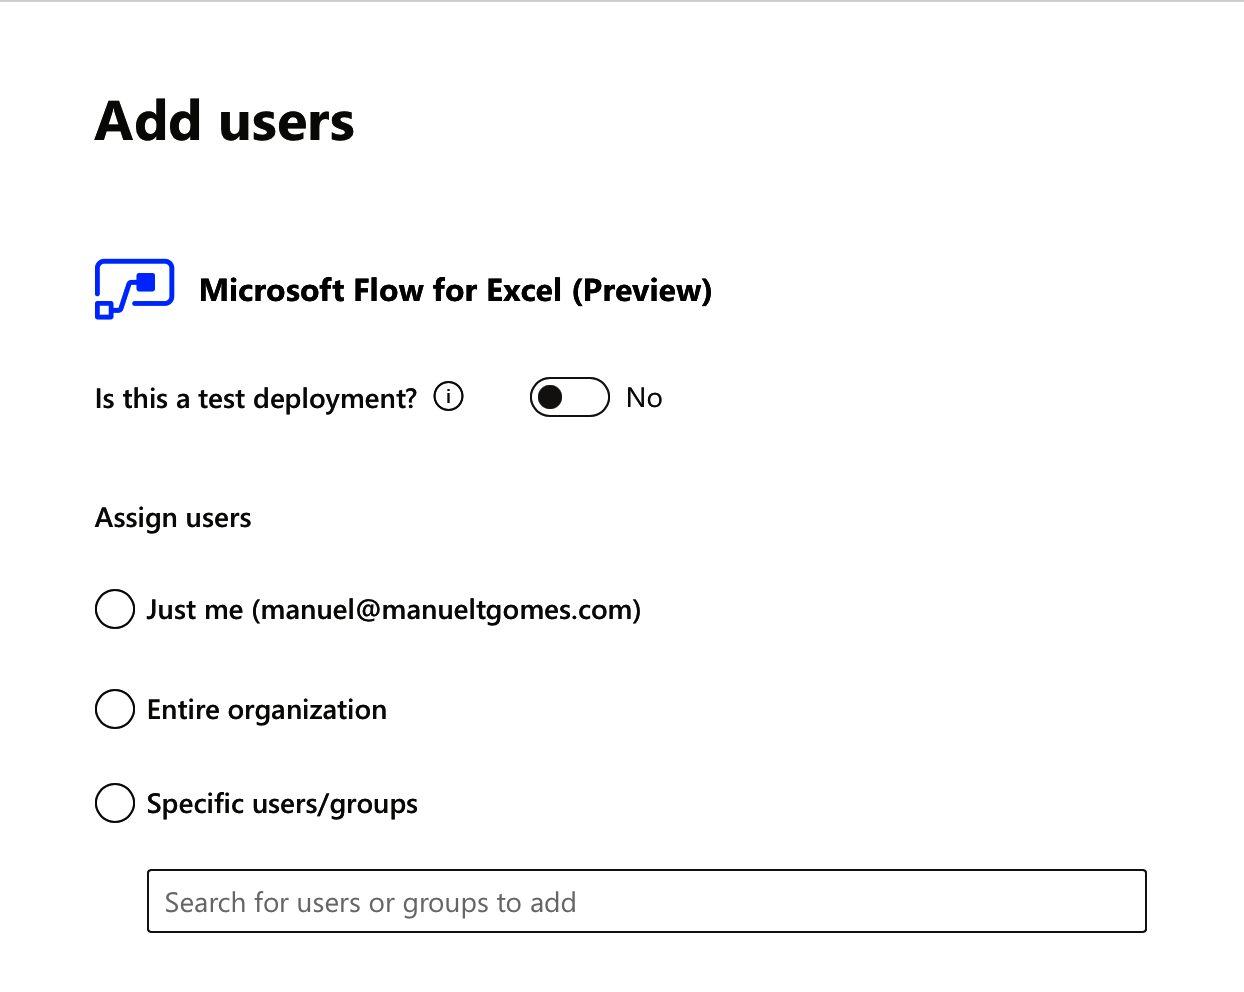
Here you have complete control over where the “add-in” can be added. It’s advantageous only to allow certain people access the “add-in.” It can be because of licensing limitations, cost control, or avoiding incorrect usage and data corruption. Regardless of the reason, you choose to pick multiple people or even the entire organization.
In my case, I’ll pick “Entire Organization,” but you can do what makes sense for you. After that, we need to accept the permissions since Flow will need to access personal information to provide to the Flow.
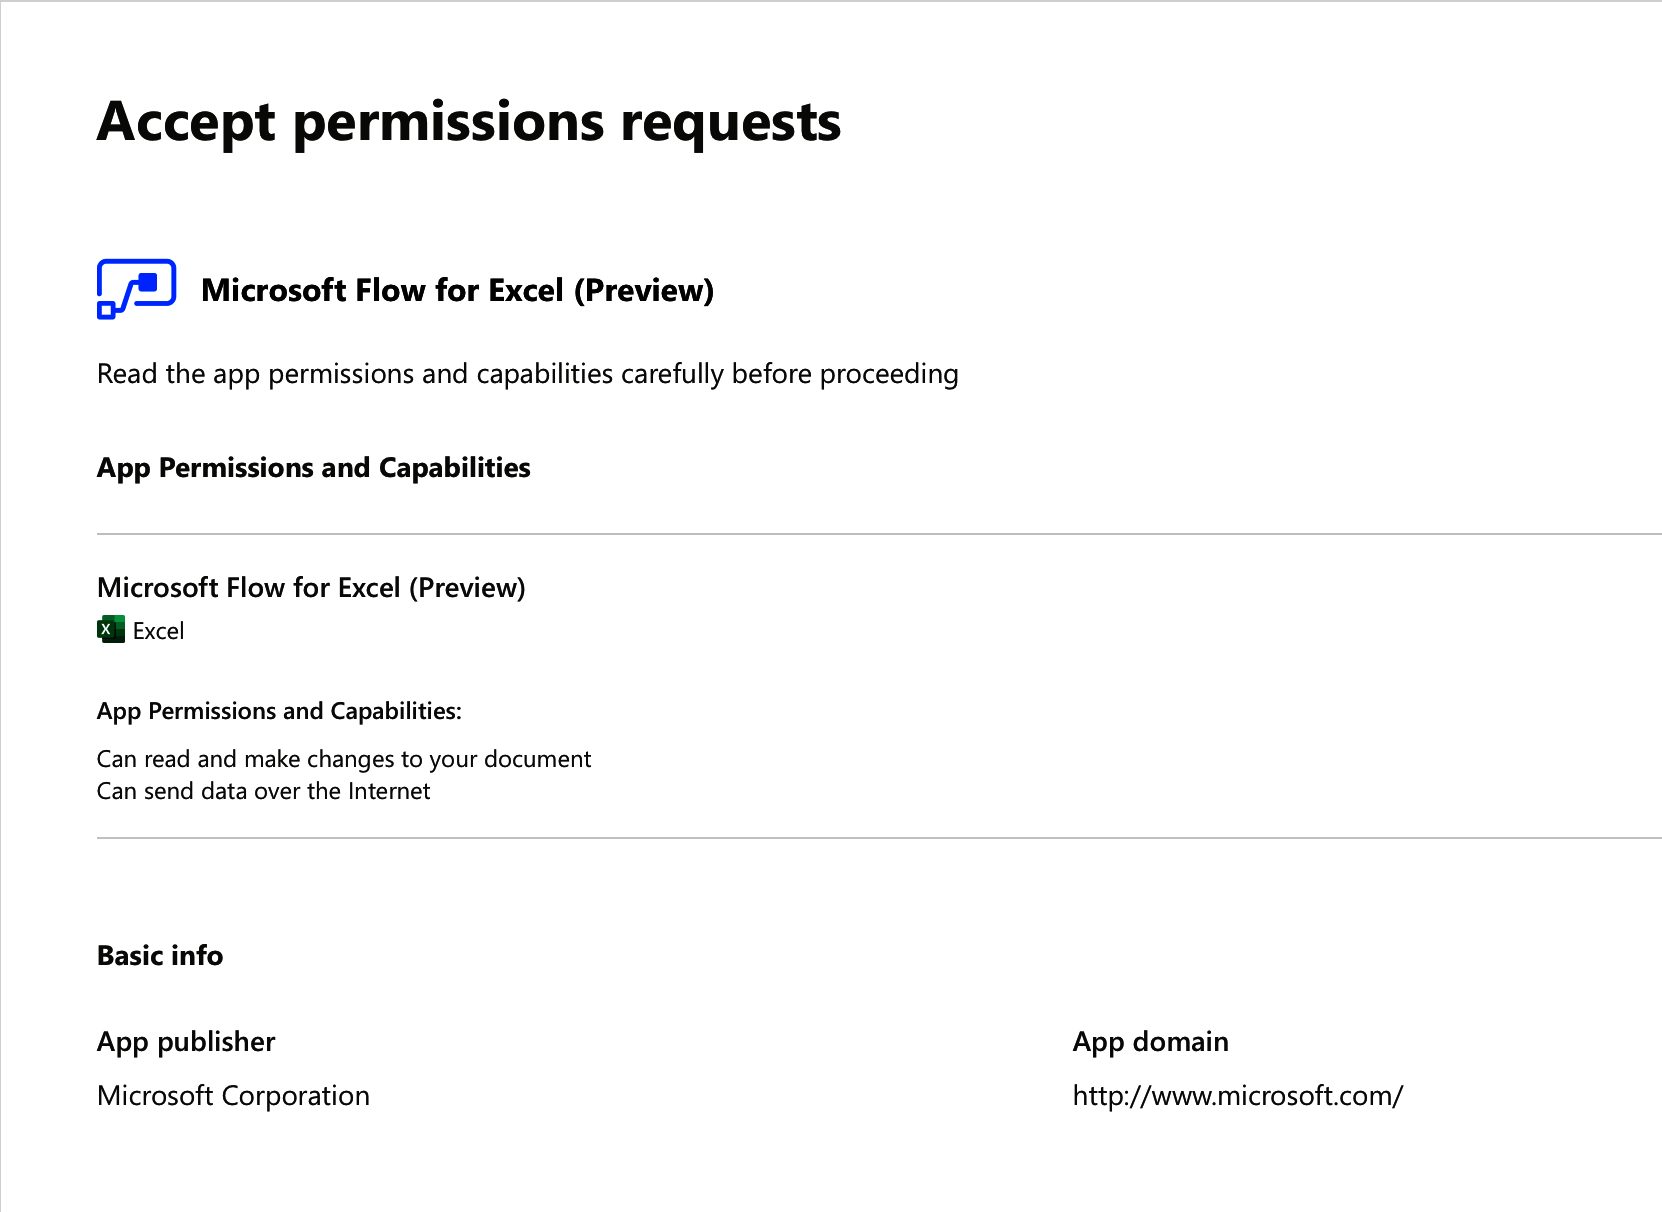
It may look strange to accept it again since we did it at the end of the previous section. But in this case, we’re accepting on behalf of people or the whole organization, so the permissions range is quite different.
Now we’re ready to deploy.
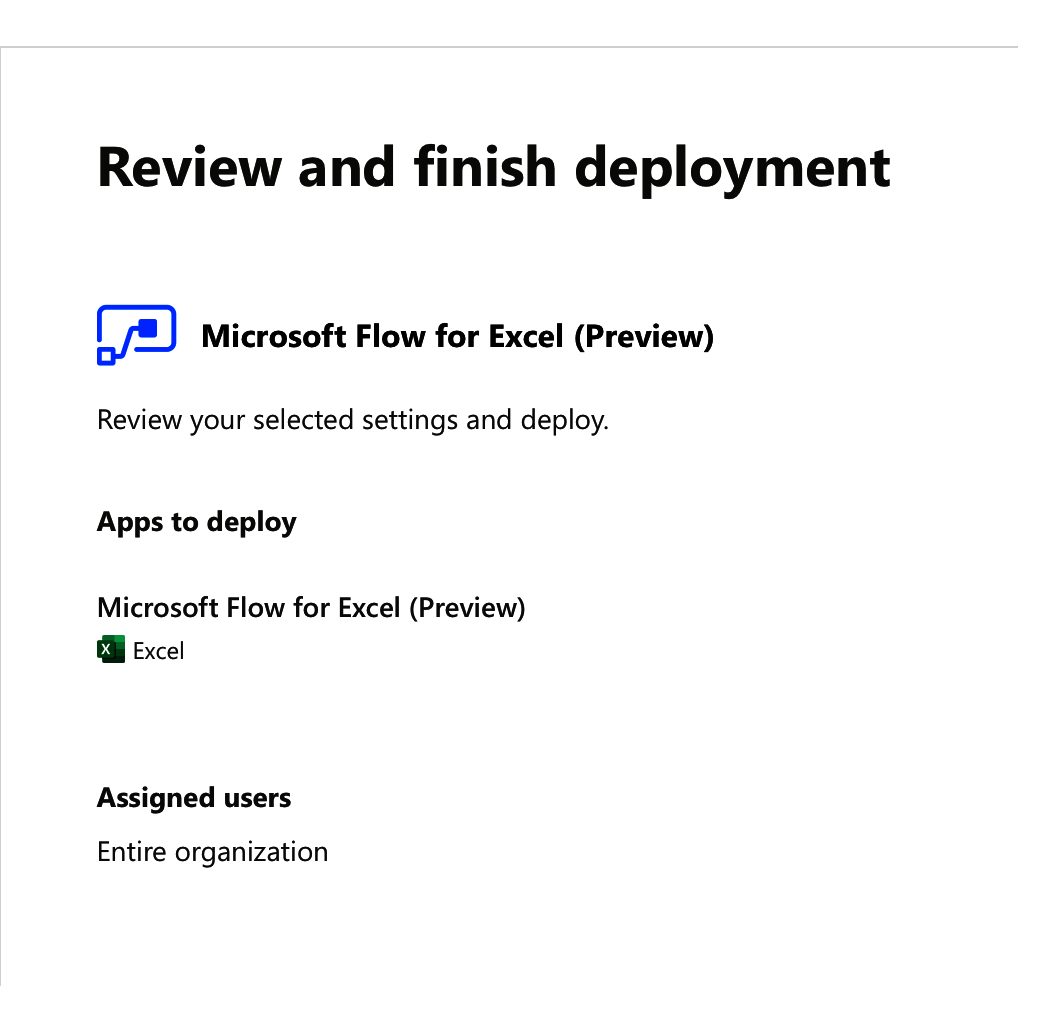
It may take a few minutes.

When it finishes, we’re done with the administration part. Let’s go back to the client part.
Install Flow’s add-in in Excel
Now that the permissions are all done, we can check again in the “add-ins” section.

It again’s possible that you don’t see it right away, but press “refresh,” and it will show something like this.

After installed, you’ll see the following:

And that’s it. We now know how to install Flow’s add-in in Excel.
Testing it
Let’s create a simple Excel file to test.

Now let’s press the “Flow button,” and you’ll be presented with a new window that prompts you to log in.

Press “login,” and you’ll be presented with the “usual” login window. You’ve already seen this window hundreds of times, so I don’t think I need to explain how to authenticate.
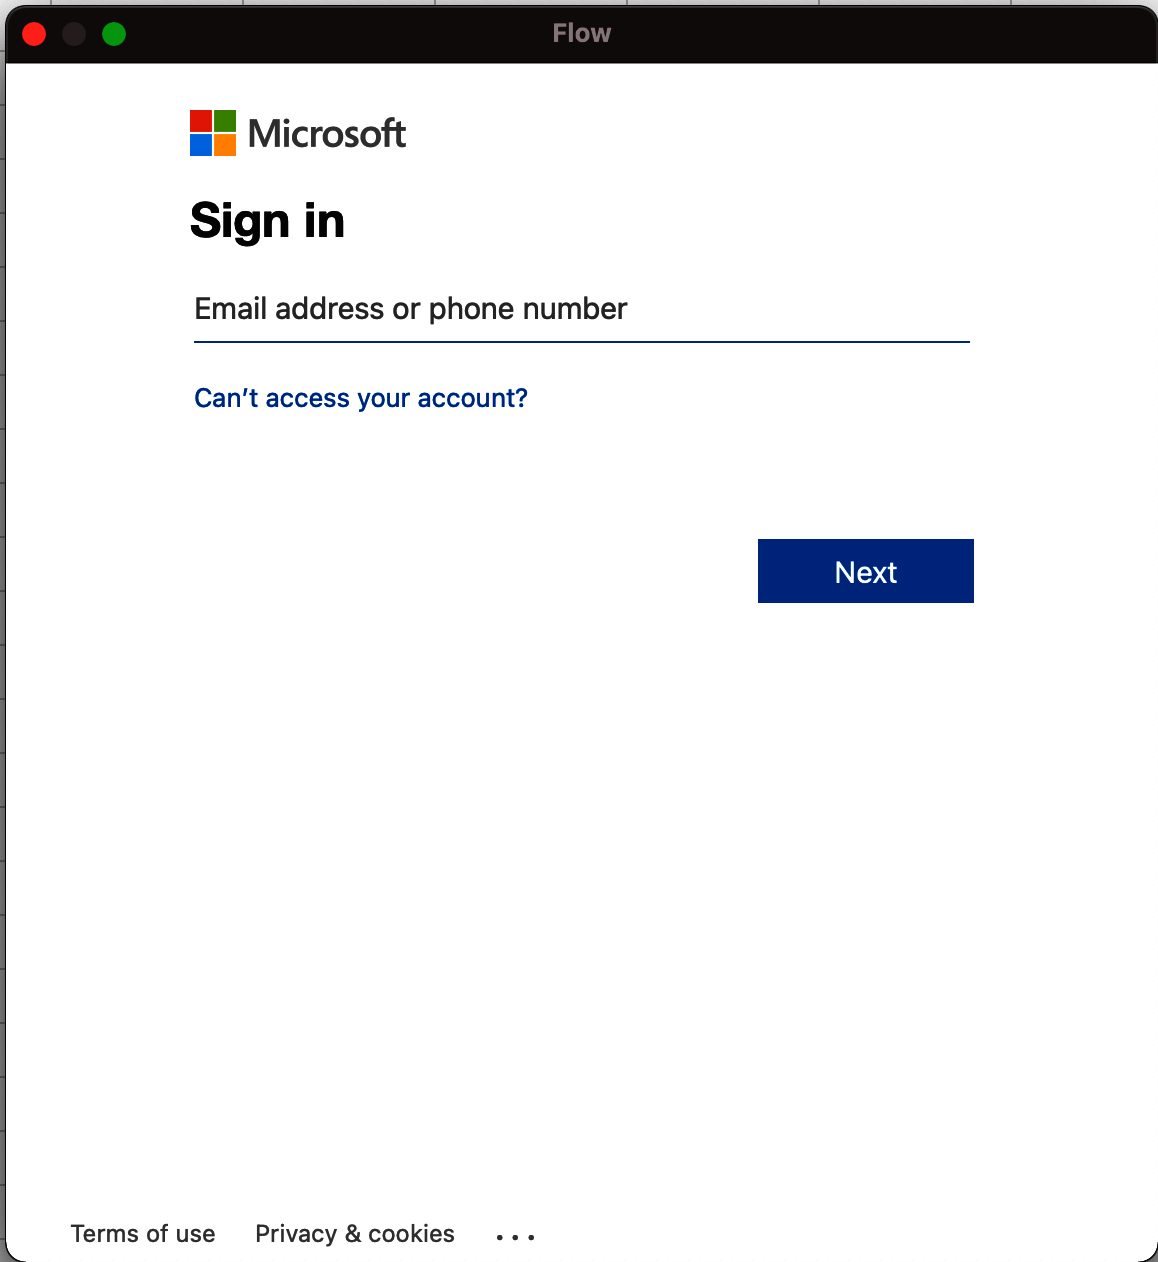
After you authenticate; however you get a permissions prompt.
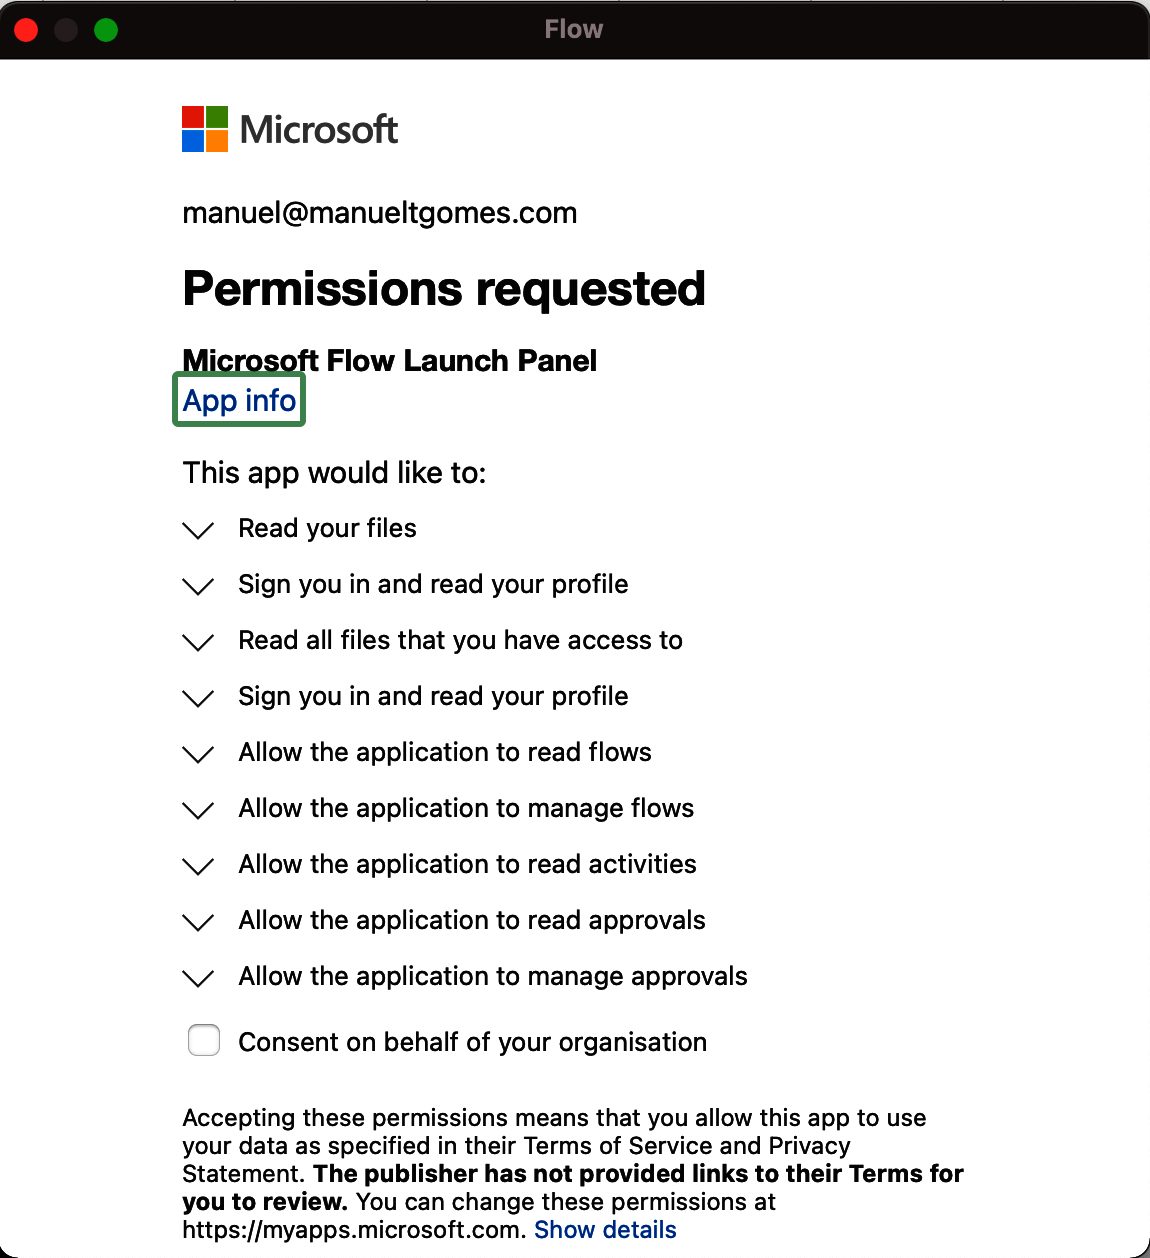
Remember that Flow will have access to a lot of information, so you need to know what it can do and what kind of information will be propagated. It’s nothing new, but I wanted to give you a heads-up so that you’re not surprised by it.
Finally, the “add-in” will show you the available Flows.
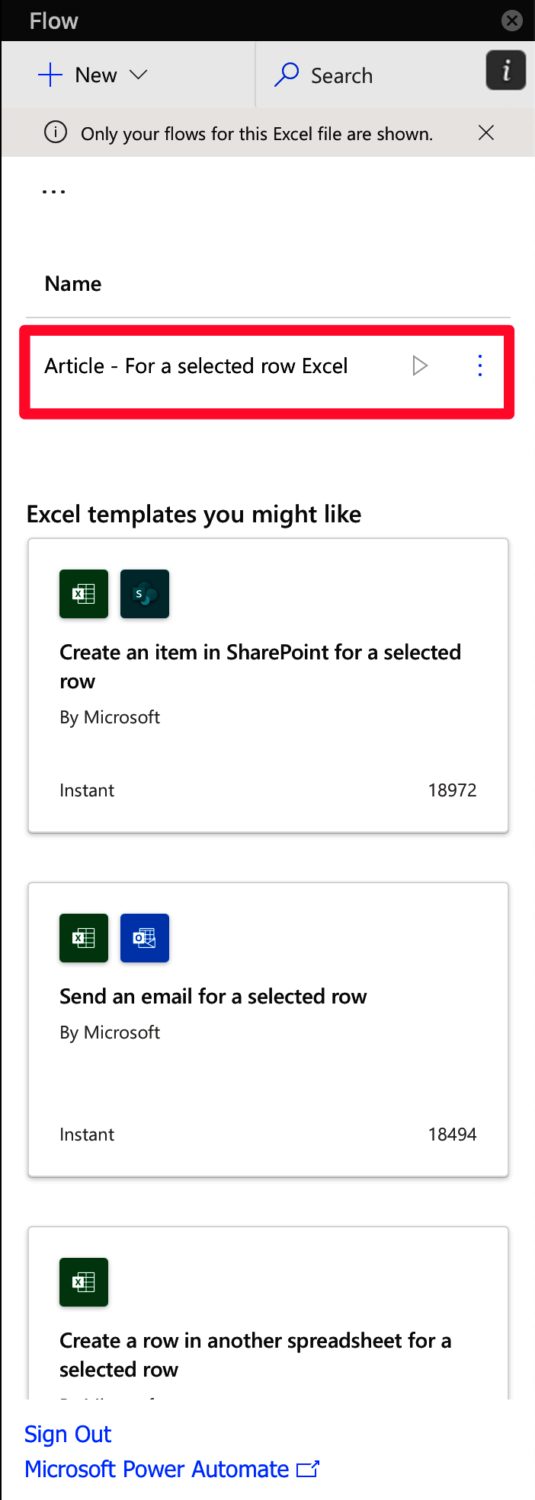
We’ll be using the same Flow as in the “For a selected row” trigger, but here’s what it looks like:

Nothing fancy.
You’ll see all the Flows that have the “For a selected row” trigger as follows:

Finally, let’s look at our online Flow and see what we got:
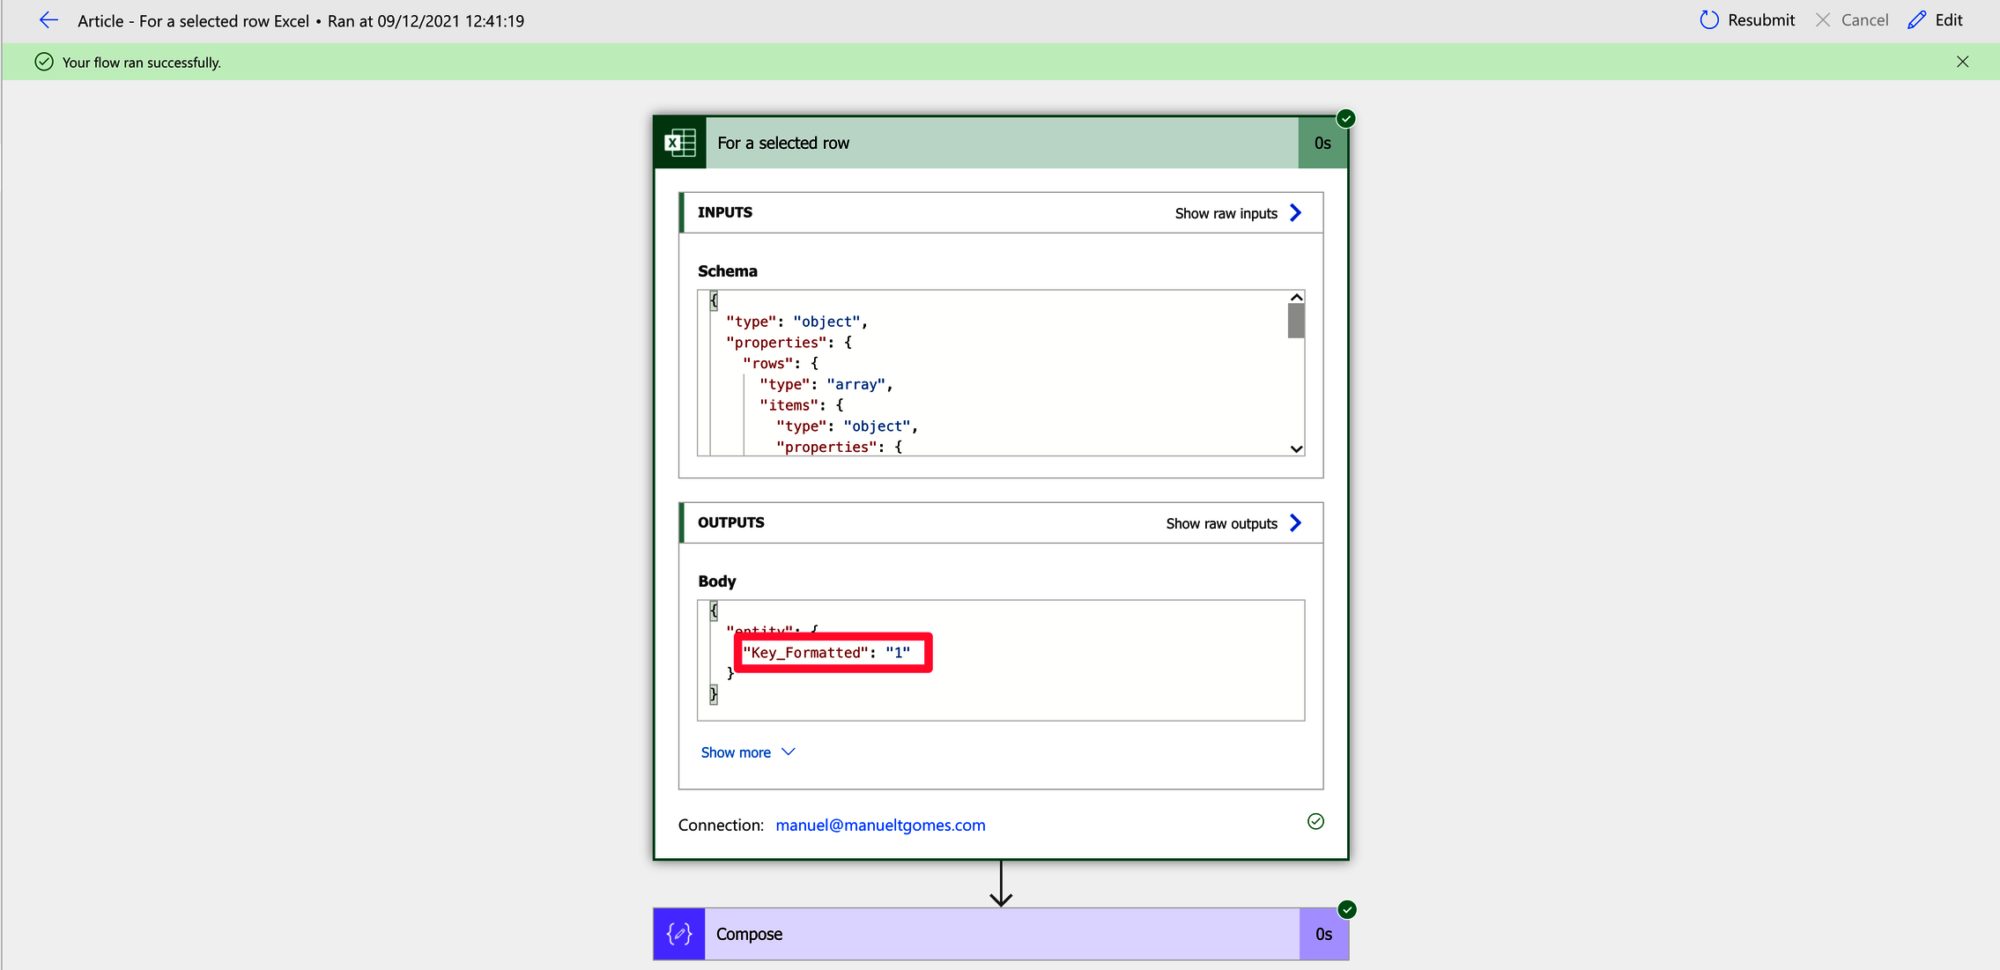
Looking good. We got the Flow to run and the selected row ID.
Final thoughts
It looks like some steps because we’re doing a lot of initial configuration, but after this is done once, all users can add it with a couple of clicks.
Again, please explore the “selected row” trigger to check how to take advantage of this “add-in.”
Photo by Donald Giannatti on Unsplash


I have Office 2021. How can I trigger Addin BrainiacHelper with vba code.
Thank you.