If you use Microsoft Planner a lot, you come to a point where you create many repeated tasks each time you create a new Plan. This is true for many cases, from starting a new project event or getting a new client, to name a few. So we need templates, but Microsoft Planner doesn't have the concept of templates. Since we don't want to create all the tasks manually every time, we need to be creative to have "templates" and save ourselves a lot of time.
Let’s explore two ways of creating the tasks that you need.
Power Automate
Power Automate can help, as always, to automate the creation of tasks, but with some caveats. There’s no trigger for “when a new plan is created,” so we need to trigger it ourselves, either scheduled, based on another action, or a manual trigger.
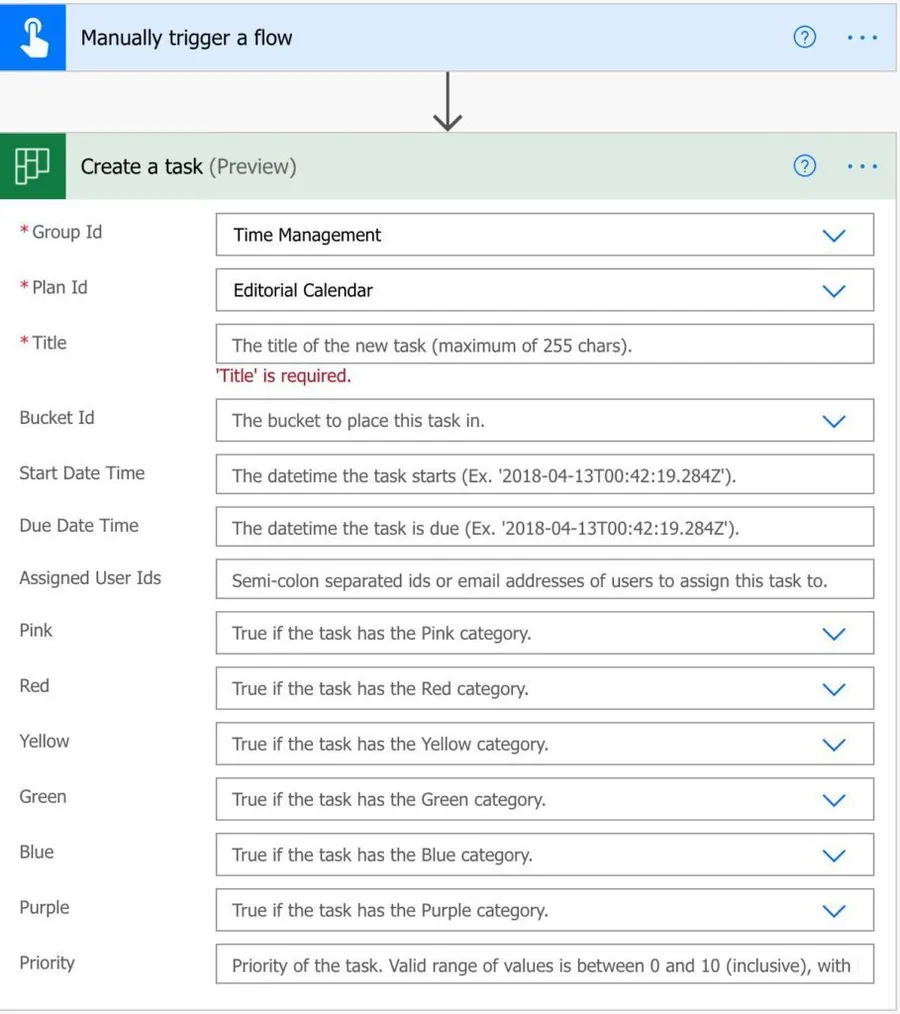
You need to create all tasks and run them when you need them. This is a simple approach where you get all tasks with the same description, buckets, labels, etc., but it’s not ideal because you have to change the “Group Id” and the ”Plan Id” each time you create a new plan.
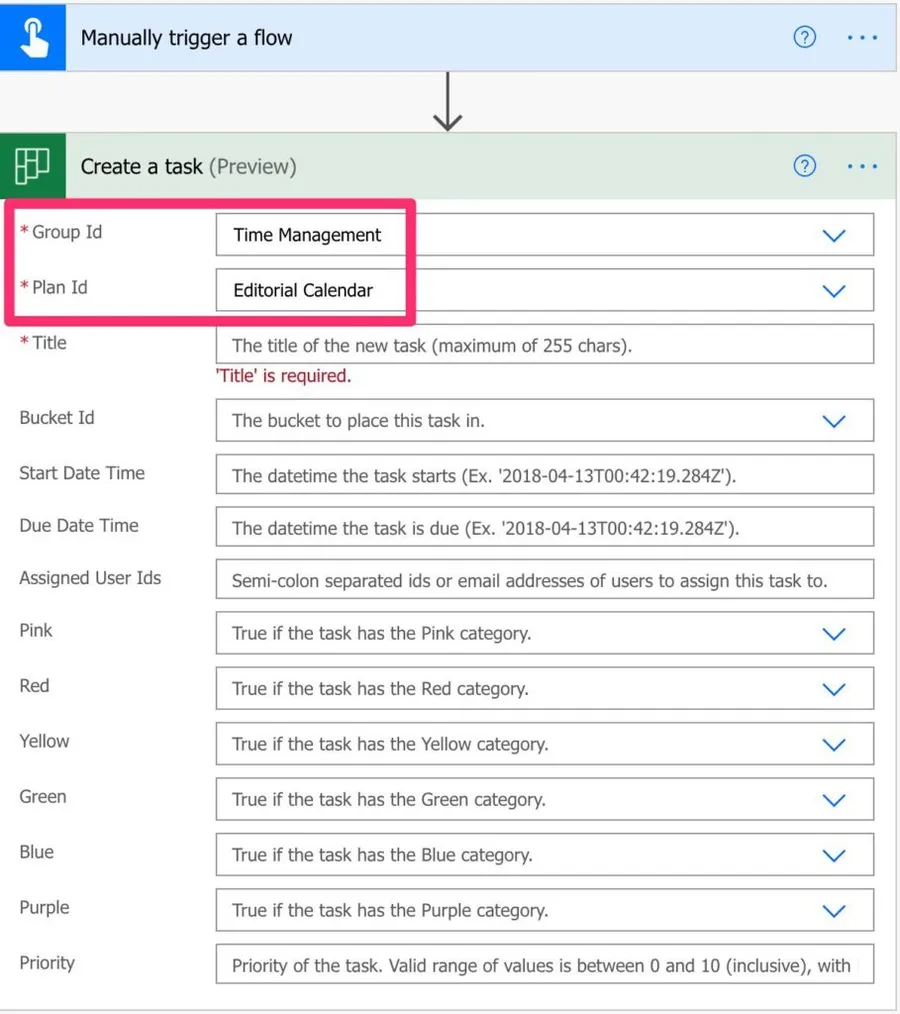
Let’s see a better solution.
Using Only Planner
Microsoft Planner has a nifty feature that can help us in this task. The “Copy plan” option.

It does exactly what you would expect. To copy the plan and its tasks.
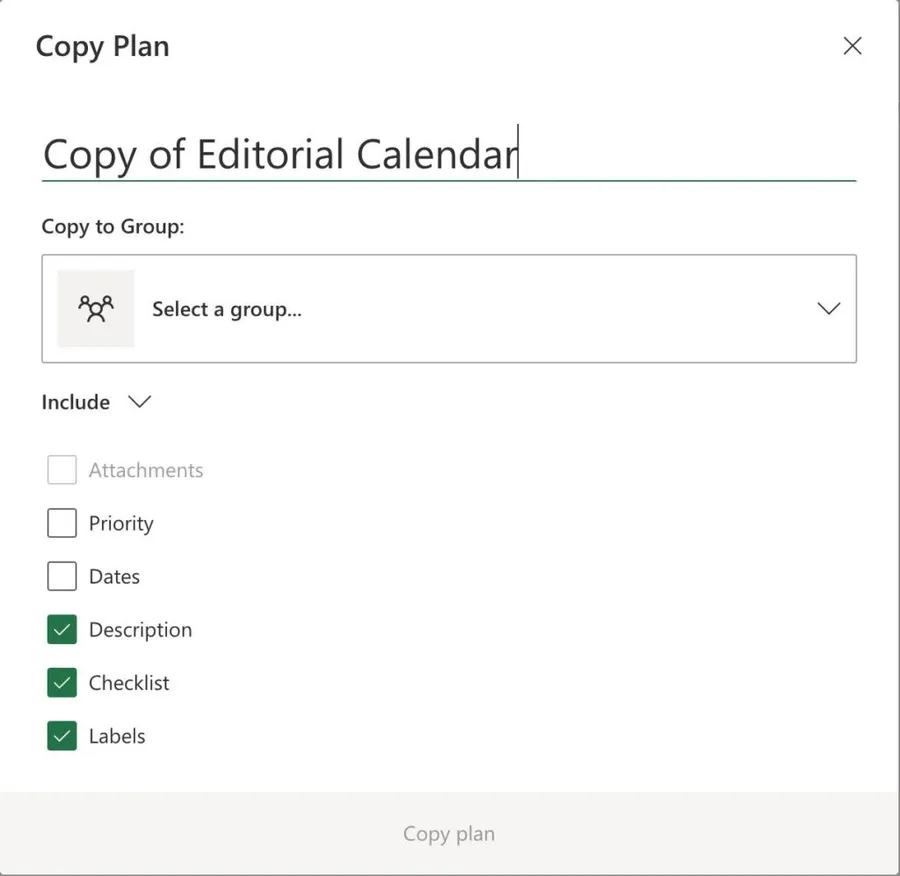
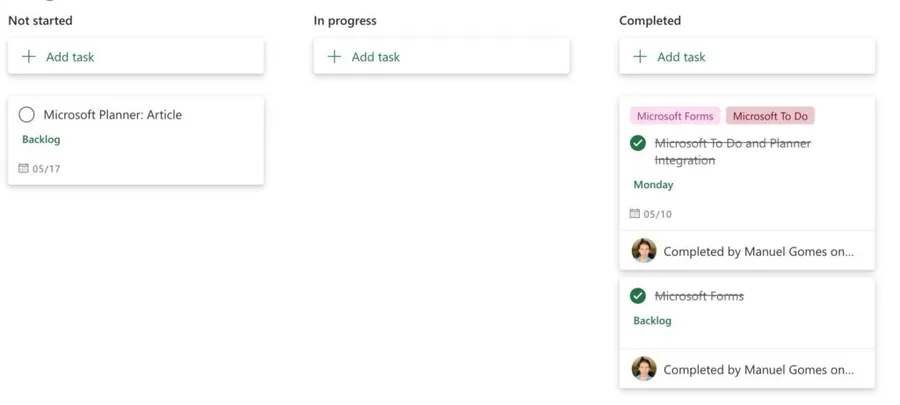
A nice touch from Microsoft is the option not to copy the priority and the dates. You can also copy it to another group to have a group with “templates” and then copy them to where they are needed. So let’s copy it and see what we get, but first, let’s look at the source to see the tasks—first, the buckets.
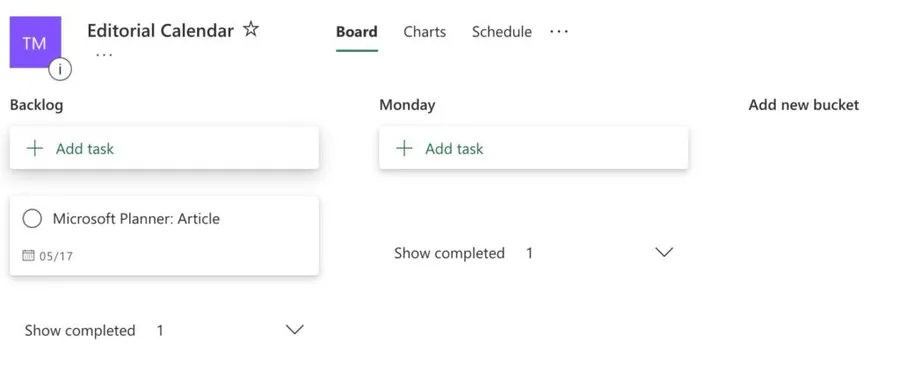
As you can see, I have a Monday bucket for all Microsoft Planner Articles. I also have one task open and two closed.
Copy the Plan
Let’s copy the plan.
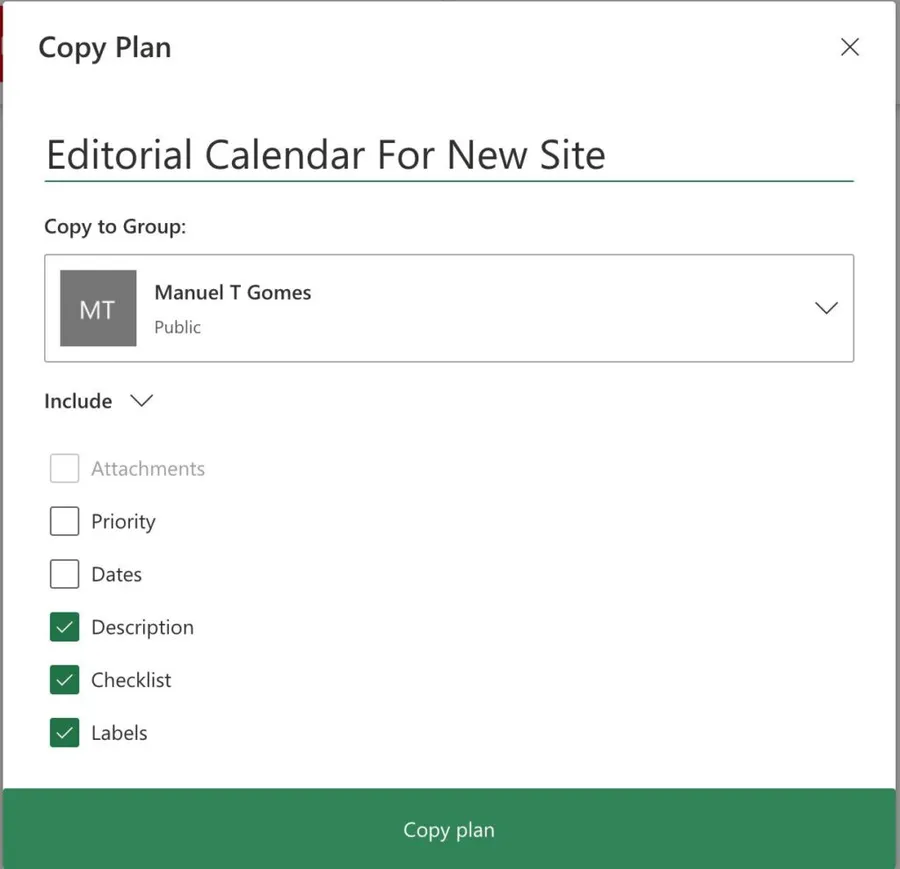
When you copy it, you will get the same tasks, but the state changed to “Not Started.”
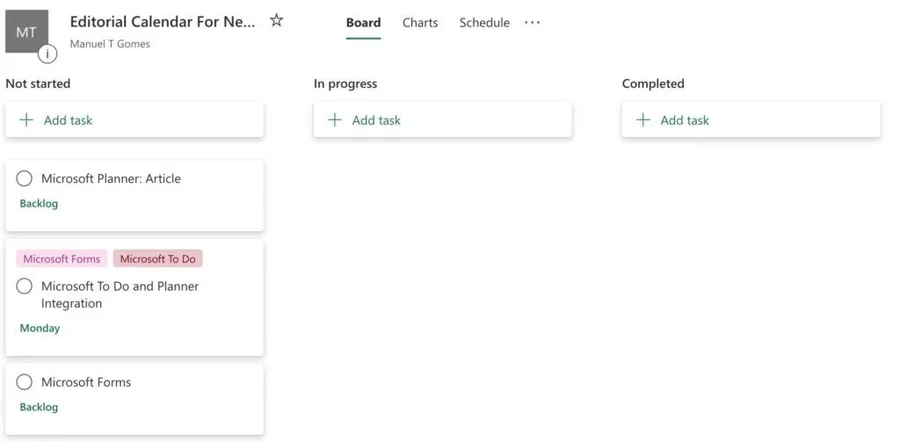
The same buckets:

And the same labels:
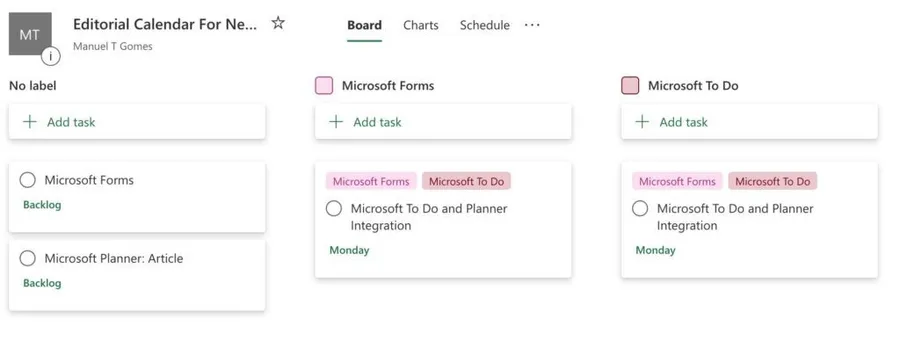
Everything ready for you to start working.
Quick tips to create templates
Here are some quick tips for creating templates so that they can be even more helpful.
Copy the Plans that you already have
You don’t need to create a template from scratch. You can use a Plan that you have, or the team is already using, copy, and add the tasks you need. This way, you start with something that you know adapts to the team's needs, and you only need to add a few missing tasks.
Naming is important
In the same way as above, you can copy a Plan that you have and name it something like “Template: <Objective>.” I strongly recommend having these templates in their own group so that you always know where to find them. Separation also helps in showing everyone that there's a "section" in your organization for templates that you can make public while keeping the "working" Plans private for the teams that need them.
Teach other people to do them
If you have all of them in the same place, teach people how to do them. In no time, you’ll have a lot of cool templates that you can re-use in your own projects. If they have tasks that you don’t need, close them, but you’ll start with a lot of the work done for you.
Create a lot of them and keep them simple
Keep them as simple as possible, but focus especially on the buckets and tags. With these well-defined, you can have an amazing head start by having all the tasks well define and then having your own Plan by pushing only one button. The time you spend on creating one is well spent since you'll save everyone else the same time (or more). So think about it when you know you have a cool plan that will benefit everyone.
Save the customizations for the users.
As you know, you can change the backgrounds and do all sorts of customizations to your Plans. Please don’t include them in your templates. Let the people who are using them customize them as they want. Keep the template as “vanilla” as possible. The objective is to have a skeleton and a basic organization and not have a fully prepared Plan.
Improve your templates
When you have a task that is missing in the template, add it. I recommend doing it right away and not wait for "after." It takes 2 minutes, and you never know when people will copy your Plan. The idea is to improve the templates and make them as complete as possible. The next time someone copies it, they will have a better template to work with.
Final thoughts
I left out some examples of templates on purpose. This article aims not to provide you with templates; it shows you how to create them and save a lot of time. Start with what you have and improve, but define an initial set of templates to test the strategy.
As you saw, it all boils down to the strategy you use to organize information. The “copy plan” feature is there, and it can copy well define Plans or messy ones. If you organize your information correctly, it can be handy for both you and all who contribute to it.
Photo by Joanna Kosinska on Unsplash


No comments yet
Be the first to share your thoughts on this article!