by
by SharePoint has a lot of excellent features, being one of my favorites, having the possibility to have calculated fields in lists. Calculated fields are what you’d expect, are calculated based on a formula. There are a lot, based on the Microsoft Excel’s syntax and, although there’s only a subset of the present in SharePoint, we have enough that we can create entirely new formulas with excellent results.
Since data in a list can be changed, it’s fantastic to have something that is based on a formula and adjusts the value automatically. It can be both a blessing and a curse since we’ll have fields changing based on the state of others. Be aware of this when building your calculated fields and make sure to reference somehow that these are “calculated fields.”
Also, since they are created based on a formula, these fields cannot be edited, so keep this in mind.
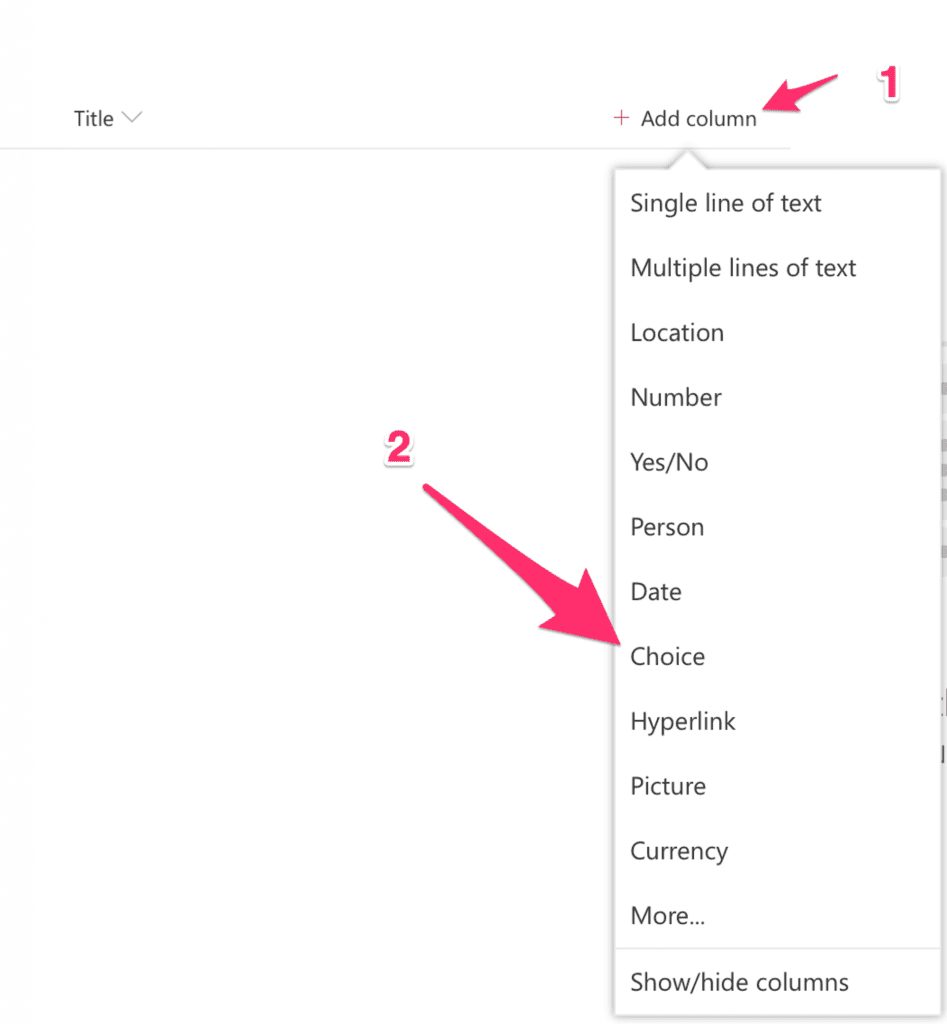
There are two ways to create a calculated field. Use the Add Column and then More directly in the list.
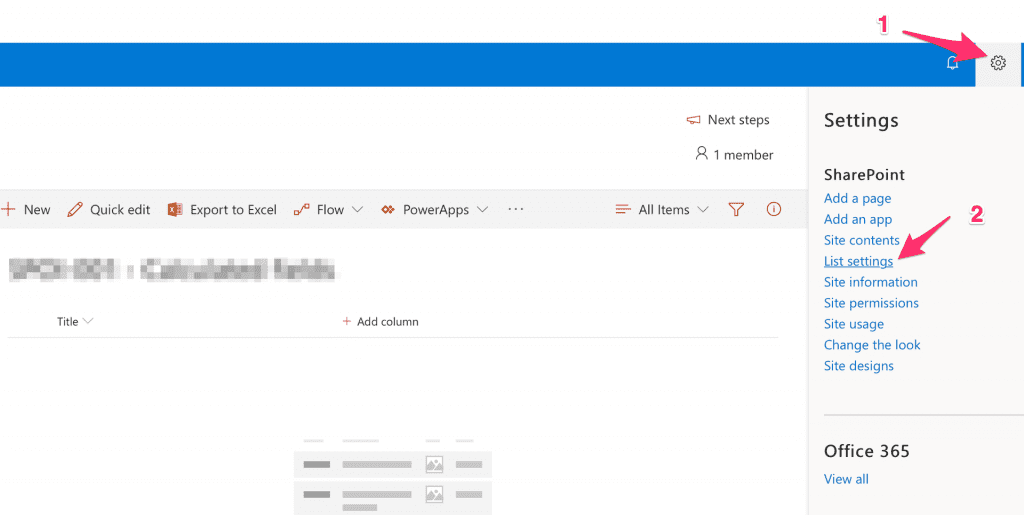
… or go to Settings > List Settings and click Add new column.
Below you can find the List’s options where you can add a new column.
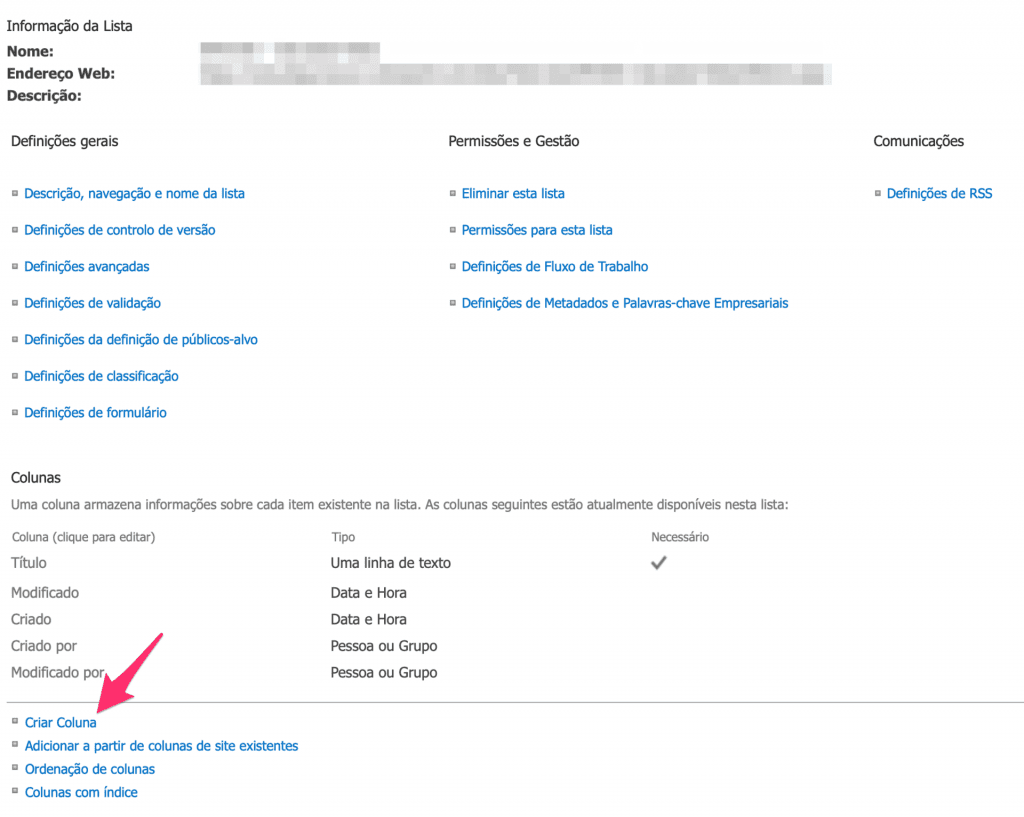
Note: Please note that, in my example, the Add new column is in Portuguese because of my localization settings. You should see it, either in English or in the defined language.
There are tons of use cases for this, but I’ll mention a few of my favorites.
Generate Project Codes
When I create a project, I like to have a code that identifies it. I use it in my time-tracking software, documentation, folder structure, emails, and everywhere I mention that project. It can be something like AAA-111 being AAA the code of the project’s program and a sequential number. It’s quite cumbersome to generate these codes manually, but an excellent target to create them automatically. In the following example, I have two columns Code and Number that contains the project’s code and number. I want to generate it described above with always the same trailing zeros. To do so, use the formula:
=CONCATENATE(Code,"-",REPT("0",(3-LEN(Number))),Number)
Format Once Show Everywhere
I use this when I want stuff formatted a certain way but don’t want to propagate the formatting code everywhere. For example, let’s say that you’re creating a PowerApp that has multiple instances of the project’s creation date and you want it to display as “yyyy-mm-dd” (or “yyyy-dd-mm” for our American friends). I would need to format the “date” everywhere I would like to show it in the PowerApp, but only by creating a calculated field in SharePoint, I can reference it, and that’s it. Always correct whenever I reference it. In case I want to change it after, I have a single place to change it and don’t even need to re-deploy the PowerApp. Here’s the formula to achieve this using the Created time:
=TEXT(Created,"yyyy-MM-dd")
Complex Searches made Simple
Sometimes we may need to pre-calculate some values to speed up queries. It can be quite powerful while integrating with PowerApps where delegation issues may occur. I go in deep in my article about this delegation and potential workarounds to avoid this issue. For example, let’s say that we have a list that contains the project status and we would like to query all projects that are in the Red (See RAG Status for details). We can easily create it based on the project’s fields and define the outcome as Red, Amber, or Green. The search is more straightforward because we have a pre-calculated status, and we type “Red” and see the projects where we need to take action quicker. As an example, let’s have two fields Forecast (a Date) and Remaining Time (a Number). We want to show Green if the forecast is on track, Amber if the estimate is at risk (2 or fewer days of difference) or Red if the project has a delay.
Let’s start with diffing the dates:
=DATEDIF(TODAY(),forecast,"D")
Then comparing the difference. The strategy will be to flag as green if the difference in days is > 3, Red if < 0 and Amber everything in between. Here’s the formula:
=IF((DATEDIF(TODAY(),forecast,"D")-remainingtime)>3,"Green",IF((DATEDIF(TODAY(),forecast,"D")-remainingtime)<0,"Red","Amber"))
Generate Reference Fields
You can use them also to convert between units when the opportunity arises.
As an example, let’s imagine that you work with international customers that use a different measurement system. You can have a list with precise measurements of your unit of choice and have one or more calculated fields with the converted values for easy and quick reference. As an example, here’s a potential formula that converts Celsius into Fahrenheit:
=(temperature*1.8)+32
Tips and Things to Be Aware
Like everything, nothing is perfect, so there are a few “gotchas” that you should take into consideration.
Don’t base formulas on the ID
I had mixed results in the past trying to use the field ID in a formula, so try to avoid it.
Localization
Functions are localized, meaning that the function’s name can be required to be in a different language. SharePoint automatically converts some, but probably you’ll get errors if you have defined a different region defined for your instance. For example, I have an account localized in Portuguese, so if I want to do a len I have to write NÚM.CARACT.
To demonstrate this, here’s the formula:
Len(Title)
Converted to:
NÚM.CARACT(Title)
Below you can find the full list of functions
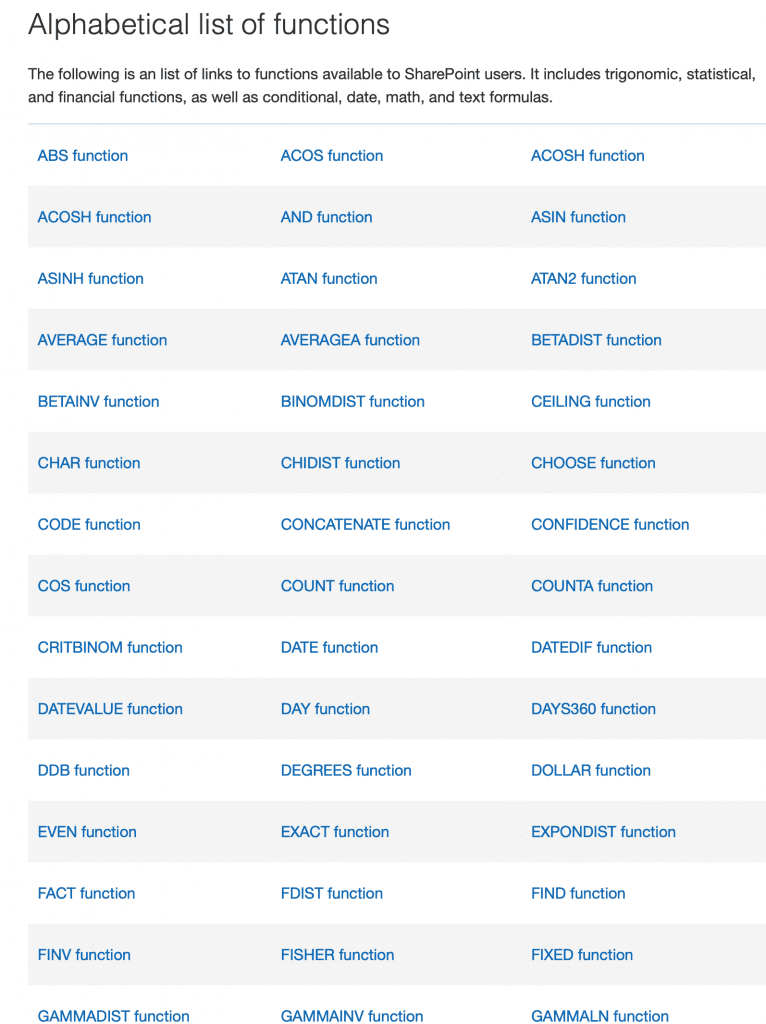
If you want to check the function in your language, go to the end of the page and change the language.
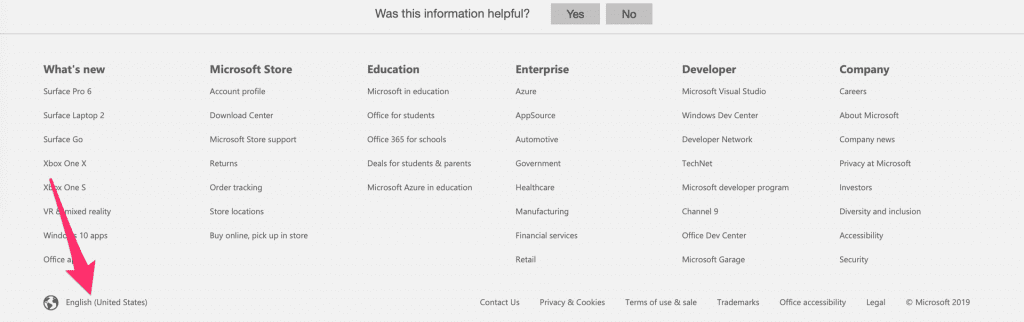
Choose the language that matches your account:
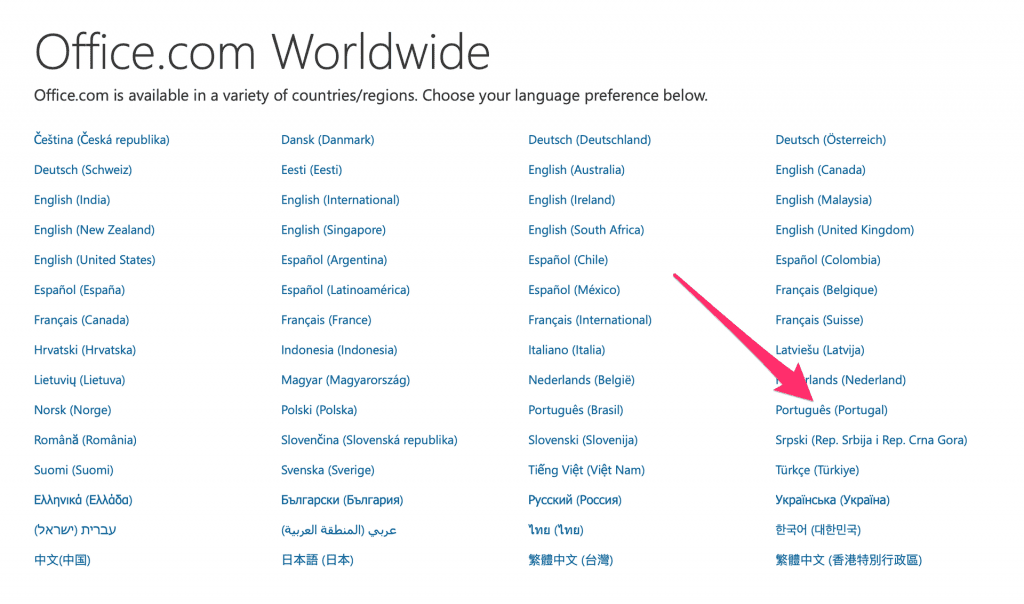
And you’ll see the localized functions

Copy the formula before pressing save
If it’s incorrect, you’ll get an error window showing that something’s wrong, with not a lot of information to proceed. You need to check for yourself what is the issue which can be time-consuming.
The issue resides that there’s no button to go back and fix the formula. You have to navigate back on your browser, and that can generate problems. To be sure that all is correct don’t forget to copy the formula so that you can paste it in case something goes wrong.
Reference and recommendations
Like everything, there are limitations. You can find here the section dedicated to going a little bit deeper in some of the formulas and provide some suggestions on how to use them.

Photo by Briana Tozouron Unsplash
Key Takeaways
I’ll create more articles since this is a vibrant area but for now here are the key takeaways:
- Formulas can simplify search, formatting, and create reference information automatically.
- Beware of the localization to avoid frustration.
- Copy formulas before saving.
- They are not fields so they are read-only and, they change automatically if any of the other in the formula change.
Have a suggestion of your own or disagree with something I said? Leave a comment or interact on Twitter and be sure to check out my other SharePoint articles
Photo by Louis Hansel on Unsplash