The "For a selected row" trigger is incredibly useful., especially for those who use Excel to store data. It takes advantage of Power Automate's "add-in" in Excel to perform actions on datasets. We can do a lot with it, but for now, let's look at how to use the "For a selected row" trigger efficiently.
Where to find it?
To find it, you can search for the "For a selected row" trigger or go to" Standard" and find "Excel Online for Business."
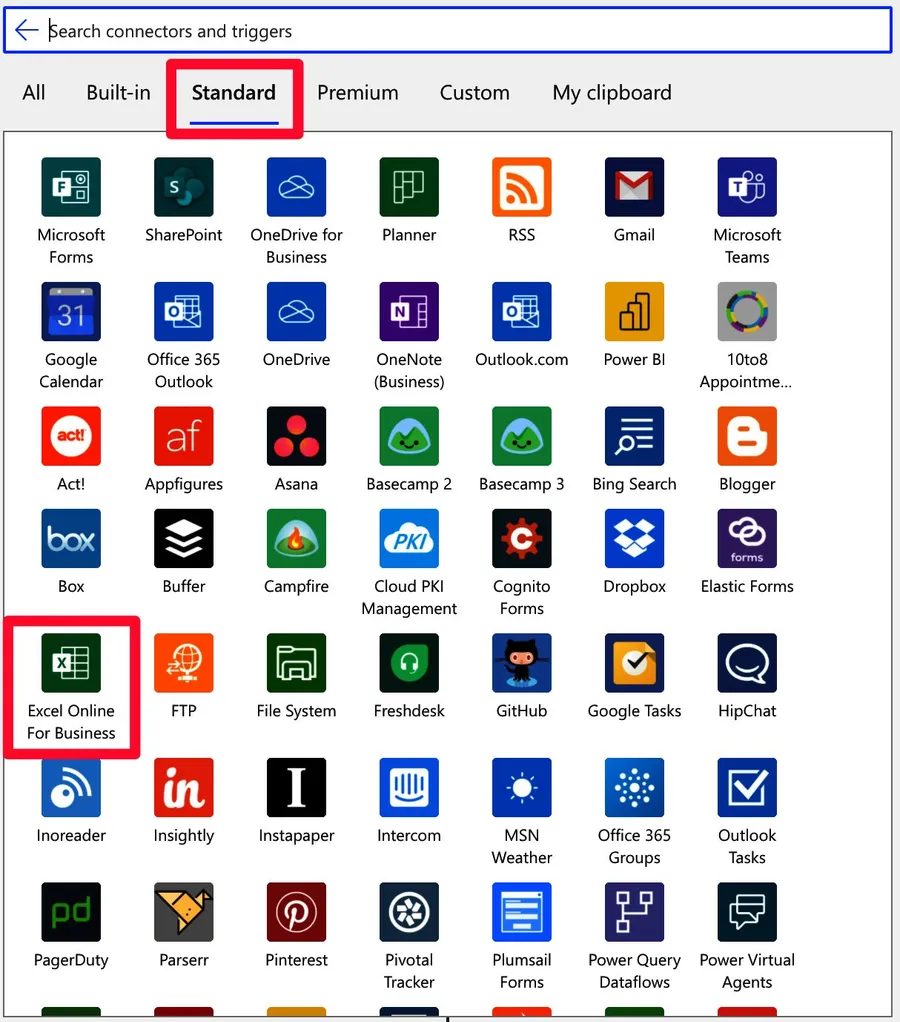
Select the “for a selected row” trigger:
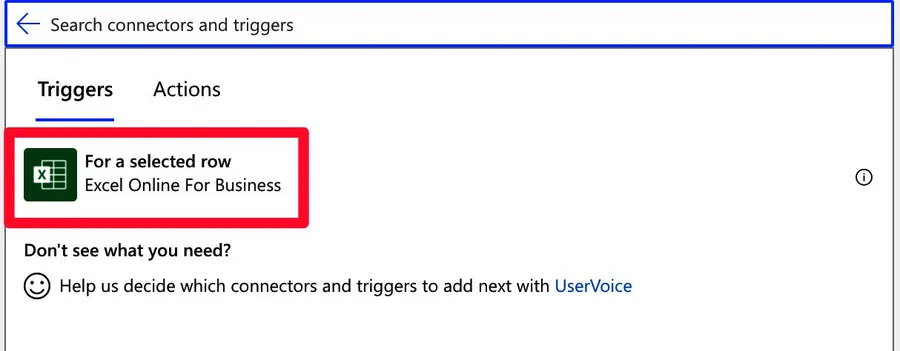
Here is what is looks like:
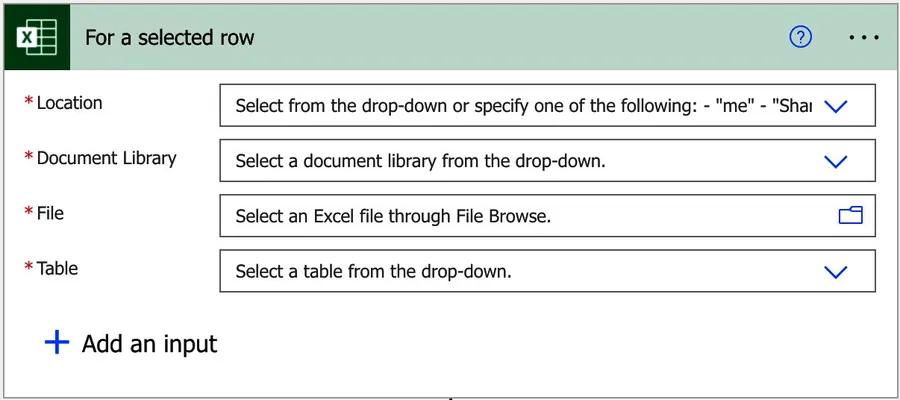
Usage
For this example, we'll use OneDrive for Business, but you can use SharePoint Document Libraries or any other place to save an Excel file in Office 365.
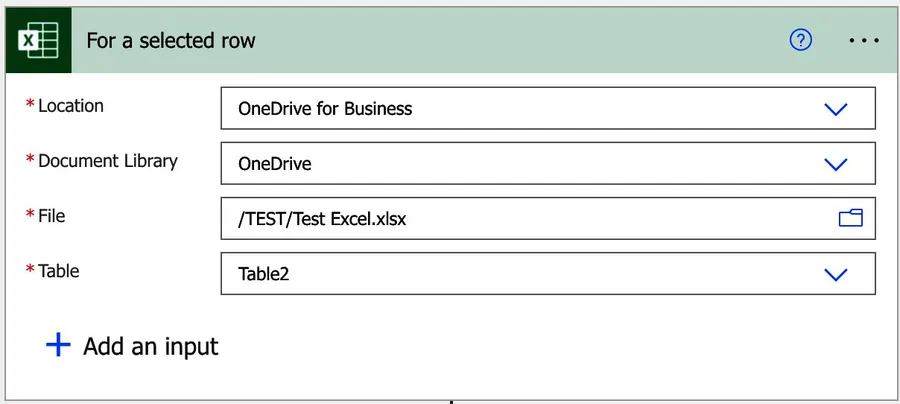
Excel's structure is super simple.
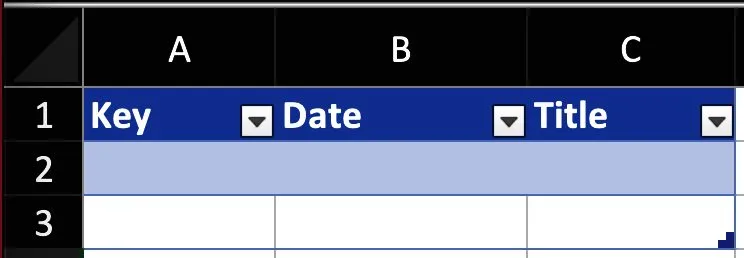
We want to prove the concept, so there's no need to worry about things. The Flow is also super simple:
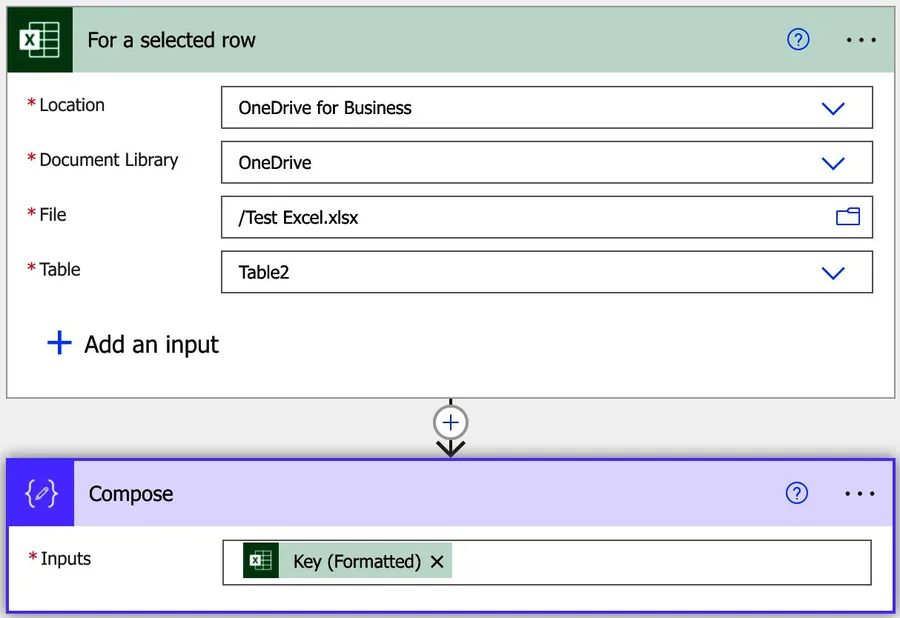
No need to complicate things.
Outputs
Let’s look of what we get from the trigger:
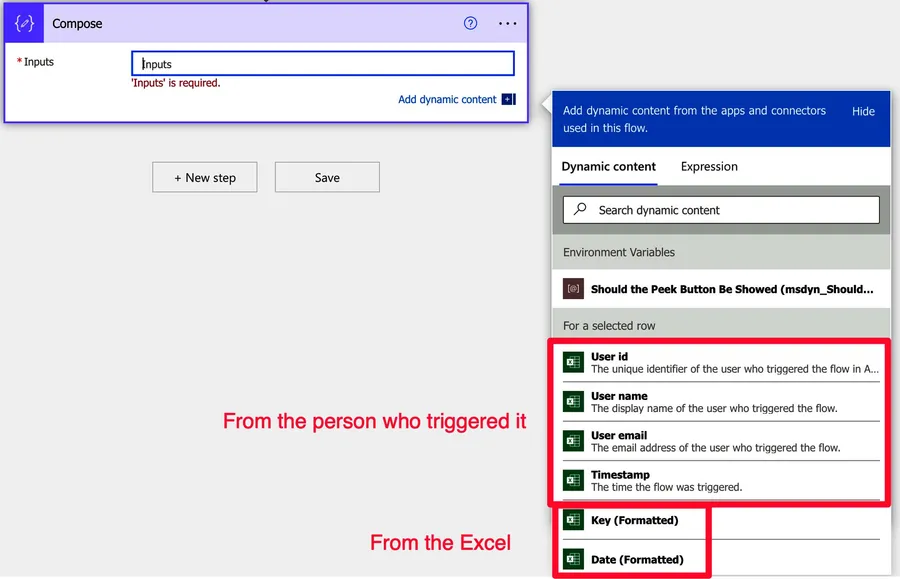
We have two groups of data. The first will contain the information of the user that triggered the Flow. The data is essential for things like:
- Custom behavior depends on the person, department, etc.
- Keep a log or an audit of the information that was provided.
- Send a notification to the user when the Flow finishes.
These are only some examples, but you can do a lot more. The information is there so that you can use it.
The second group is the Excel columns, the information you're looking for to parse. Again, all columns will be returned for the selected row.
Testing
If you try to test the Flow, Power Automate will block it.
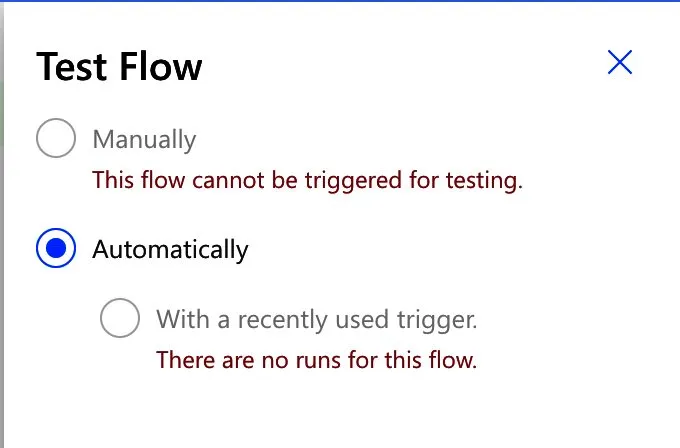
It's not usual for this to happen, but there's a good reason for the "for a selected row" trigger. Since we need it to be triggered from Excel, we can't do it manually from Flow online. Instead, the row needs to be selected in Excel, so all you can do is build the Flow and trigger it in Excel as follows. First, press the Flow's add-in button on the Data tab, select the data, and press run.

LEt's go back to our online Flow and see what happened.
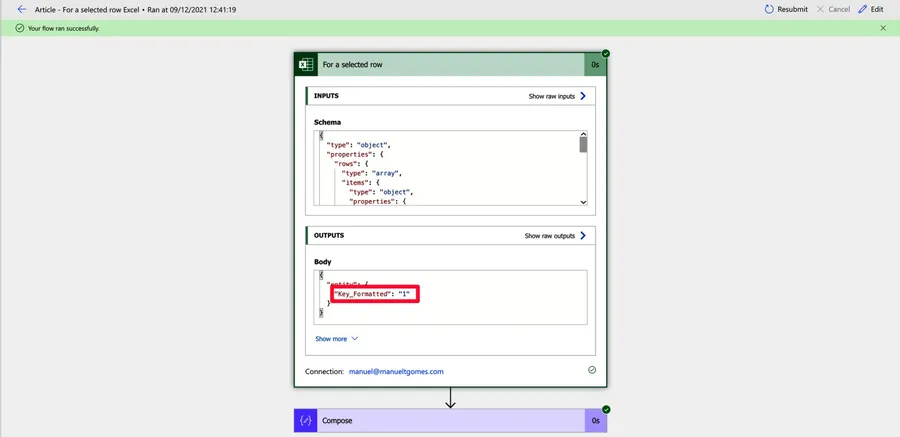
Looks good. We got the Flow to trigger, and the information was provided correctly. Now you can
Limitations
You can only use this for Power Automate. Microsoft is working on other targets, but we can only use Power Automate to parse this information.
Another limitation is that you can't use solutions in all the tests I performed. When you open Flow's Excel "add-in," you'll only see the ones in your "My Flows." I'm probably missing something, but I'll update the article as soon as I find how to use solutions.
Recommendations
Here are some things to keep in mind.
Make the Flow as fast as possible.
This recommendation is a give for all Flows, but it's essential for this one since multiple people may access the Excel file simultaneously and trigger it with the same data. So if you're parsing or changing the data in any way, you need to propagate those changes as fast as possible.
Don't change the source file.
I also recommend that you don't change or update data in the Excel that Flow uses for the same reason. Multiple people can access the Excel file, and by changing the data, you'll have the situation where person A triggers the Flow and person B still sees the "old" data. Again, keeping the source file as a "read-only" from Power Automate's point of view helps avoid data conflicts.
Name it correctly
The name is super important since we can get the trigger from anywhere and with anything. Always build the word so others can understand what you are using without opening the action and checking the details.
Always add a comment.
Adding a comment will also help avoid mistakes. Indicate your expectations, why the Flow should be triggered, and the data used. It's essential to enable faster debugging when something goes wrong.
In the case of the "for a selected row" trigger, it's even more important to keep things documented because you may not understand the type of data or why the user "A" is triggering the Flow.
Back to the Power Automate Trigger Reference.
Photo by Mitchel Lensink on Unsplash


Hi. I hava a question. I created a flow using "for a selected row" trigger. Often it work correctly. However, when I selected Not-continuous rows, body of trriger is empty and error occured. Do you know how can I Fix it?