by
by I’ve been using Microsoft Planner more and more in some sections of my workflows, especially when I need automation. So today, let’s take a look at how we can have Power Automate manage tasks automatically in Microsoft Planner, like create, delete and update them. This all started with my first TWIL. I thought about 2 things:
- How can I store and manage information in a simple way?
- How can I generate the HTML automatically and archive the tasks?
Microsoft Planner came to mind as the ideal place to store and classify the information. It’s easy, visual and I can use it anywhere.
The structure
I didn’t want to spend too much time generating the information. What was important for me was to read, store the articles and classify them. After that, I’ll fetch the information and generate the HTML (or markdown in my case) to import it into Ulysses to write the article.
For this, I created a series of buckets and dragged the articles to them. Quick and simple.
Getting things in
For the TWIL, I wanted to store not only the preview of the article (in the “Notes” in the task or the “Description” in the Power Automate’s action) but also the URL of the article so that I have a link in my article. Creating a task for Microsoft Planner using Power Automate is incredibly easy. You can use the “Create a task” action, and you’re good to go.

But this action won’t provide you all the options that you need. For example, you don’t have a way to insert URLs, checklist items, and more. So for this, you have the “Update task details” action.

The ID comes from the previous action.
To trigger the Flow, I’m using the “When an HTTP request is received” trigger.

It’s a premium trigger, so you may not be able to use it. However, I’m using it because I read a lot on my phone, so with the help of Shortcuts on iOS, I can:
- Use the share button
- Trigger my Flow.
- Flow save it to Microsoft Planner.

Also, I can re-use the same Flow in other places like other Flows, other services that can help with automation like IFTTT, for example, or even custom scripts that I can eventually develop.
If you don’t have access to Premium connectors, you can instead use a “Manual trigger a flow” trigger. Then you can use the mobile app to trigger your Flow and save the information.
The Flow is simple but quite powerful. First, you get the “basic” data inserted, and then you update the same task with the remaining information.
Getting things out
My main objective is to:
- Fetch all buckets. This will be my main section.
- For each bucket, generate a title and all articles related to that bucket.
- For each task, get all URLs and add the links to the task.
- Generate the markdown files and add them to the folder of the article.
- Manage tasks automatically by closing them when they are included in the article.
Let’s break it down:
The initial setup
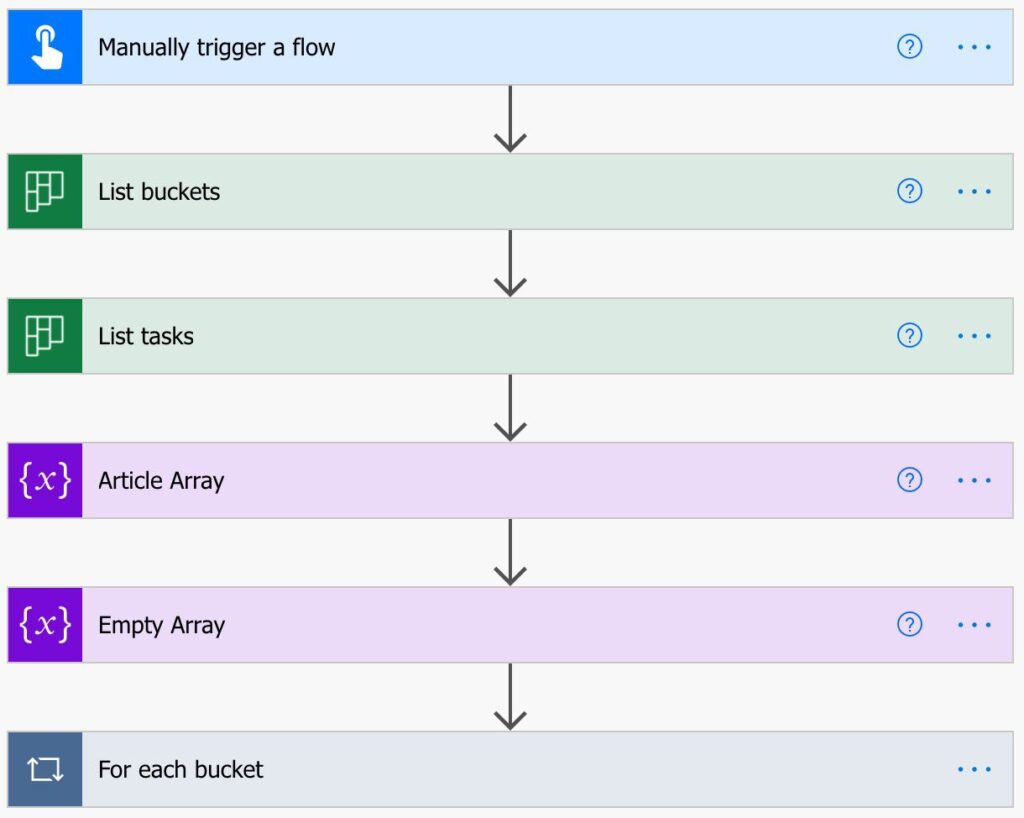
I want to get a list of buckets and lists. The “Get buckets” and “Get tasks” actions will help with this. Nothing much to define here. After this, I have two variables.
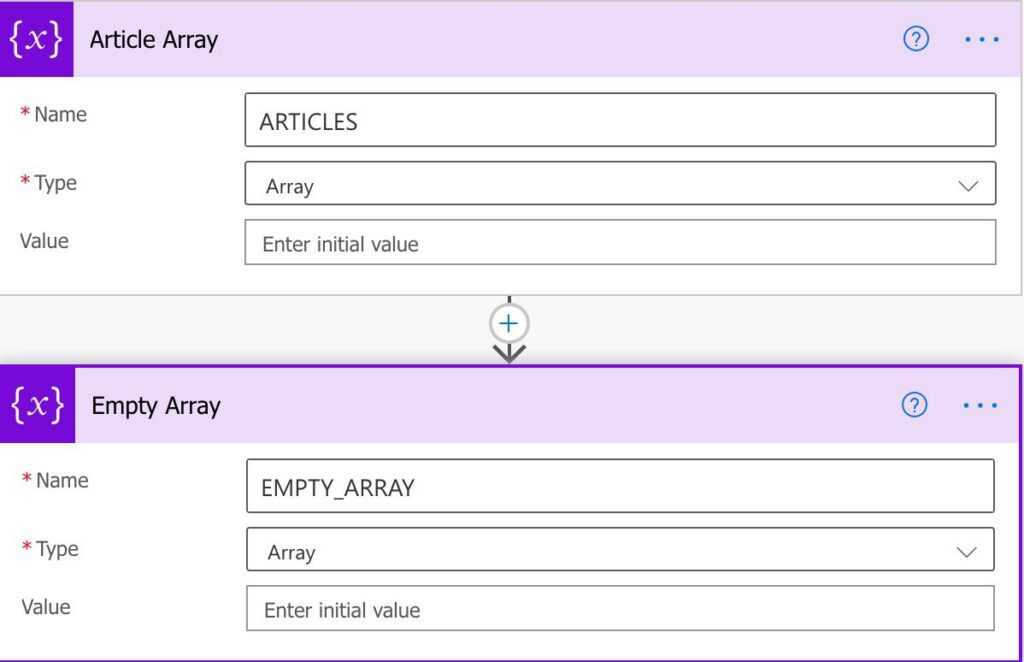
One is the array that will contain the title and each article. This variable will be used to generate the file. After that, I have the “Empty array” variable. This is a trick that I caught in the past, and it’s the easiest way to “reset” an array variable. You set the array variable with the empty array, and you’re done. Of course, you can use functions to do this, but I like how visual it is when inspecting the Flow.
Generate the files
We start by resetting the variable and adding the title using the bucket’s value.

This is always the first element of the array. So the array will be:
- Title
- Article 1
- Article 2
- …
- End separator
Inside we fetch the tasks and compare them with the bucket. If they are associated with that bucket, we get the task details. We need the task details because we want to parse the array of URLs in the tasks. Usually, there will be only one, but we need to do a lot anyway.
Finally, we close the task.

We have all the information, so we don’t need to keep it around.
Finally, let’s generate the files.
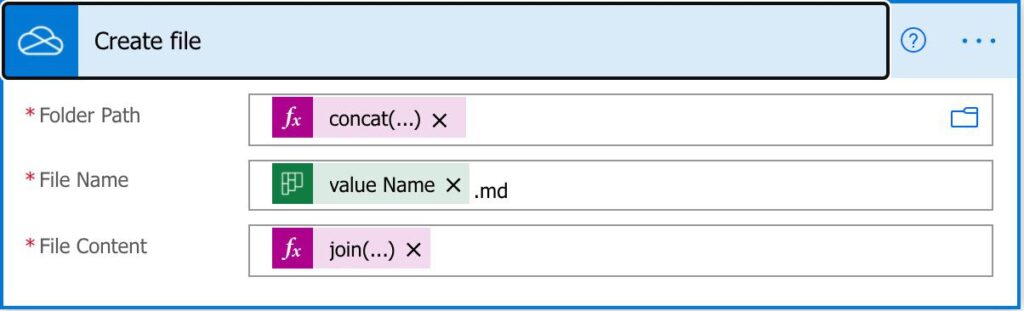
Notice that we don’t have an “Apply to each” action to generate the files, although we have an array variable. Instead, the “join function” does all the work for us, so we can use it in the “create file” action, and we’re done.
Final thoughts
This is a global overview of how my workflow works to generate the articles and manage tasks automatically. With a few clicks and drag-and-drop actions, I can quickly manage a lot of articles. Saving this time will help me focus on learning more and not waste time in actions that Power Automate can do better than me.
If you have any questions, please let me know, and I’ll be more than happy to help you automate your workflow as well.
Do you have a TWIL workflow that you use? What kinds of things you’re learning now that you think everyone should know?