by
by Flags are a great way to organize emails, but we can do a lot more to get our email under control. For example, archiving to a folder when the email has a tag or downloading all the attachments are some examples of the things you can do. Any time away from email is productive in my book, so use this trigger to automate any daily tasks you see yourself doing. So let’s explore the “when an email is flagged” trigger and how we can use it efficiently.
Where to find it?
To find it, you can search for the “When an email is flagged” trigger or expand the main list of items.
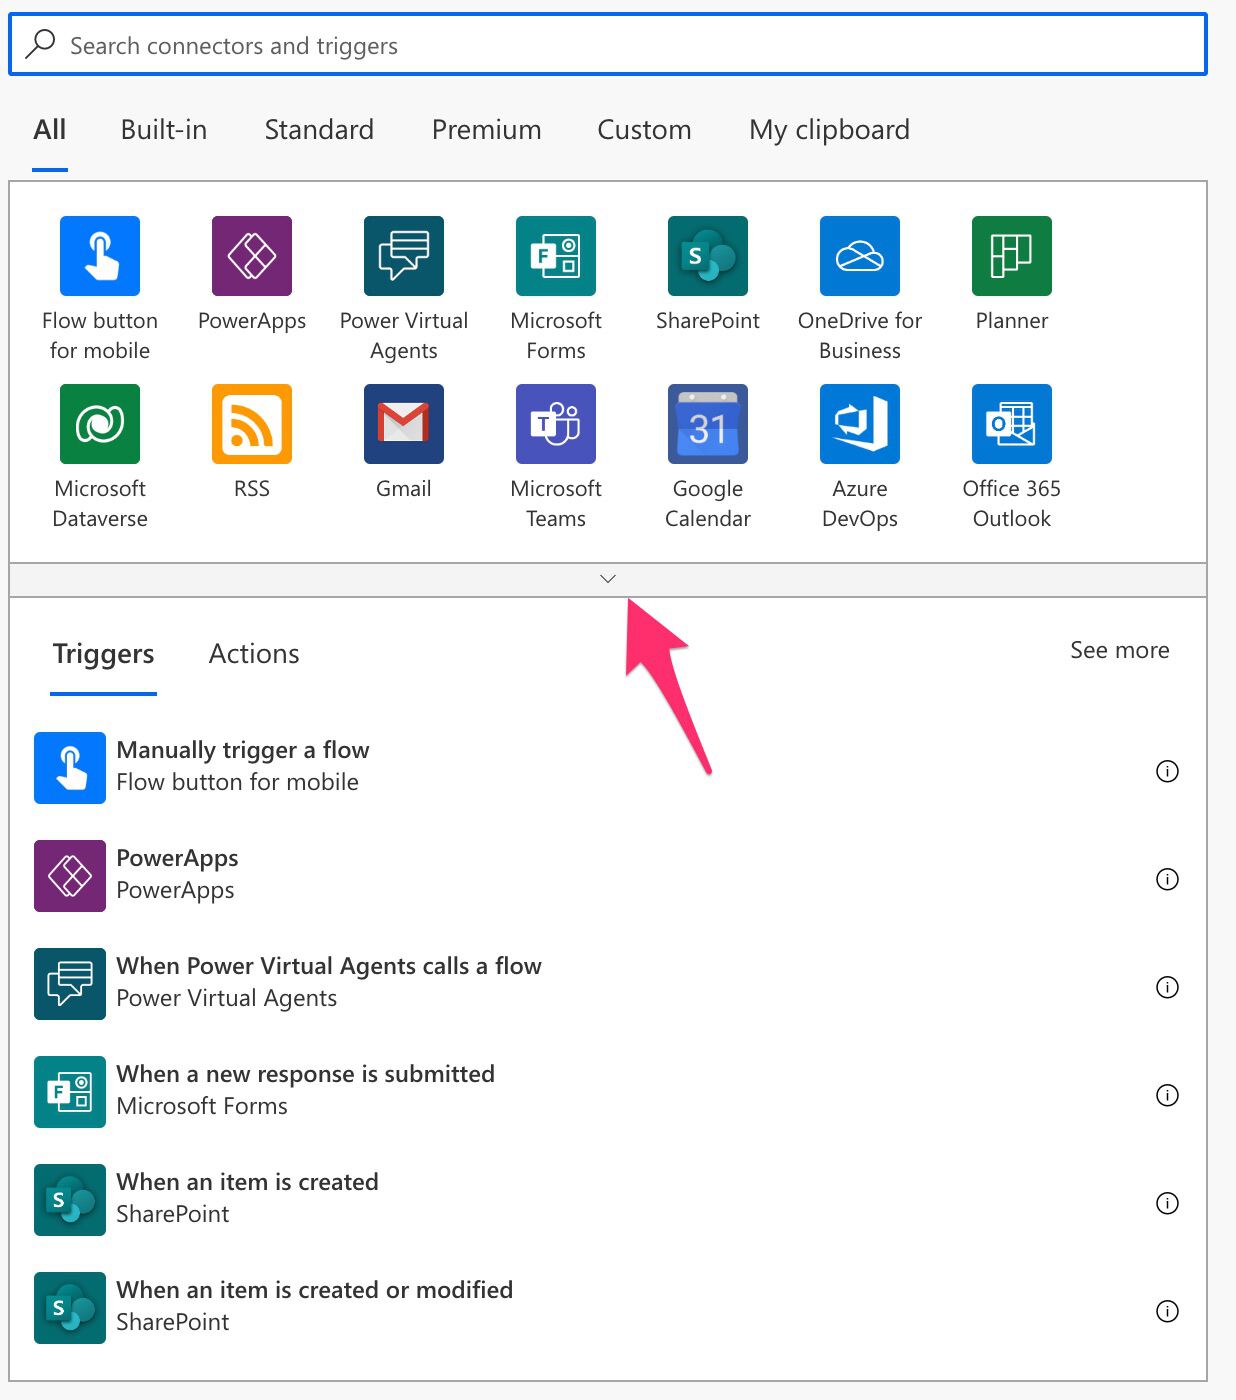
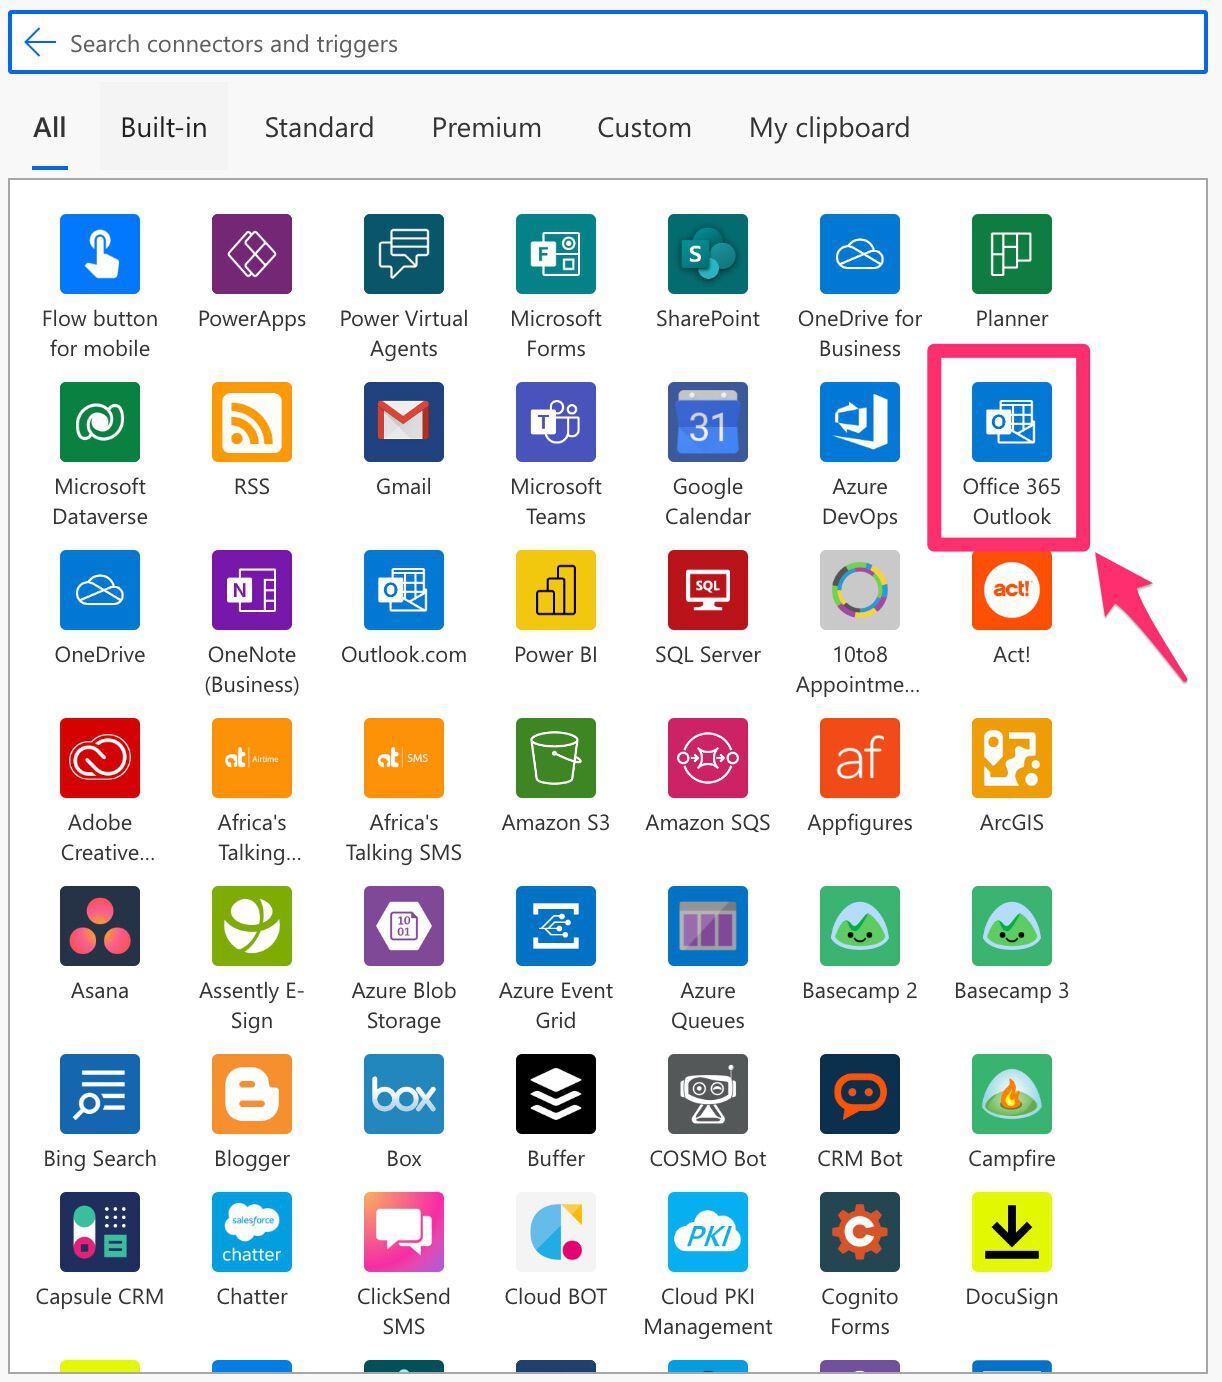
Find “Office 365 Outlook”.
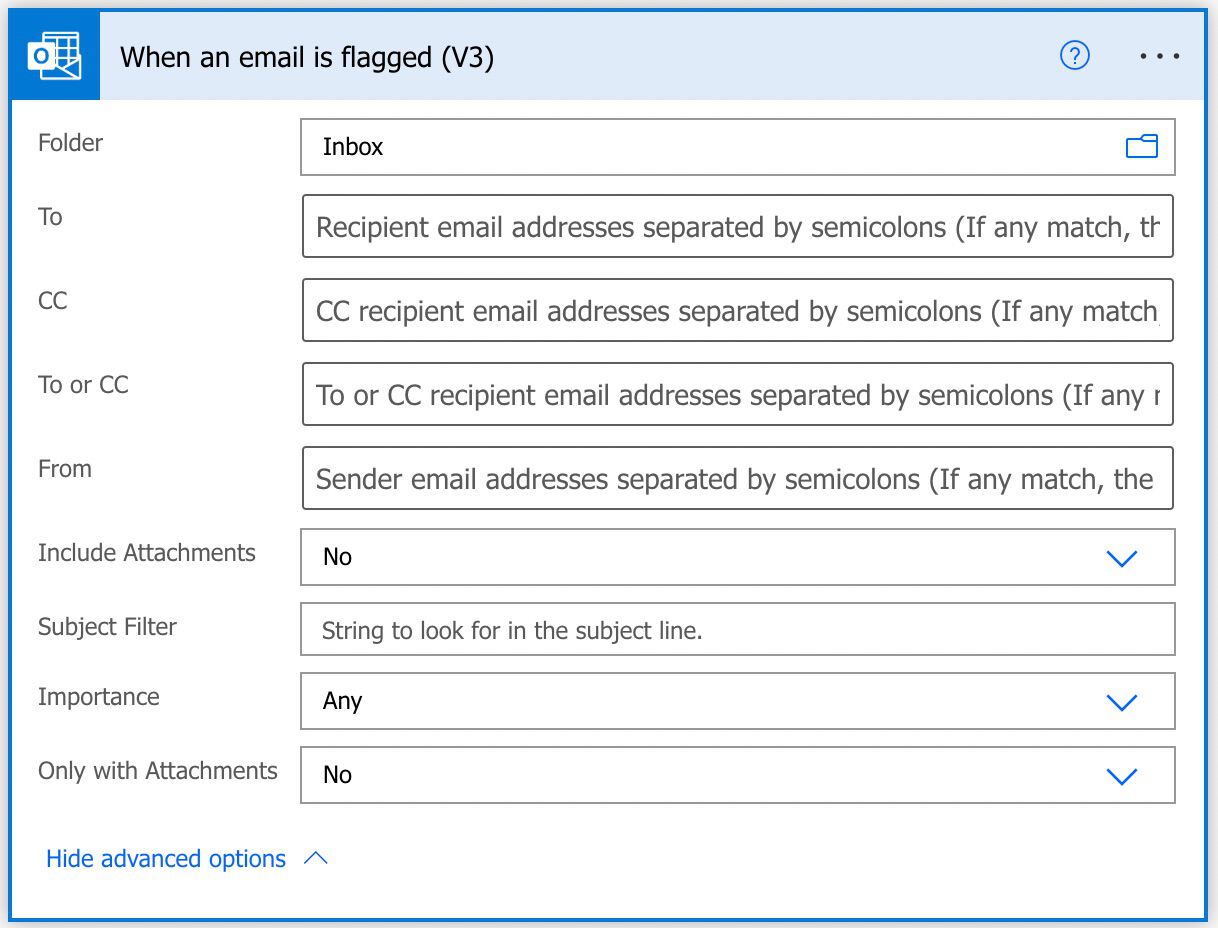
Select the “When an email is flagged” trigger.
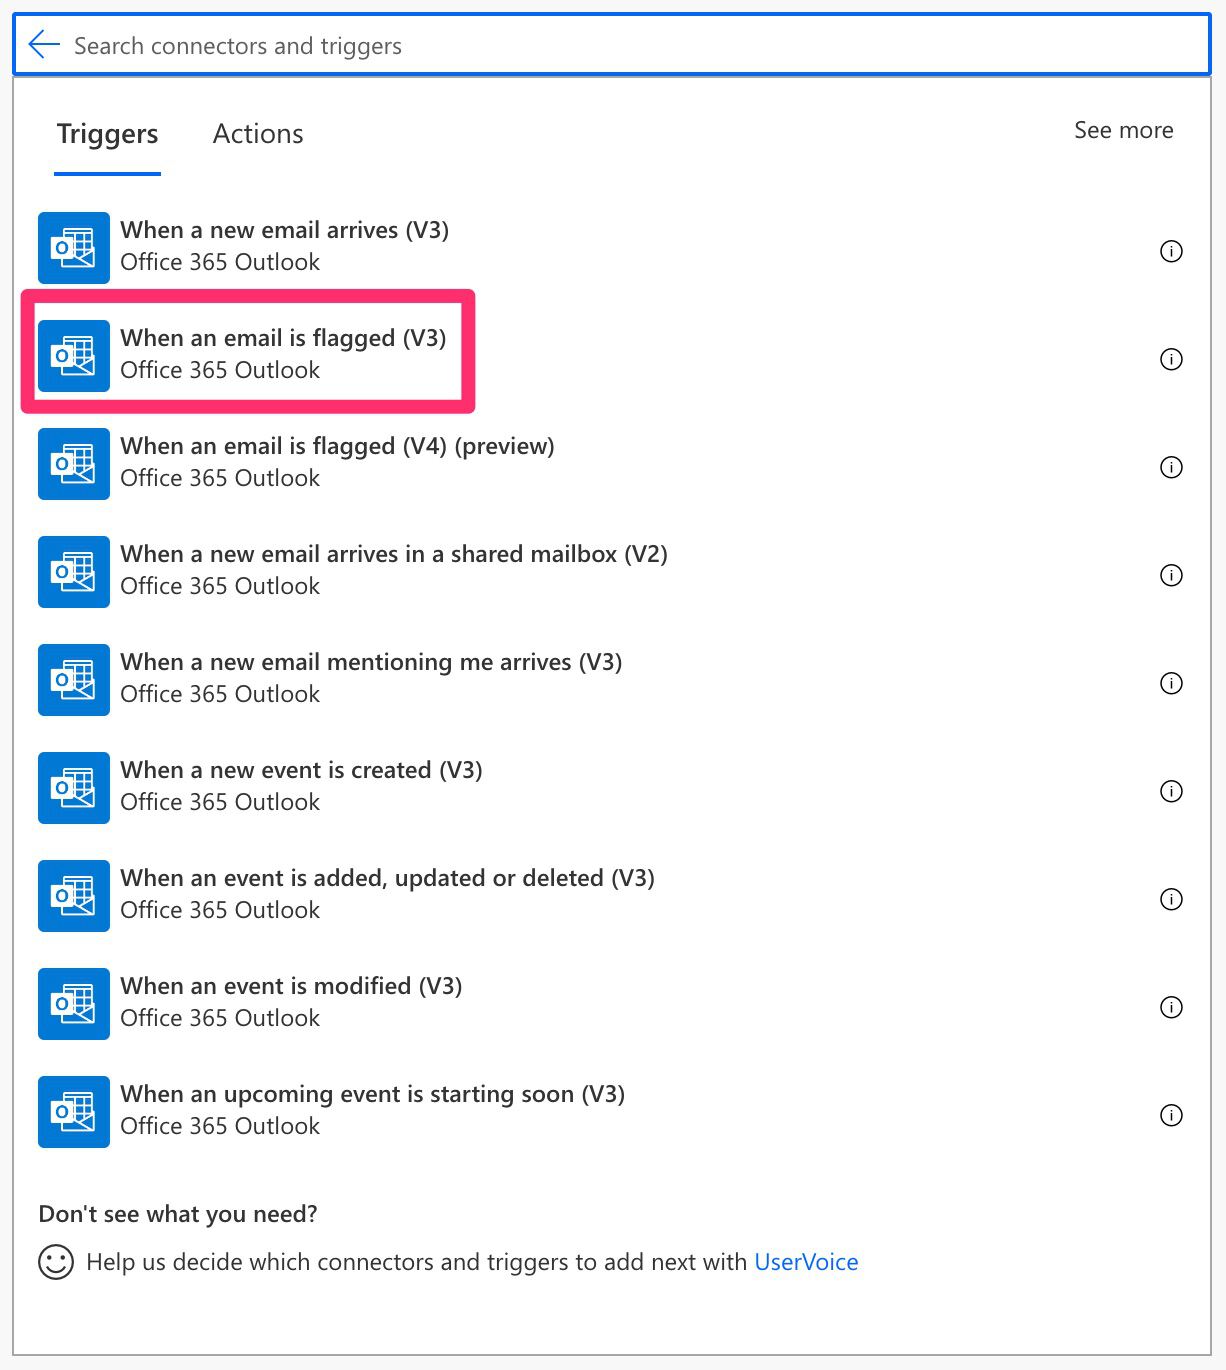
Here’s what it looks like:
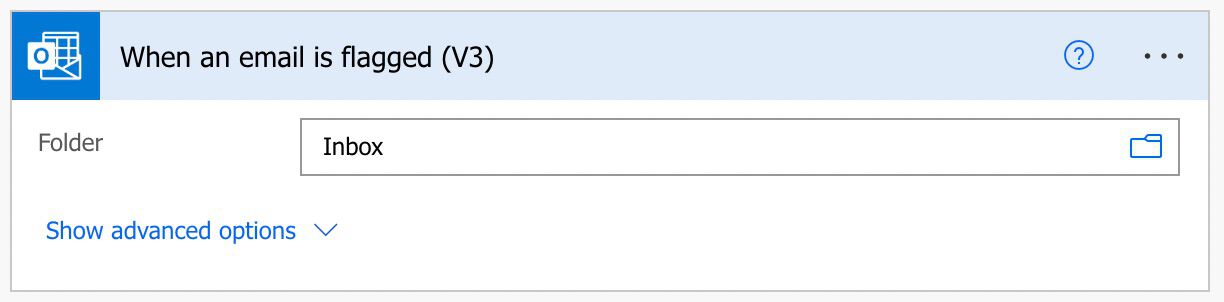
There are additional options to pick from, but we’ll explore them a bit later.
Power Automate tends to save the most common triggers on the main screen, so check there before going through the full hierarchy. Also, you can use the search to find it quickly.
There are two versions of this trigger—one for Office 365 and another for Outlook.com. Please use “Office 365,” although the other one works similarly.
Usage
There are a lot of fields that we can configure. Let’s look at them individually.
Folder
Notice that Power Automate will look at a folder, by default, the inbox, so it’s impossible to search for the whole mailbox. It’s important because you may flag emails in separate folders and think the Flow is broken when it doesn’t trigger.
The folder will be the place where the trigger will look for changes. The word “changes” is essential (see the section below about “Non-intuitive behaviors”) because if the email is already flagged and there’s a change on it, the Flow will trigger again.
“To”, “CC”, “To or CC” or “From”
These fields were a great idea from Microsoft when creating this trigger. Since we receive many emails, it provides us with another layer of filtering to the emails we want to parse. Even if we apply a tag, we can let Flow parse only a subset of them. With these filters, we don’t need to add huge “Condition” or “Switch” actions to filter the emails you want. The trigger does all the work for you.
Please note that the trigger will run only if at least one matches, so this is also good if you have substantial limitations on the number of Flows you can run a day.
To use it, separate the emails with “;”. You can have internal and external emails, but keep this field with only the email. When you copy emails from some email clients, you’ll have the name associated with it, so be sure to remove it.
Finally, I want to highlight the “To or CC” field. If you add an email to the “To” field or the “CC” field, the email must contain both for the Flow to trigger. But if you want either one, you can use the “To or CC” field.
Importance
The “importance” field is often ignored, but some organizations can have strict rules on how to use it. If yours is one of them, you can have a Flow that performs a specific action each time a “High” priority email is flagged, for example. The available possibilities are:
- Any
- High
- Normal
- Low
It’s another excellent way to deal with important emails. For example, add a task to your to-do list not to forget to deal with that email or warn someone from the team.
Only with Attachments
Another useful filter is if the email contains at least one attachment. We do a lot with this, for example, if you have a Flow that automatically archives your attachments. Having your Flow trigger only when a condition is satisfied makes your life easier because you don’t need to validate for each email flagged whether there’s an attachment or not.
Include Attachments
Should the trigger include the attachment information or not? There is, however, something that you should know. Even if you enable this feature, Flow (at the time of writing this article) won’t fetch the attachments correctly. I go into detail in this article, but you need to know that you need to fetch the articles separately using the “Get email” action.
Subject Filter
As with the other fields, we can filter the subject for a specific string, and the Flow will only trigger if that condition is met.
Non-intuitive behaviors
There’s a case that you should be aware of. The “when an email is flagged” trigger will trigger when the email is changed in any way if the email is already flagged. For example, let’s say that you flag an email (Flow triggers) and then apply a category (Flow triggers) again. You will have two triggers for the same email when you expect only one. Please consider this when dealing with this trigger because it can lead to unforeseen issues.
Limitations
Microsoft indicates that the trigger should fire immediately, but there are rare cases where it may take up to 1h for it to trigger. I haven’t experienced this, but I have this in mind if your Flows take time to trigger.
Also, this trigger will only work on your mailbox, and there isn’t another trigger for shared mailboxes.
Recommendations
Here are some things to keep in mind.
Use the filters wisely
Using the filter fields is a fantastic way only to have your Flow trigger when the condition is met. But it’s essential to know that only if all filters are met will the flow trigger. For example, a trigger from someone and are marked as high importance. If someone sends you an email of high importance and you add a tag, this trigger won’t fire. Test your triggers and ensure they are firing when you want them. Any email that should be parsed but doesn’t fit the filters will be ignored, so it’s a hidden error since there are no error messages or warnings.
Name it correctly
The name is super important in this case since we can get the trigger from anywhere and with anything. Always build the name so that other people can understand what you are using without the need to open the action and check the details.
Always add a comment
Adding a comment will also help avoid mistakes. Indicate what you’re expecting, why the Flow should be triggered, and what the data will be used. This is especially important if advanced options are enabled and filtered by any fields. Indicate why you’re filtering and what happens to the other emails that don’t fit the criteria. It’s essential to enable faster debugging when something goes wrong.
An automated trigger is better than a scheduled one
Sometimes people are tempted to use scheduled triggers that pool the resources once in a while. This way, they can control when the information is fetched and save much Power Automate “triggers” if their quota is low. However, even if it isn’t, it may be more efficient to do batch tasks than once by one. I understand, and in some cases, I can agree, but it brings a lot of difficulties in the process. For example, you may need to keep track of what changed from the last run until this one so that some things may get lost. Also, you’re forcing something to happen periodically, even if there’s no data.
I always recommend using these “automatic” triggers instead, where they trigger one by one, but only when there’s data, so you’re always sure you get something to do. Also, debugging triggers that parse a single data point instead of multiple simultaneously is much easier. If something fails on one, then you can fix the Flow and repeat the process. But while parsing multiple ones, things can get a lot harder.
Back to the Power Automate Trigger Reference.
Photo by أخٌفيالله on Unsplash