
One of the best things about the Power Platform is that the tools can be easily connected, so you can easly send parameters from one to another. This way, you can take advantage of the strengths of each device while keeping things segmented. For example, let’s say that you have a Power App that manages expense reporting. You can have a Power App where you can submit the information and upload the document but then have a Power Automate Flow that can trigger the approval process.
You can even have your Power App, which is your control center, meaning that you can have a lot of buttons that trigger your Flows when you need them. Using the same example above, you can have a button that triggers a recurrent expense and another that calls the holiday submission process—one place for all your Flows.
The Flow
To be able to provide information, you need to use the “PowerApps trigger” in Power Automate. There are two versions of the trigger. The first doesn’t have input parameters, and it works as described in the reference. In this article, we’ll use the V2 of the trigger since it clarifies things, as you’ll see.
Let’s start by adding the trigger. To do that, select “PowerApps”.
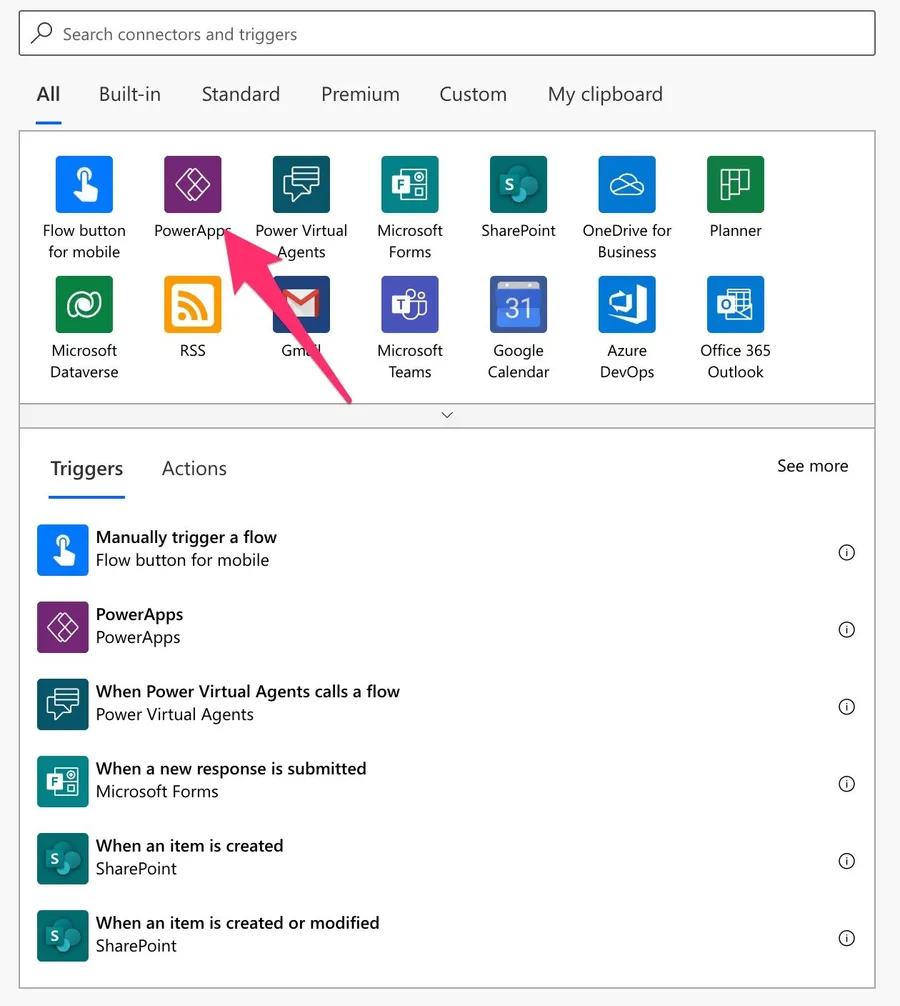
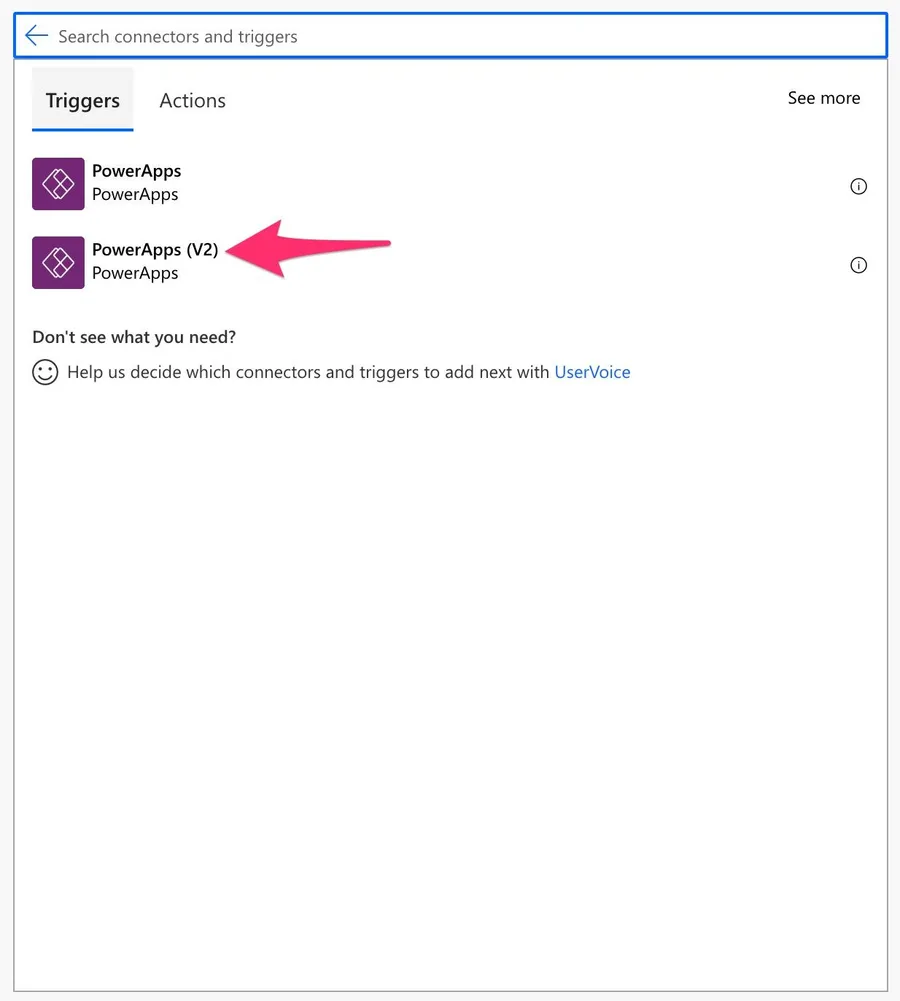
Notice that Power Automate automatically suggests the Power Apps trigger at the bottom but don’t pick it. That’s version 1 of the connector. If you see something like this, please delete it and select the "PowerApps (V2)" trigger.
Here’s how to pick it.
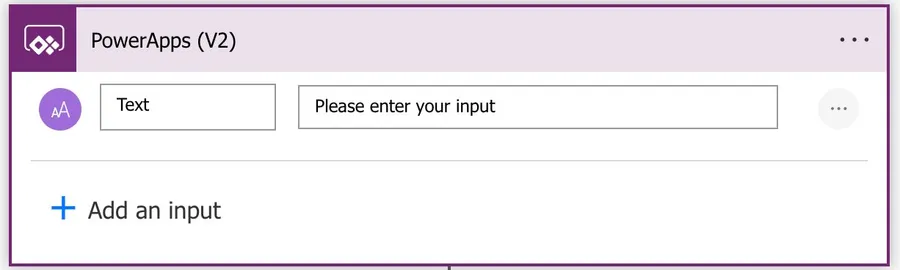
Here’s what it looks like:
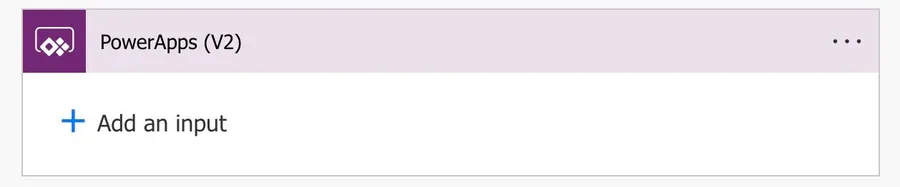
It looks similar to the “Manually Trigger a Flow Trigger,” where you can pick the type of data you want to provide. It behaves pretty much the same way as well. Let’s add a new text field where we can provide a parameter. Click “+ Add an input”.

Then pick the name of the input. I’m not inventive, so I’ll call it “Text”.
Let’s add a “Compose action” to find the provided data. As you can see, the input is selectable, and the name is the same as the input. It’s much better than V1 because it makes the parameters more straightforward.

Our work is done for our test, so let’s go to the Power Apps side and check how to find this Flow.
The Power App
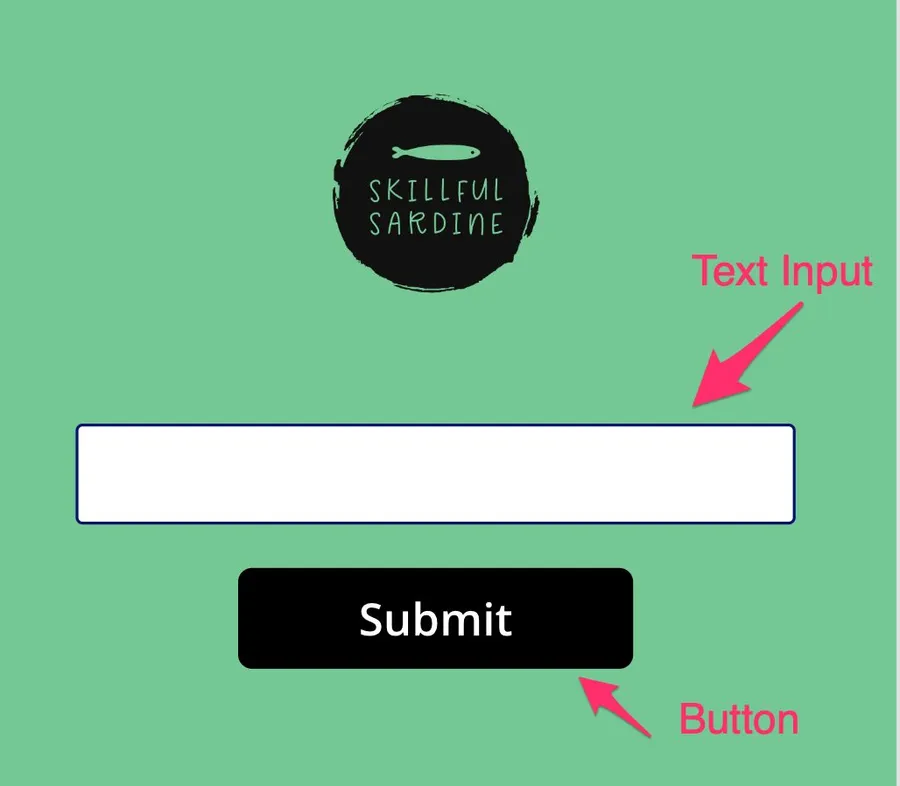
Let’s look at the Power Apps side now. To test, let’s create a simple app with a text input and a button like this:
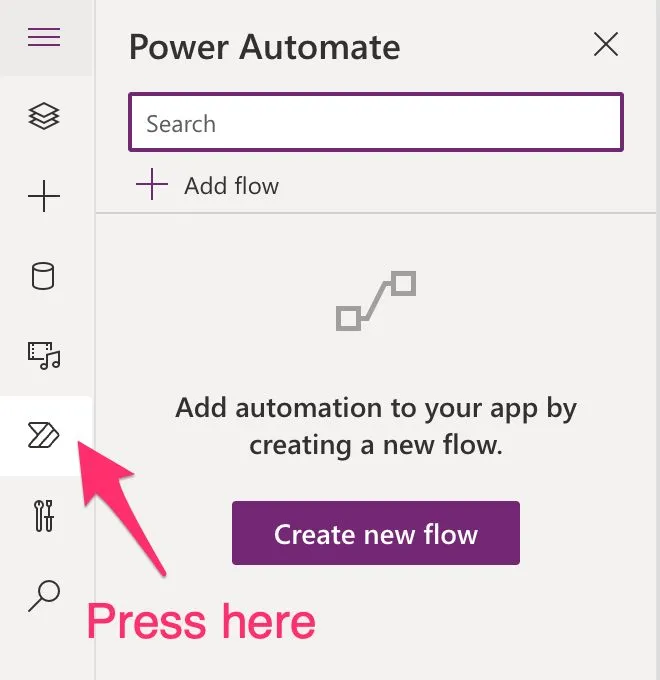
Now the button must react and send the information back to Power Automate. To do that, we need first to add automation to our app. It’s pretty simple since we have a dedicated button to do that. You can find it in the sidebar on your left.
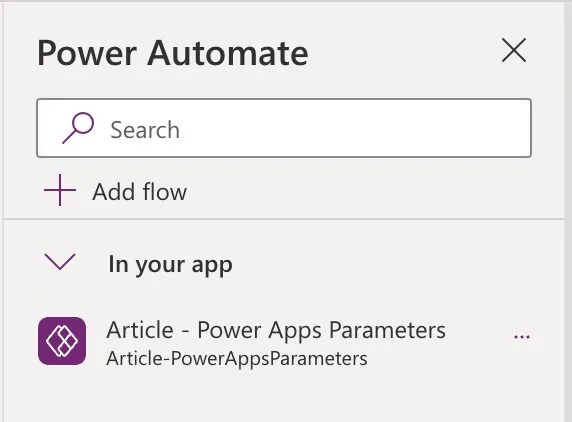
If you didn’t do the previous setup on the Power Automate side, you could press the “Create new flow,” which will create a new Flow for you. Since we’ve created it, let’s push “Add Flow”. You’ll see a popup like this:
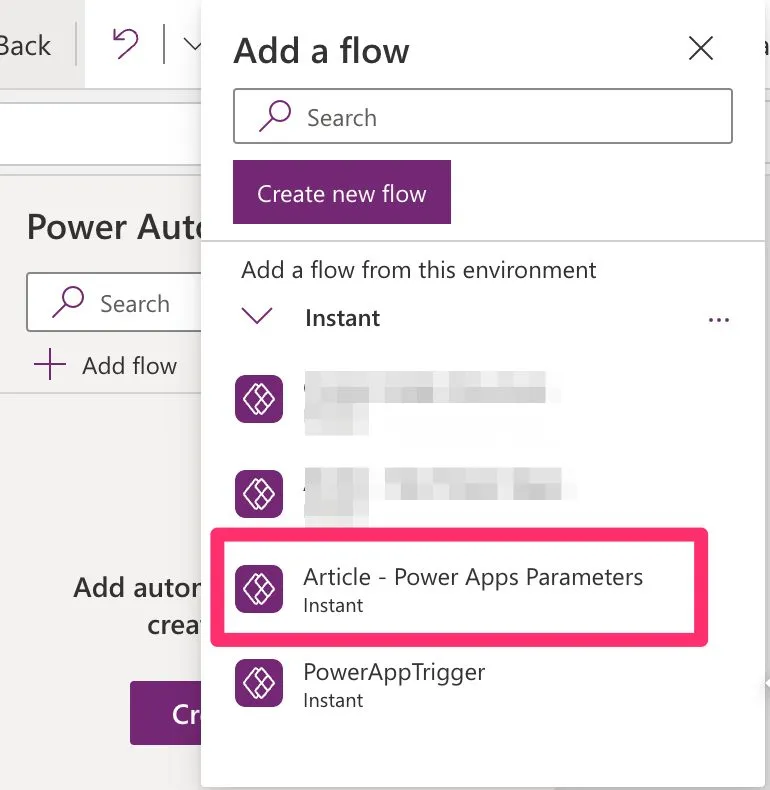
Select the Flow. In our case, we named it “Article - Power Apps Parameters,” so that’s the one we’ll add. If all goes well, you’ll see it below.
Now let’s trigger the Flow. To do that, we’ll use our button. First, click the button, then go to the left side tab, select “Advanced” and then “OnSelect”.

The default value is “false” which doesn’t help us a lot, but since we imported the Flow before, we have it available now to run. To do that, remove the “false” and start typing the name of the Flow. In my case, it’s called “Article - Power Apps Parameters”, so if I start typing, here’s what I get.

Notice that we selected the “.Run” version at the end. We will use that to pass the parameters to Power Automate. To do that, let’s add to the TextField, but you don’t have to type the whole name. Take advantage of the autocomplete feature and the “tab” key to fill it in like this:

If you don’t know the name, look at the “Tree View” on the right sidebar and see it there.
Let’s run and push the button.

If all goes well, you should see the following on Power Automate’s side:

Let’s check the Flow and see the value.
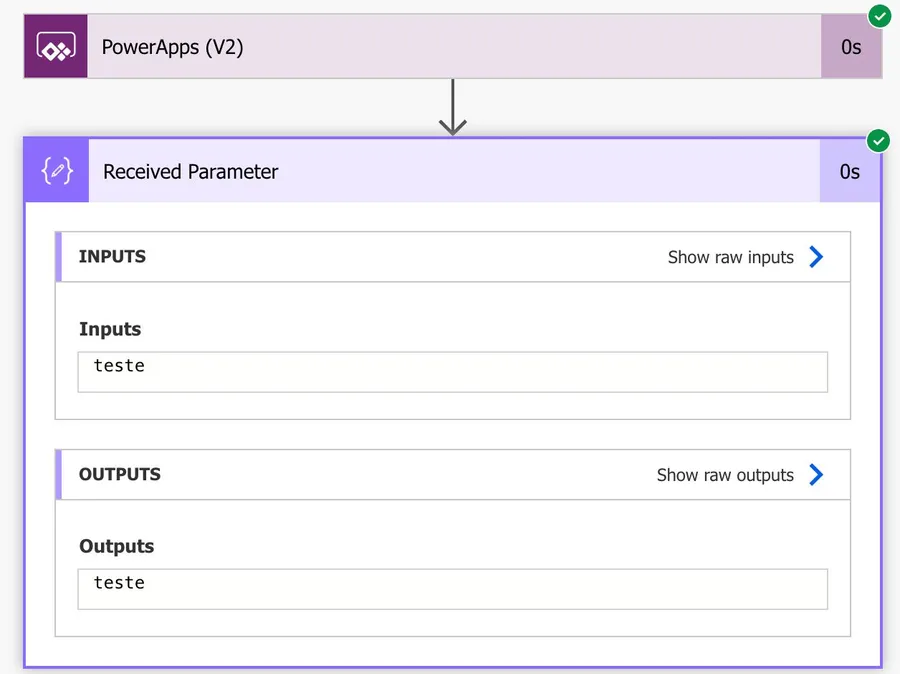
That’s it. Now we have a value in Power Automate that we can parse however we want.
Final thoughts
As always, I wanted to go through all the steps so that the article may look a bit big, but once you know how to do it, it’s pretty easy.
Photo by Elaine Casap on Unsplash


how to add multiple input ? This statement doesn't seem to work, I have 3 inputs added inside the automate powerapps Set(varResponseC,ParseJSON(GetContact.Run(InputCompany.Text, InputName.Text , InputEmail.Text ).contactlist));
i see in powerapps trigger (not v2) the input property is set to a name that matches the input so you can see that in apps when executing a flow in powerapps v2, it assigns text_1 text_2 etc for text inputs, i see this in the schema but i see no way to change this property so it shows in the app as x.run(text_1, text_2) and not the title etc
How can we add more than 19 parameters in the V2 Trigger?
I love how you encourage exploration of diverse ideas,