
Earlier in the life of this site, I wrote the reference to the “PowerApps” trigger and its capabilities. It served us well, but now we have a new version called the "PowerApps (V2)" trigger. Its objective is the same, but the new features help us achieve a lot more and simplify our life in new ways.
Today we’ll explore the main differences and how to use them properly.
Where to find it?
To find it, you can search for the "PowerApps (V2)" trigger or go to “PowerApps.”
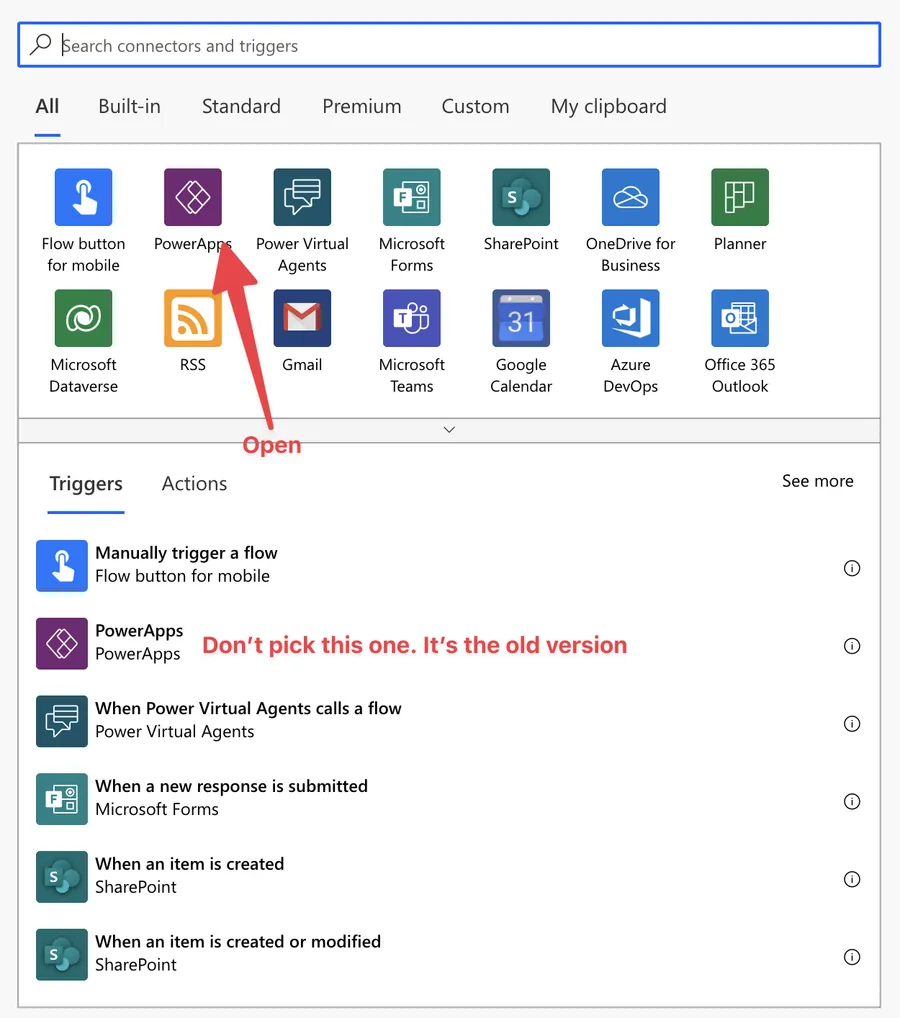
Please don’t select the one in the list because it’s the old version of the trigger. However, if you still want to use it, here’s the “PowerApps” trigger reference article on how to use it properly and all the limitations and things you should know.
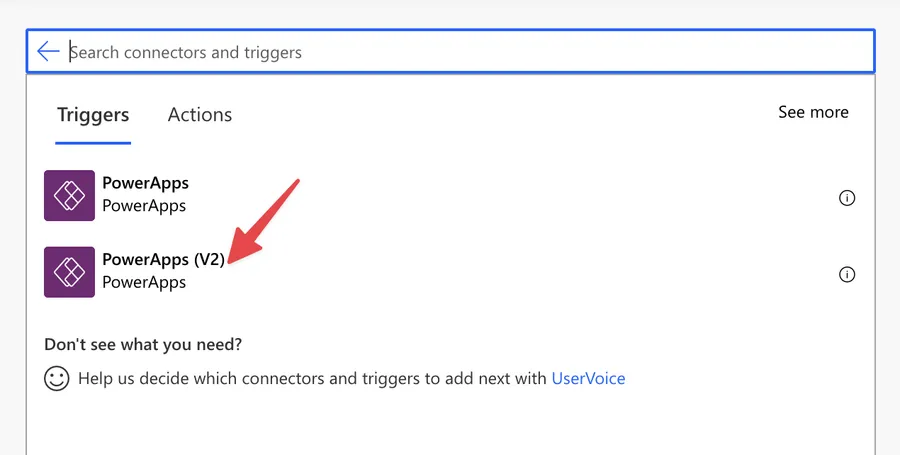
Pick “PowerApps (V2)” trigger.
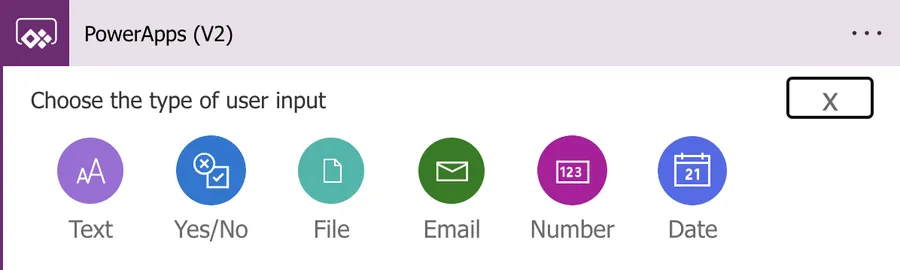
Here’s what it looks like.

It looks pretty familiar, right? It works the same way as the “Manually Trigger a Flow” Trigger, where you can pick the types of values that you want to include. Here’s a preview.
Let’s see how to use it.
Usage
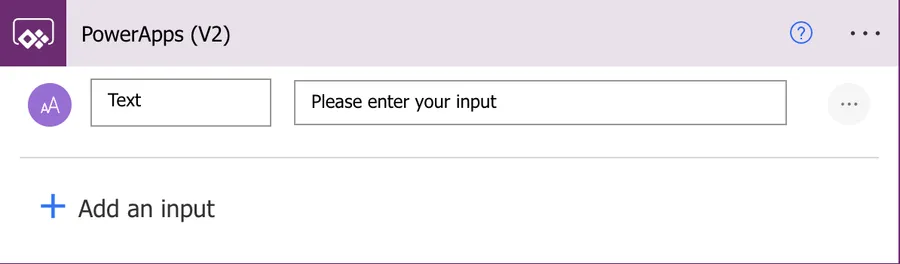
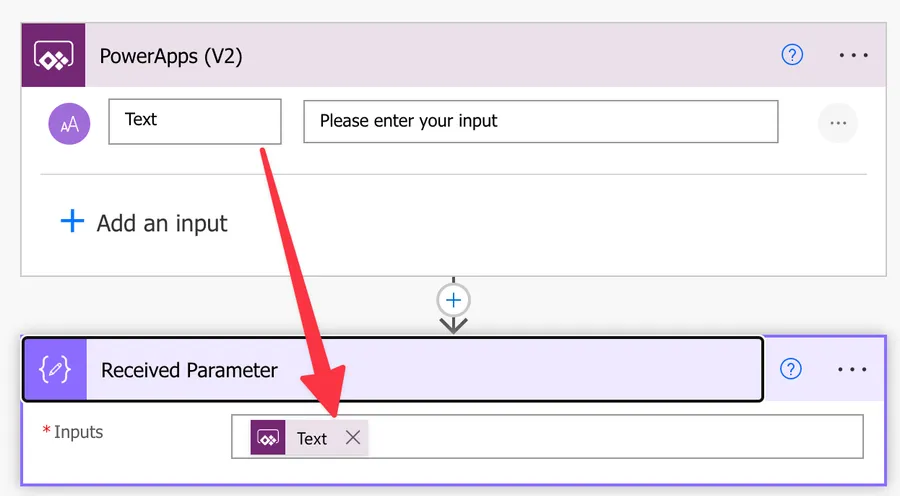
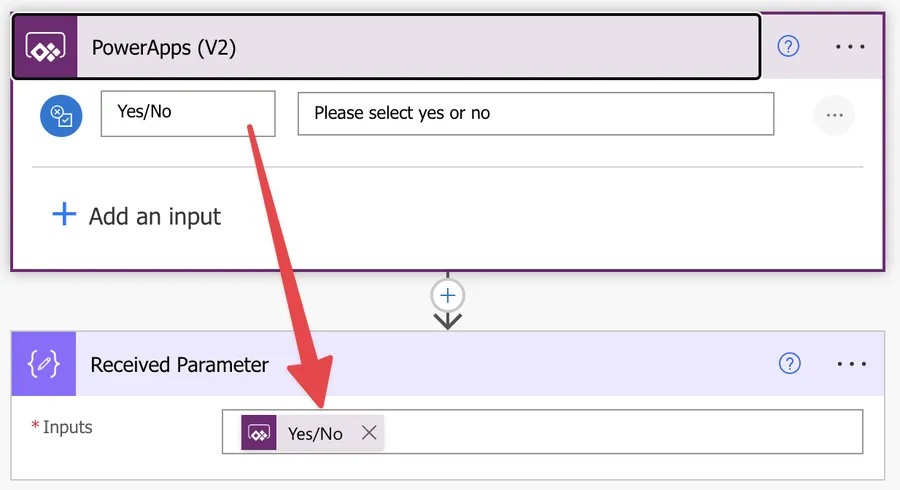
As we mentioned before, we use it the same way as the “Manually Trigger a Flow” Trigger, where we select the type of value that we want to be provided, like this:
I have an entire article on how to do it on the Power Apps side, detailing how to call the Flow and some tips and tricks. I won’t replicate the information, but if you need help, please check it here.
Here’s the test Flow. We’ll use the “Compose” action to see the value we got from Power Apps.
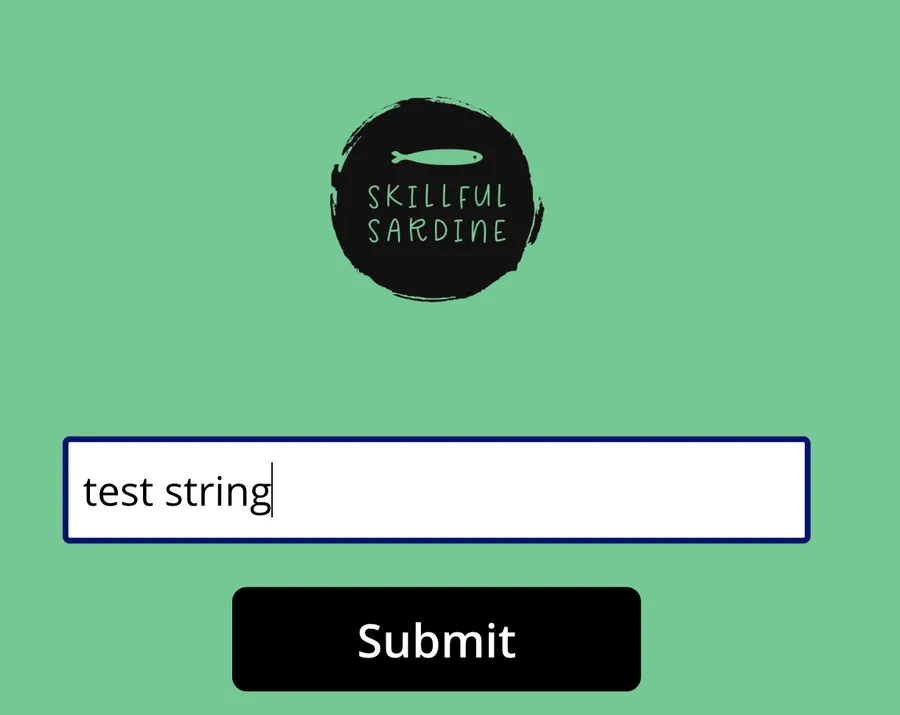
Here’s the Power App. Nothing fancy.
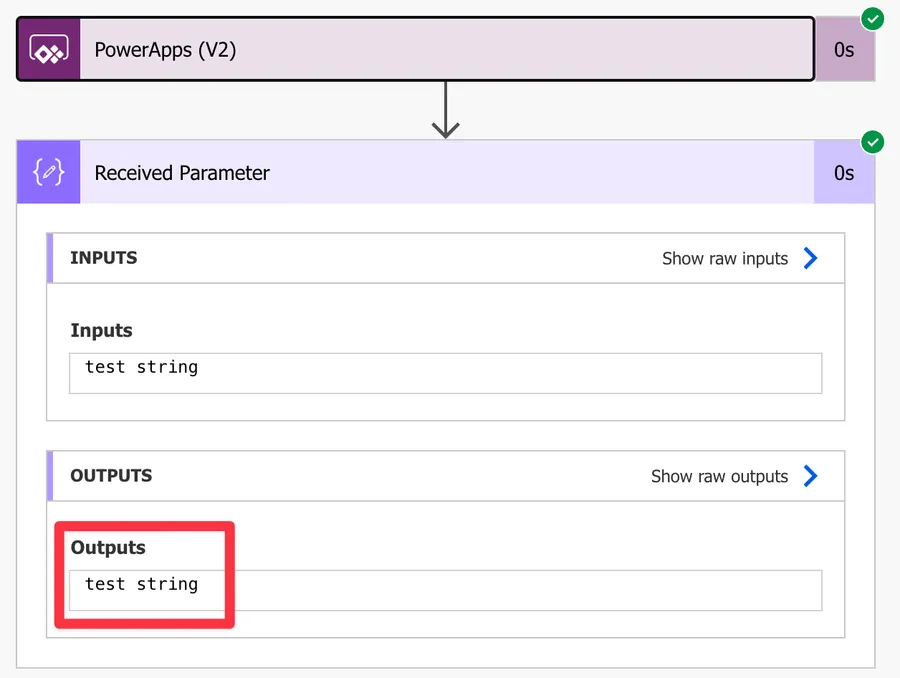
When we run it, we get the following.
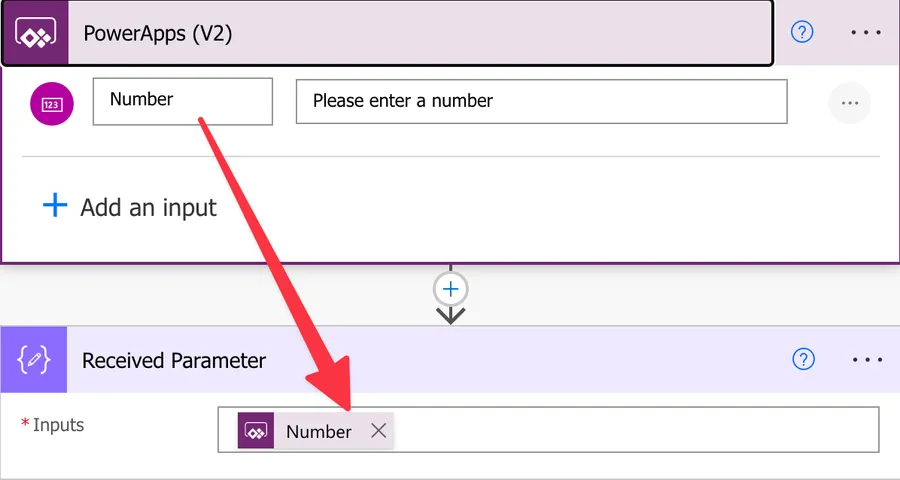
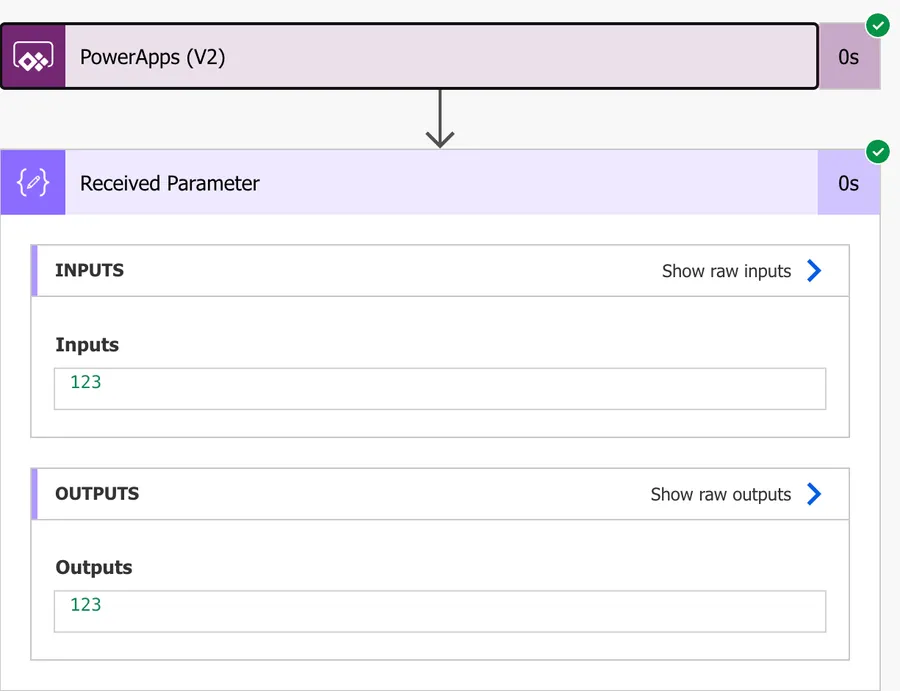
Now let’s change it to a number and see what we get. Here’s the test Flow.
Same as before, and when we run, we’ll get the following:
But what happens when we try to insert something that is not a valid number, like a string, for example?
Notice that we’re getting an error on our Power App. If we force the run, we also get an error.

This is great and a massive improvement from the previous version of this trigger because it allows us to pre-validate the fields and ensure that the values that go to Power Automate are always with the correct type, saving us time with validating the data before we can use it. Also, since the data is already converted, we don’t need to worry about that, saving us some headaches (with exceptions, as we’ll explore) and issues in data conversion.
Let’s try a tricky one. Dates. Let’s build as before a test Flow.

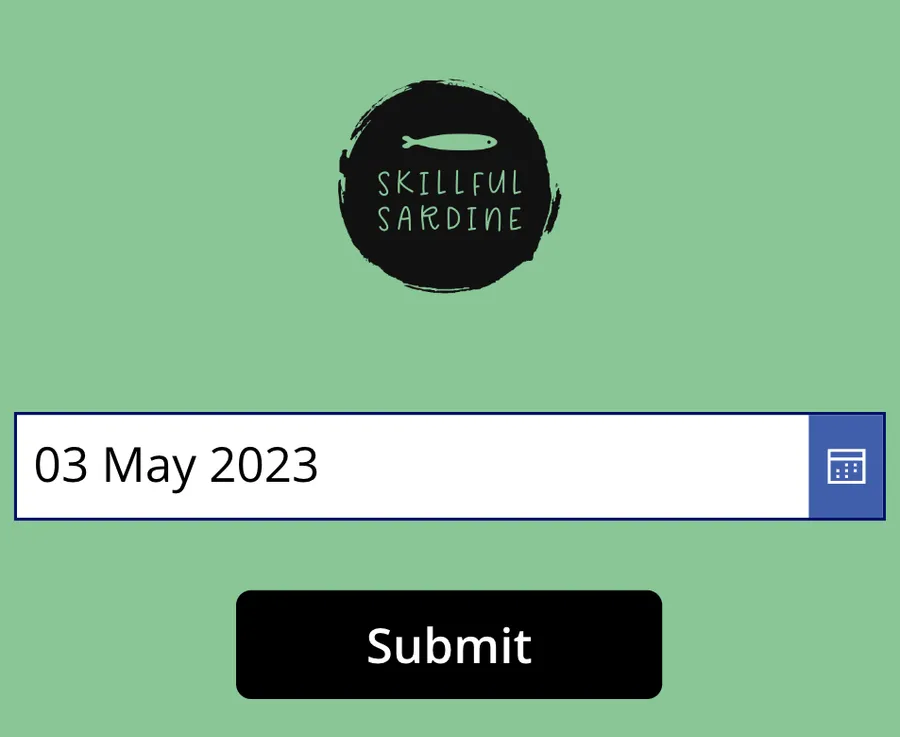
Now let’s create a Power App where we can pick the date.
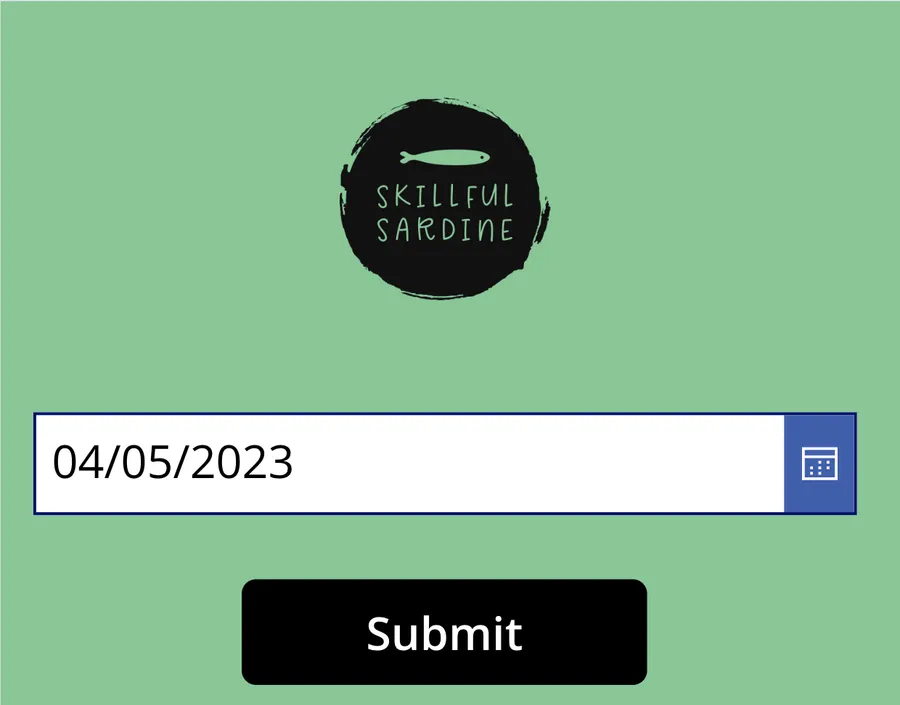
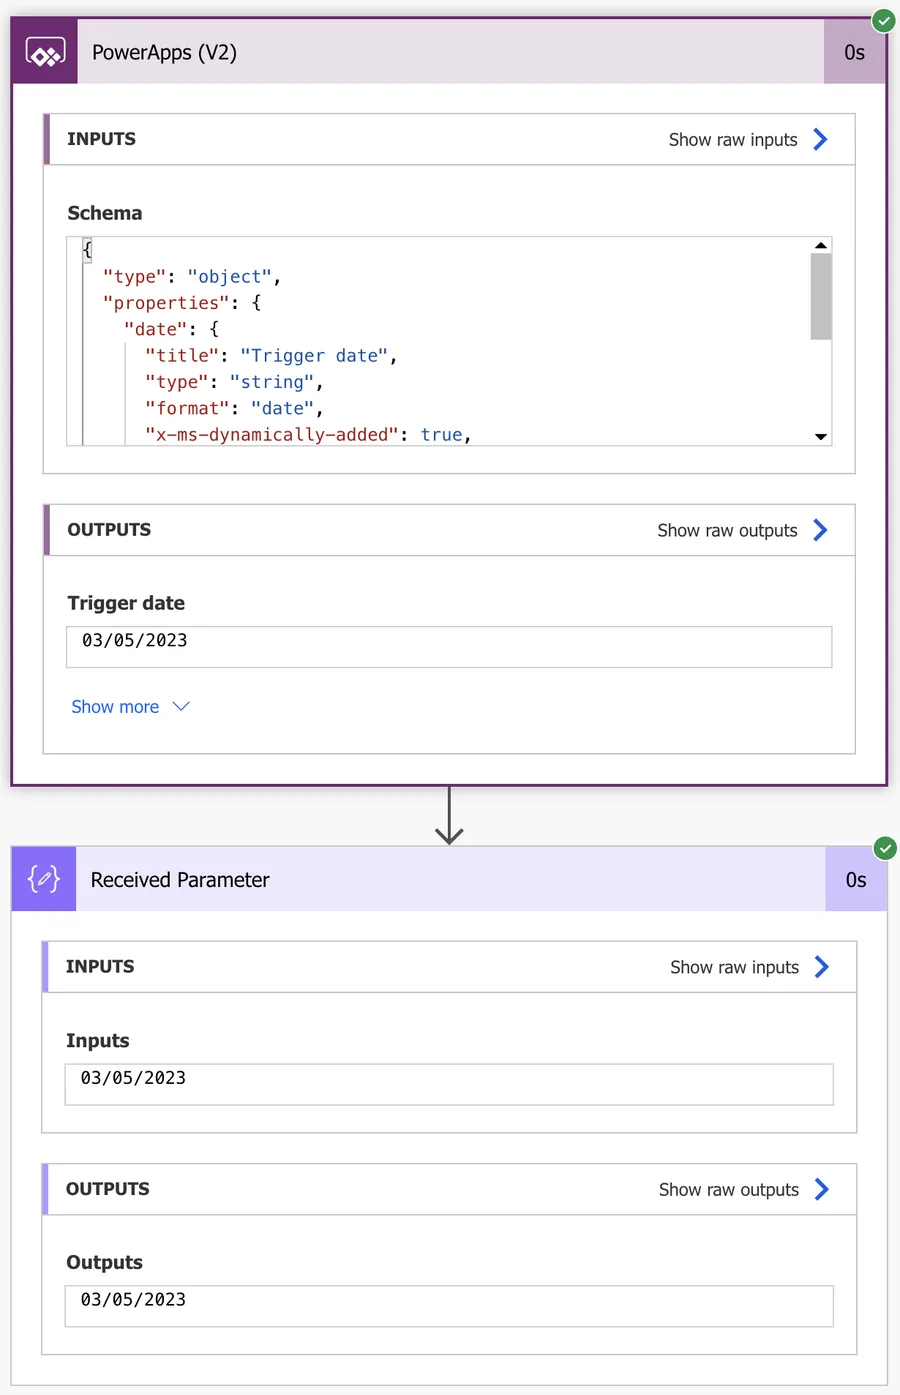
Here’s the result when we run
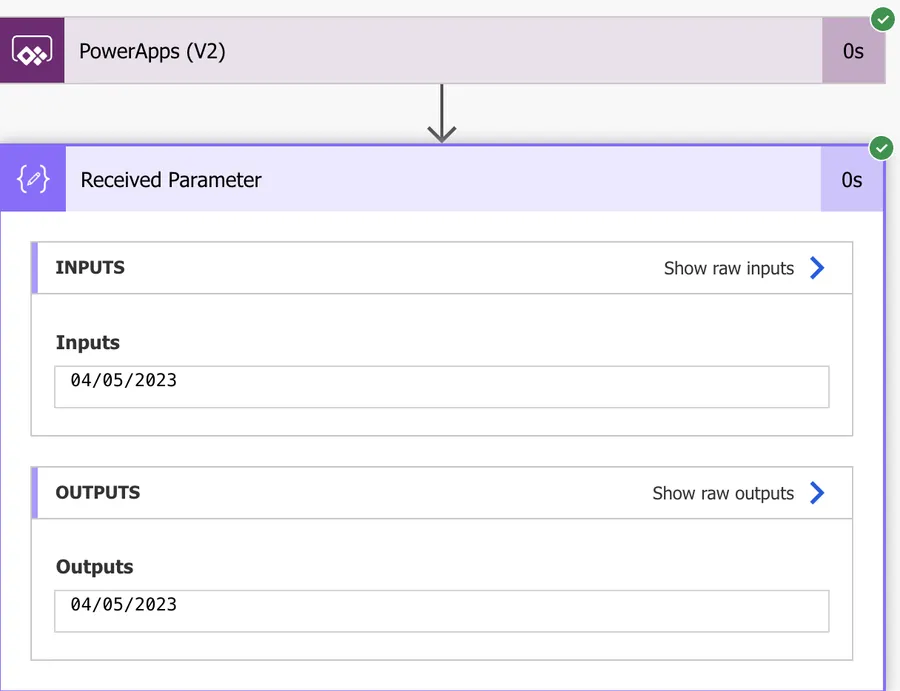
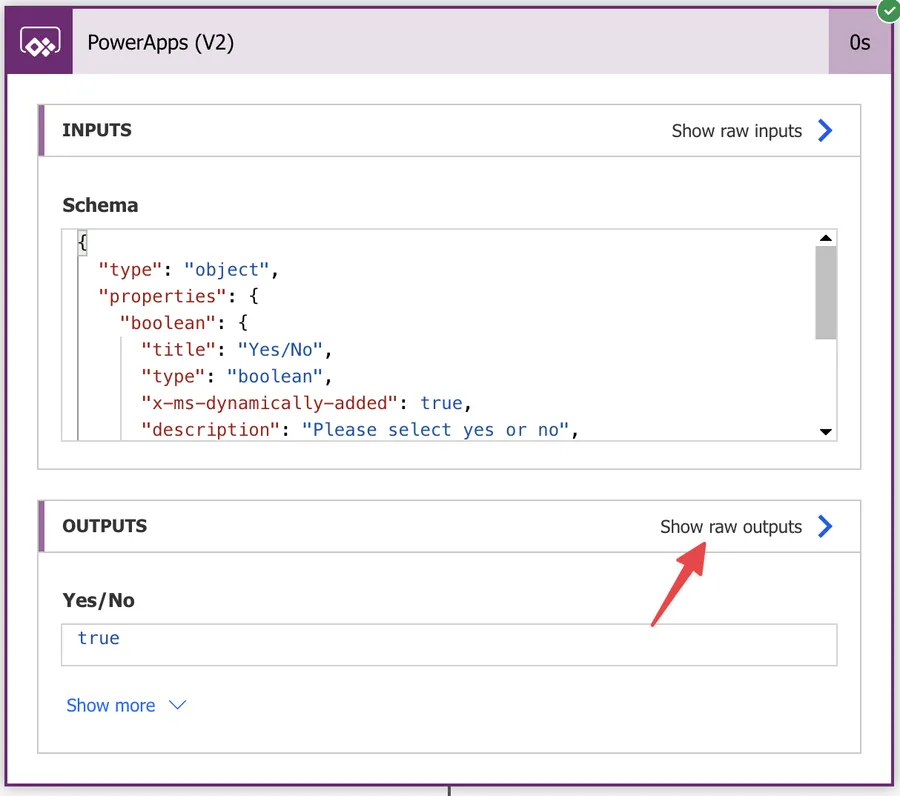
Looks good, but let’s see the “real” value provided. To do that, please press “Show raw outputs” in the "PowerApps (V2)" trigger, like this.
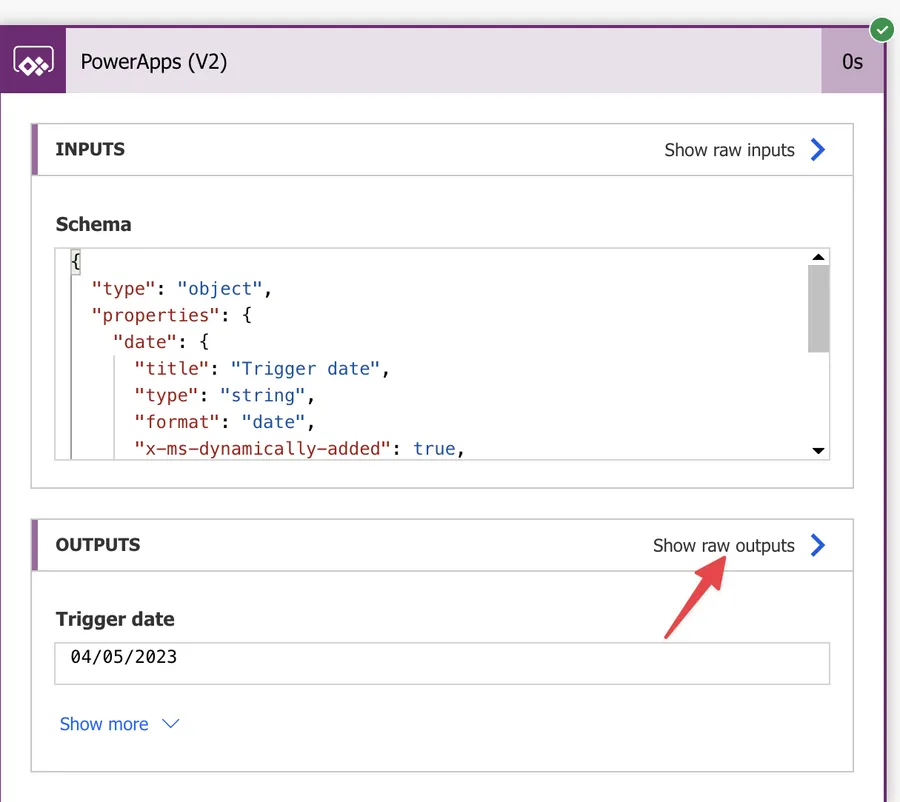
As expected, you’ll notice that the “body” has a date field, but the field is a string.
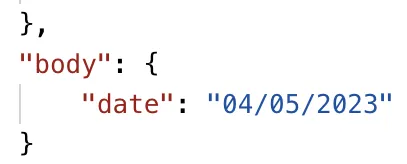
Being a date doesn’t help us a lot since, for example, the date above can be interpreted as the “May 4th” (Star Wars fans out there?) or the “April 5th.” We’ll see examples of this below.
You can even be more specific on the Power Apps site by using the “LongDate” format in the “Date Picker” like this:
When we run it, we get the same format.
This is a problem, and you should be careful, but you can see below in the “Non-intuitive” section how to solve this.
Finally, let’s look at another example. Booleans. Let’s create a sample Power App to send a value like this:

Now the Flow.
When we run it, we get the following:

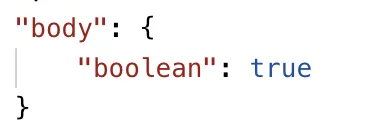
Looks good, but let’s double-check if the value that Power Apps returns us is correct. To do that, let’s press “Show raw outputs” in our "PowerApps (V2)" trigger, like this:
The body value is a boolean, so no conversion is needed.
Non-intuitive behaviors in "PowerApps (V2)" trigger
Here are some of the non-intuitive things to keep in mind.
Dates returned.
Let’s look at the date described above.
We will get the following:
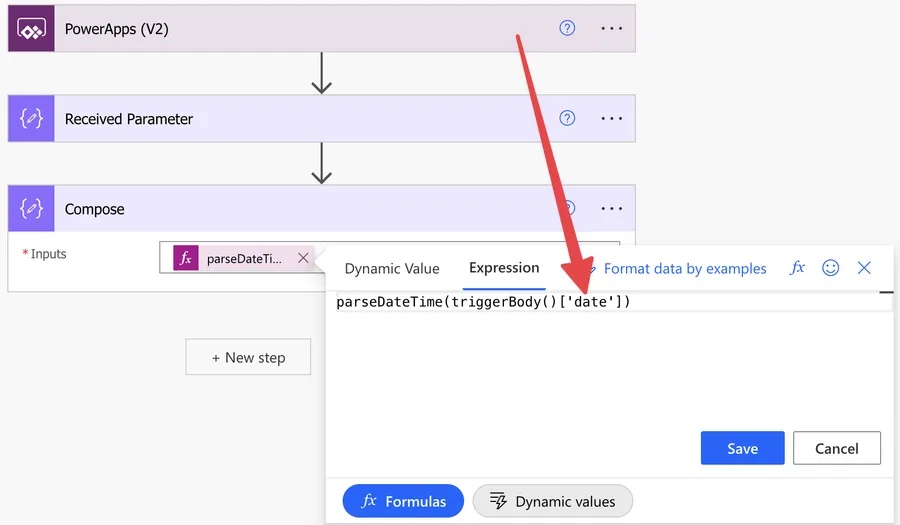
If we try to convert the date with a “parseDateTime function,” for example.
We’ll get the following:

Notice that the date is not correct, even if we specify in Power Apps that we want to deal with UTC dates. The UTC date in Power Apps only means that timezone, not the format, meaning we’ll always get the date formatted like this. To solve this problem, we need to provide the locale and the format to the convert function like this:
parseDateTime(triggerBody()['date'],'en-US','dd/MM/yyyy')
Now we’ll get the correct date:

Please be careful because it’s quite easy to get dates wrong. Double-check all fields with dates, if the time is included and is important, and if the time zones are correct. This can generate different results; you may save incorrect dates in your database.
Limitations
Microsoft published a few limitations in their reference for the "PowerApps (V2)" trigger. They are not a big deal, and for 90% of the users, they won’t be a problem, but take a look in case of issues.
Also, some users are reporting a limitation on the number of parameters you can provide in the "PowerApps (V2)" trigger. There’s no indication on Microsoft’s official documentation, so this can be a temporary bug in the implementation that will be solved. I recommend keeping the number of parameters low so that the Flow is manageable. However, if you require many parameters, try to understand if you can break things down into more manageable pieces. Sometimes is impossible, so if you’re facing an issue like this, please let me know in the comments, and we’ll work together on a good solution to share here for everyone to benefit.
Recommendations
Here are some things to keep in mind.
Always add a comment.
Adding a comment will also help avoid mistakes. Indicate what you’re expecting, why the Flow should be triggered, and what the data will be used. It’s essential to add comments when limiting the trigger with some custom rulessince these are not prominent in the UI, and people may get confused as to why the Flow doesn’t trigger when it’s simply a rule preventing it from doing so. It’s essential to enable faster debugging when something goes wrong.
Finally, let people know why you’re choosing the parameters you configured. For example, why do you select that folder if you have a folder defined? It may make sense now, but not in a few months.
An automated trigger is better than a scheduled one.
Sometimes people are tempted to use scheduled triggers that pool the resources occasionally. This way, they can control when the information is fetched and save many Power Automate "triggers" if their quota is low. However, even if it isn't, it may be more efficient to do batch tasks than once by one. I understand, and in some cases, I can agree, but it brings a lot of difficulties in the process. For example, you may need to keep track of what changed from the last run until this one so that some things may get lost. Also, you're forcing something to happen periodically, even without data.
I recommend using these "automatic" triggers instead, where they trigger individually, but only when there's data, so you're always sure you get something to do. Also, debugging triggers that parse a single data point instead of multiple simultaneously is much easier. If something fails on one, then you can fix the Flow and repeat the process. But while parsing multiple ones, things can get a lot harder.
Back to the Power Automate Trigger Reference.
Photo by JOHN TOWNER on Unsplash


Hi, I am new to Power Automate. I am trying to dynamically create folders and upload a file into that folder from PowerApps? (I am trying to upload a file to a SharePoint document library from PowerApps. The folder name is based on the user name and sub folder is based on the project name.) I know it can be done using V1 but unable to do it using V2?
Is it possible to adapt the Schema of the trigger manually? I need to pass a variable from PowerApps AND get manual user input. Having the two seems impossible to accomplish. Microsoft has some documentation about a "Display message" action (https://learn.microsoft.com/en-us/power-automate/desktop-flows/actions-reference/display), but that's only available in Desktop flows.
So, how do you use the file option? That's the only example that you have not shown
GOOD POINT!