As you may know, some posts that I publish here come from the Power Automate Community, where I try to be as active as possible and where you should also go to contribute if you can. I can’t stress how awesome this community is. One answer that got me thinking was how to insert, using Power Automate, more than 255 characters in a Microsoft Planner, since the “Create a Task” is limited to 255 characters. It got me thinking about the actions because there must be a way to insert information bigger than this.
You can find a quick solution in the community, but I want to provide more details to understand the issue and the answer exhaustively.
The issue
When you insert a new Task, you use the following action:
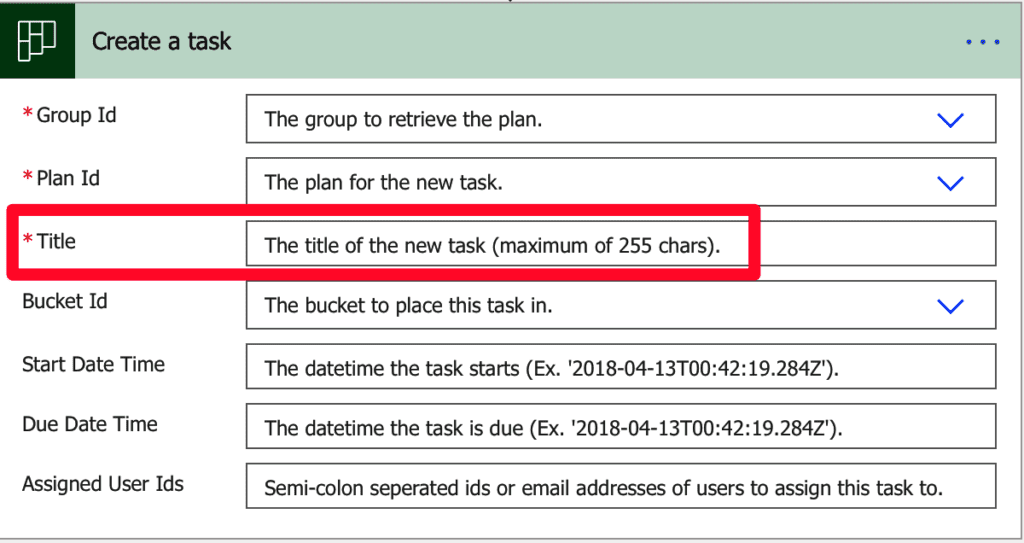
The title is quite explicit. Only 255 characters. But what if we have more information to store? If we look at the anatomy of a Task in Microsoft Planner, we can see more fields:
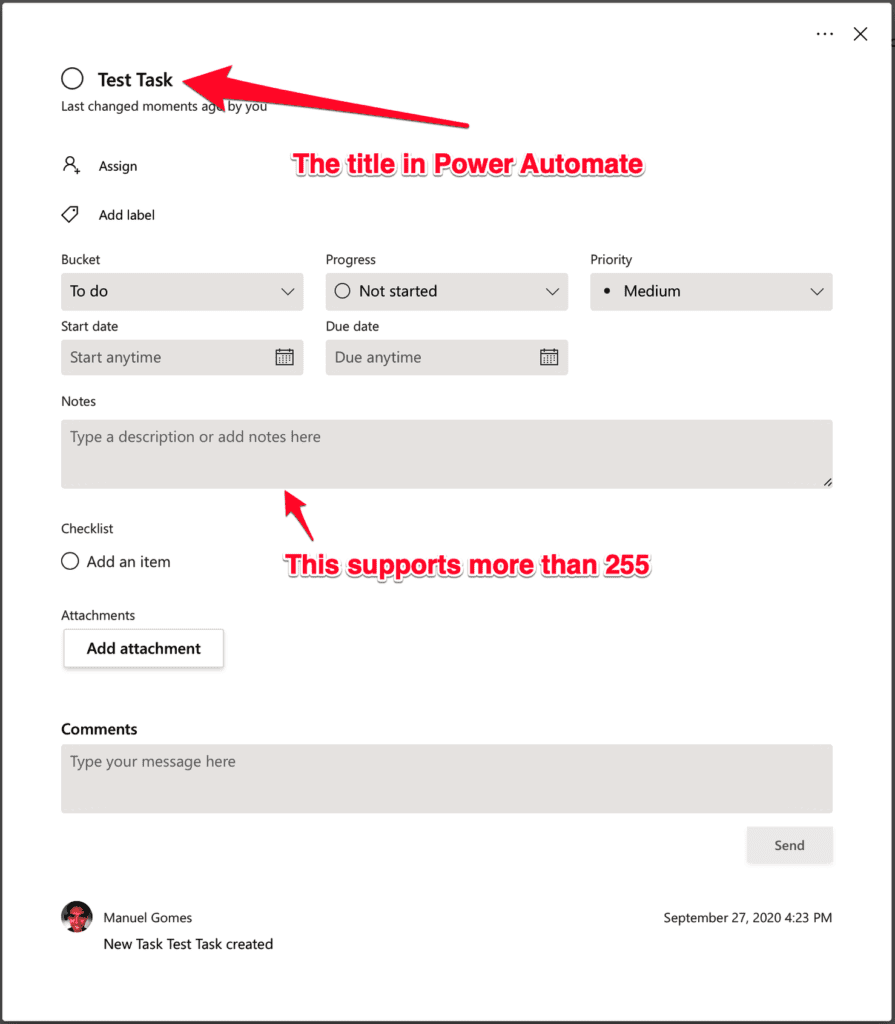
We have the perfect description field, but we don’t have it in action. So how can we use it in Power Automate to store our large amount of data?
The solution
We don’t have the description in the “Create a Task,” but we do have it on the “Update Task Details.”
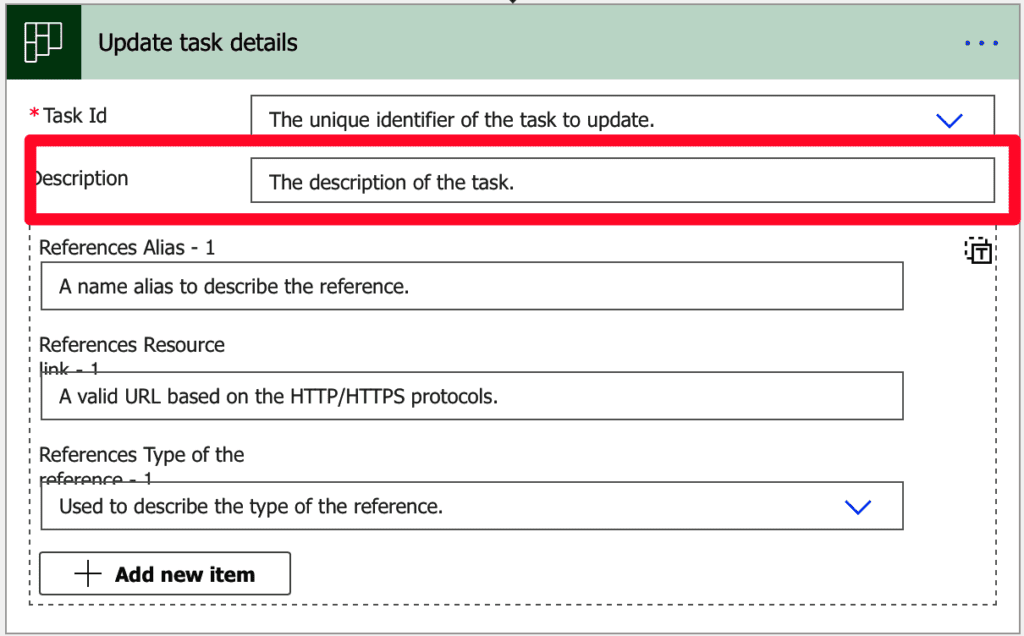
So the strategy is quite simple:
- Trim to get only 255 characters
- Create the task with the trimmed string
- Update the task to put all the characters in the description.
Here’s how to do it. First, let’s trim the string to get only 255 characters:
substring(triggerBody()['text'],0,254)
The substring has three parameters. The first is the full text, the second is the start position, and the third is the end position. Since we start at 0, we cannot go to 255 since it will be one over, and we’ll get a string of 256 characters.
We create the Task:
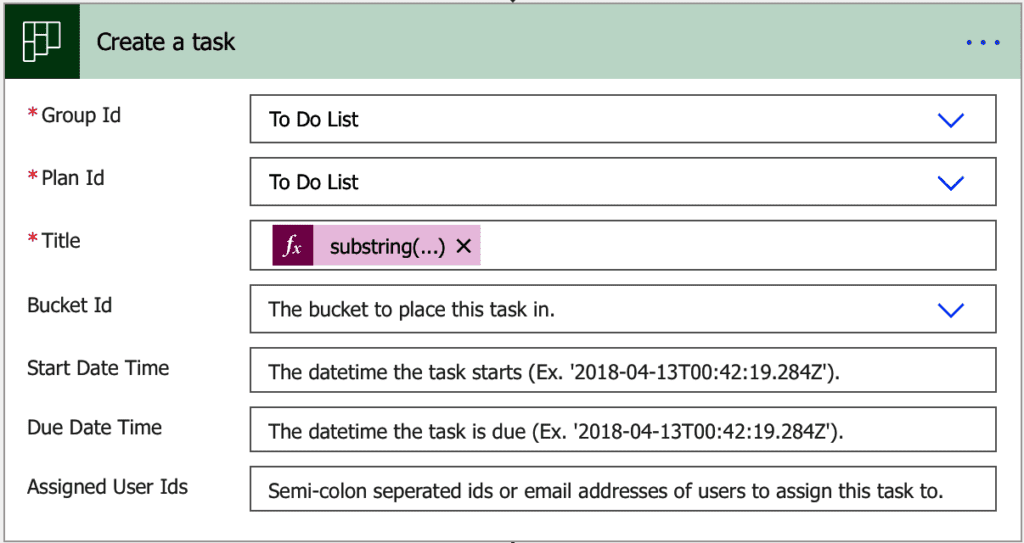
Then update it with the description. The entire Power Automate is so simple that it fits all in one screen.
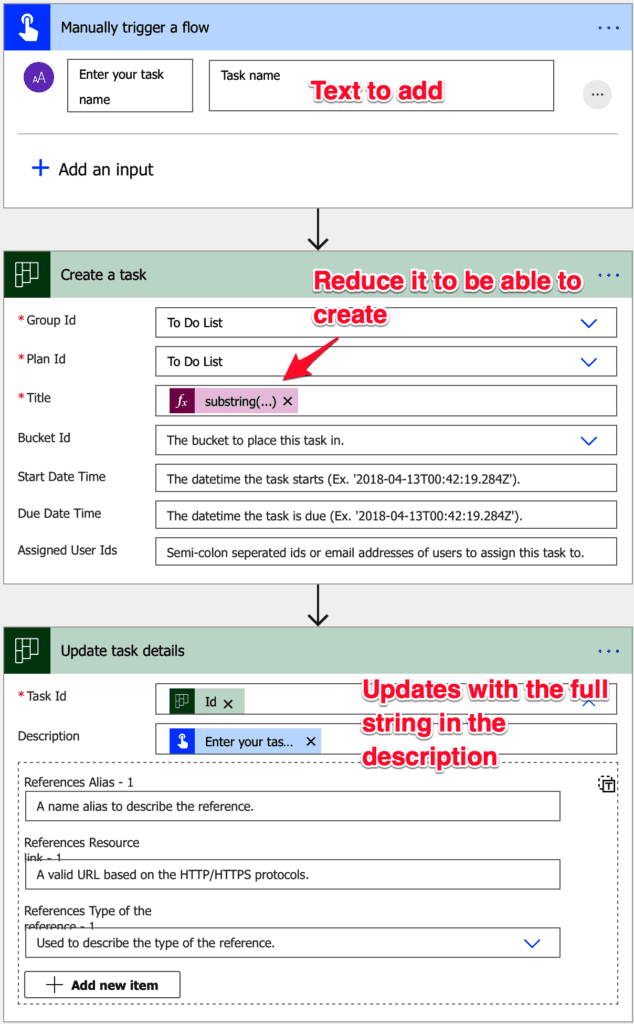
Here’s an example. First, we add a big string in the description to test if Power Automate inserts the data correctly.
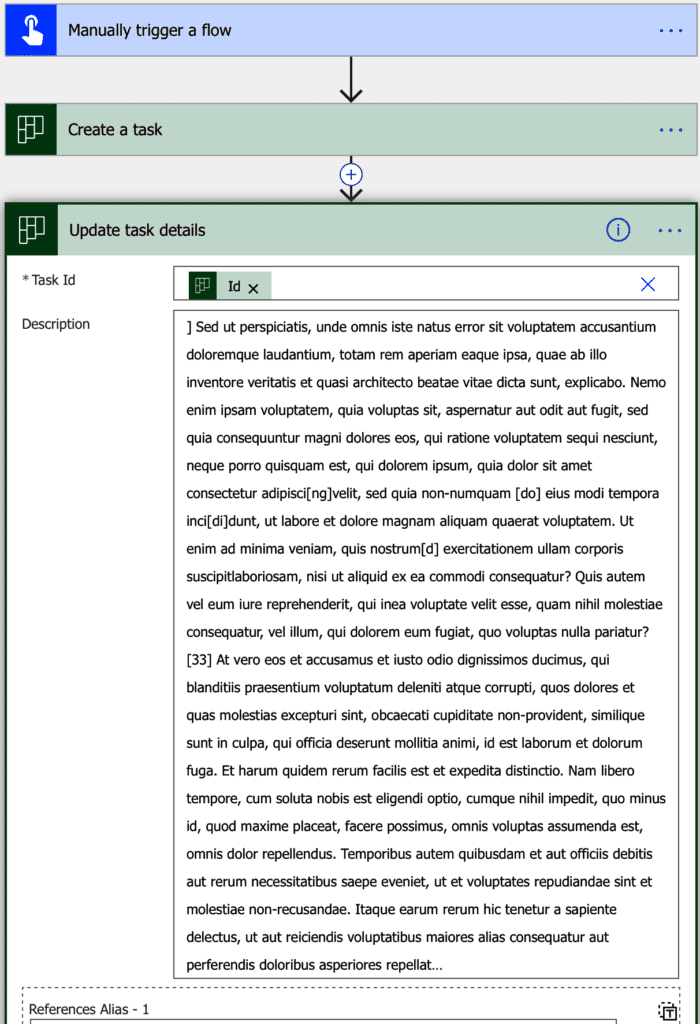
The Power Automate runs successfully.

So now, let’s go to the Planner and check our new task. It’s what we expect. The large text is in the description, and the title is something smaller that you can view in the Kanban view.
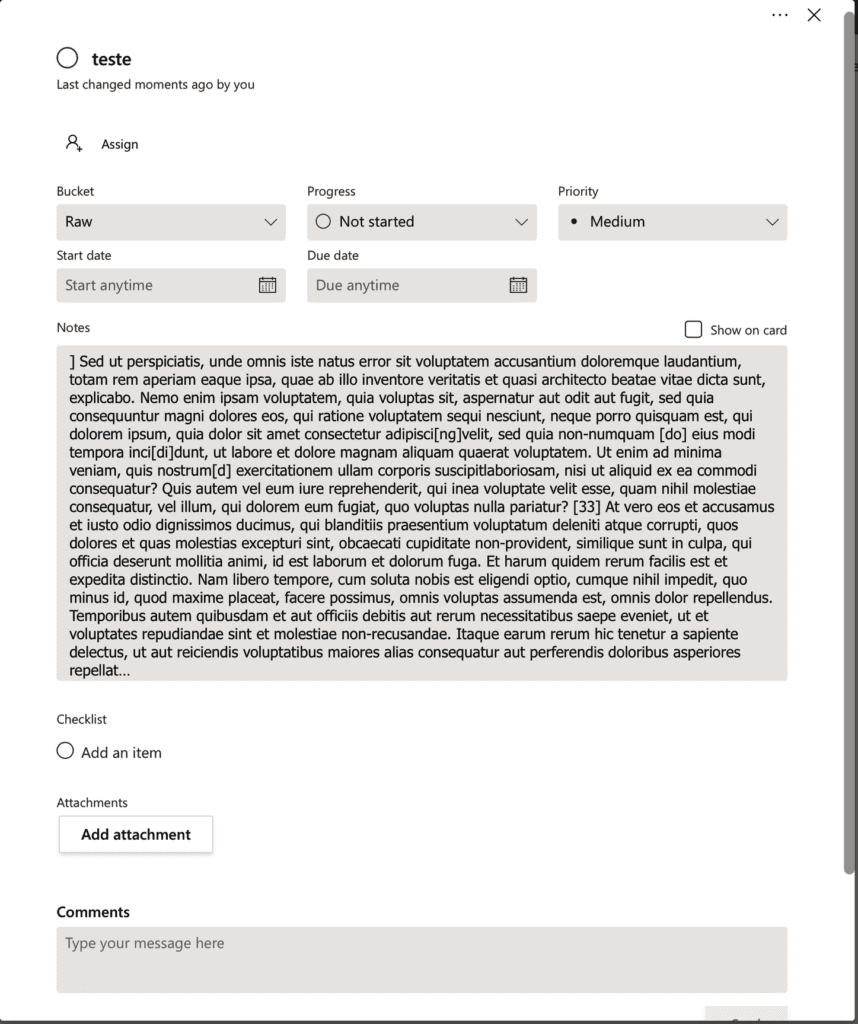
That’s it. Quite simple and get’s the job done.
Final thoughts
The solution works fine for all types of strings of all sizes. If you want, you can then manually customize the title to be something more appealing to you. Still, Power Automate does the hard work of moving the information from one side to another and copying the big text.
Have a suggestion of your own, or disagree with something I said? Leave a comment or interact on Twitter and be sure to check out other articles related to Microsoft Planner here.
Photo by Med Badr Chemmaoui on Unsplash


Hi Manuel,
I have been trying to work through this, but have been running into issues. When you use the substring formula substring(triggerBody()[‘text’],0,254), you have “[‘text’]” and I am not sure what I am supposed to be putting in that spot.
I am trying to do the substring function based on a Microsoft Form submission. Inserting a Dynamic content function for the Form submission varible does not seem to be working for me. Do you have any guidance into this?
Thanks