
Those who don't know your profile always exist if you have an office 365 account. Depending on the diligence of your organization, your profile can be more or less completed, but there's a lot of information that you can get using the "Get my profile" action.
So let's look at how to use it properly.
Where to find it?
To find it, you can search for the "Get my profile" action or go to "Standard".
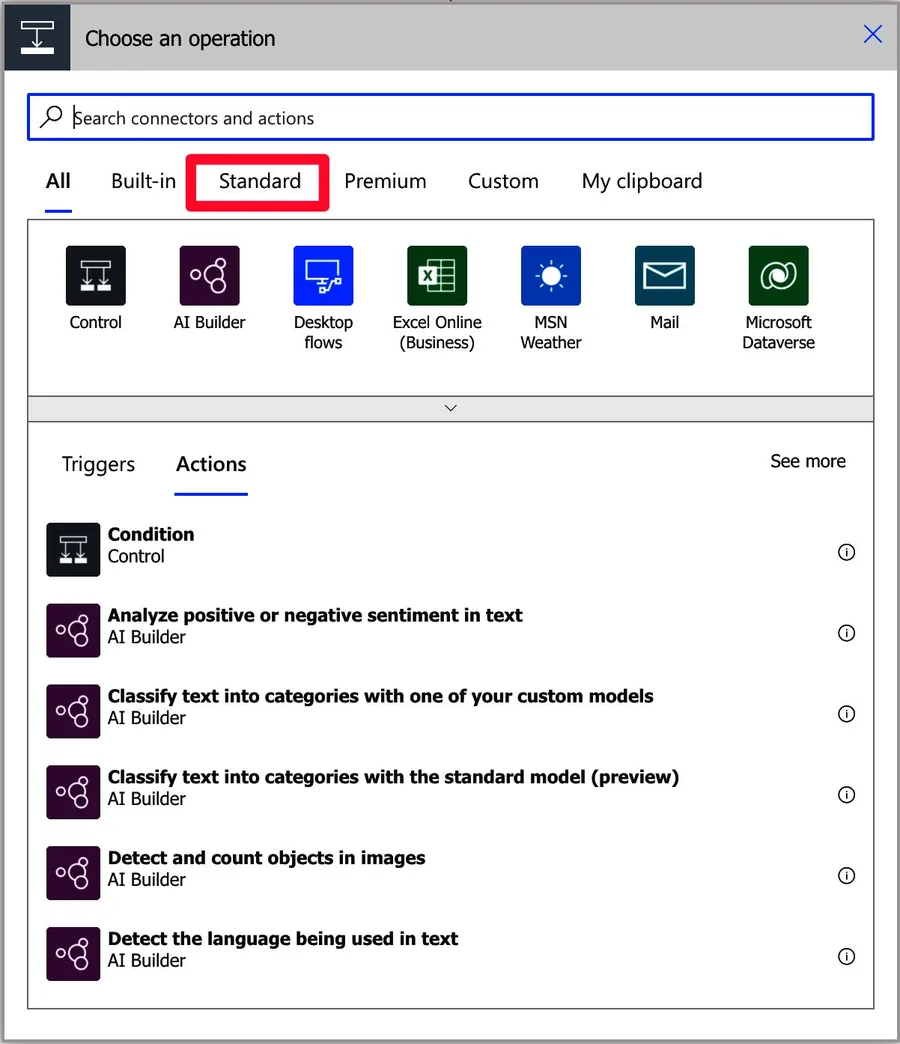
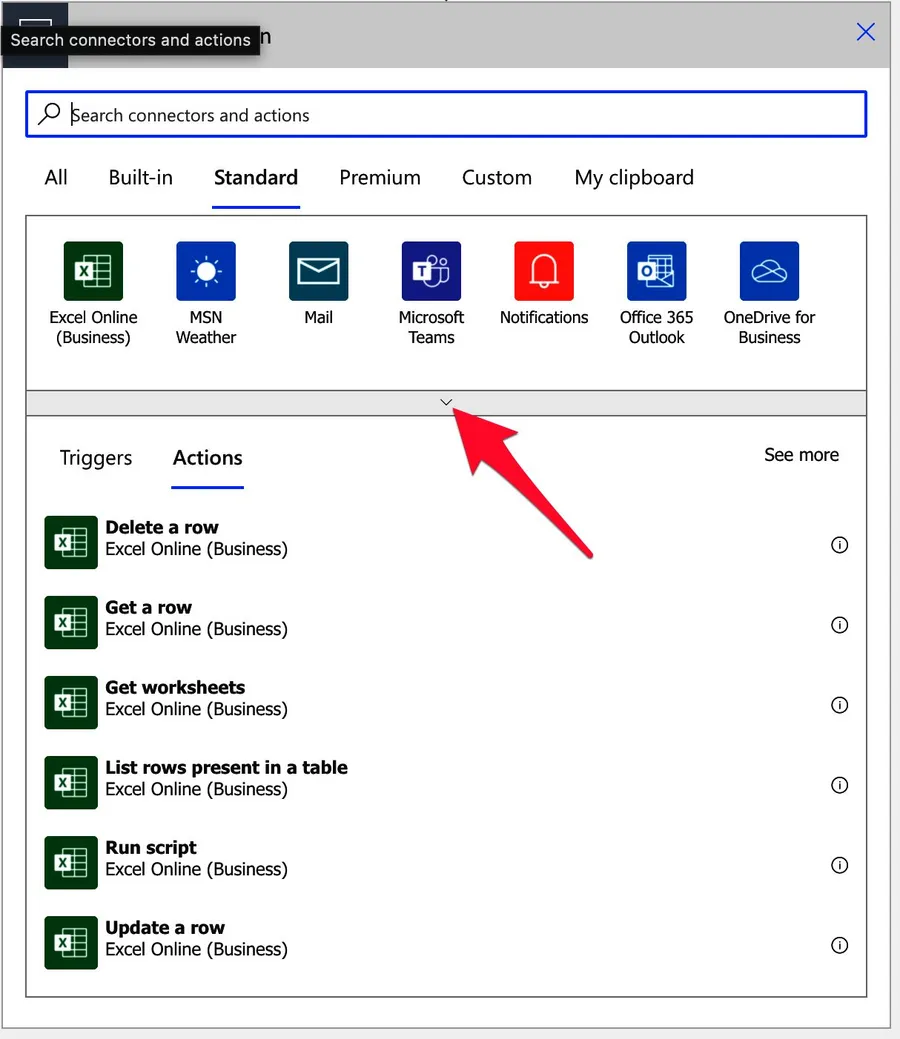
You will probably need to expand it:
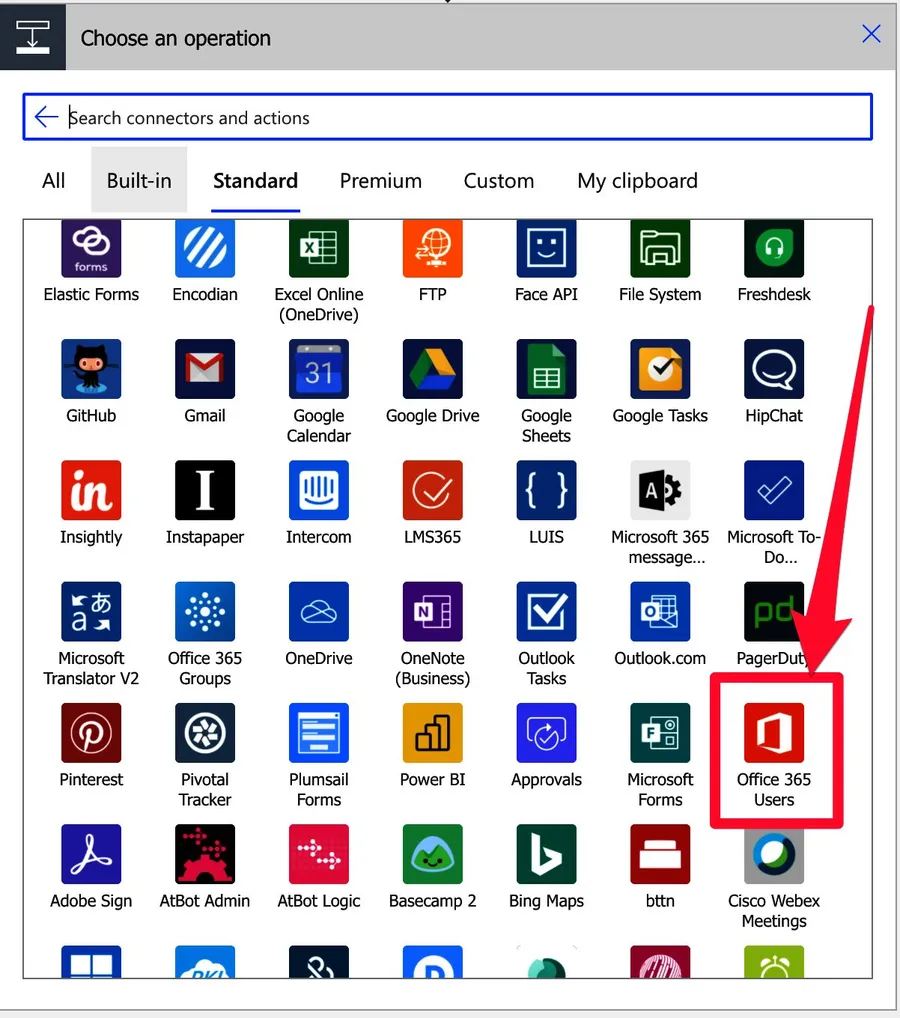
First, find the "Office 365 users".
Then, pick the "Get my profile".
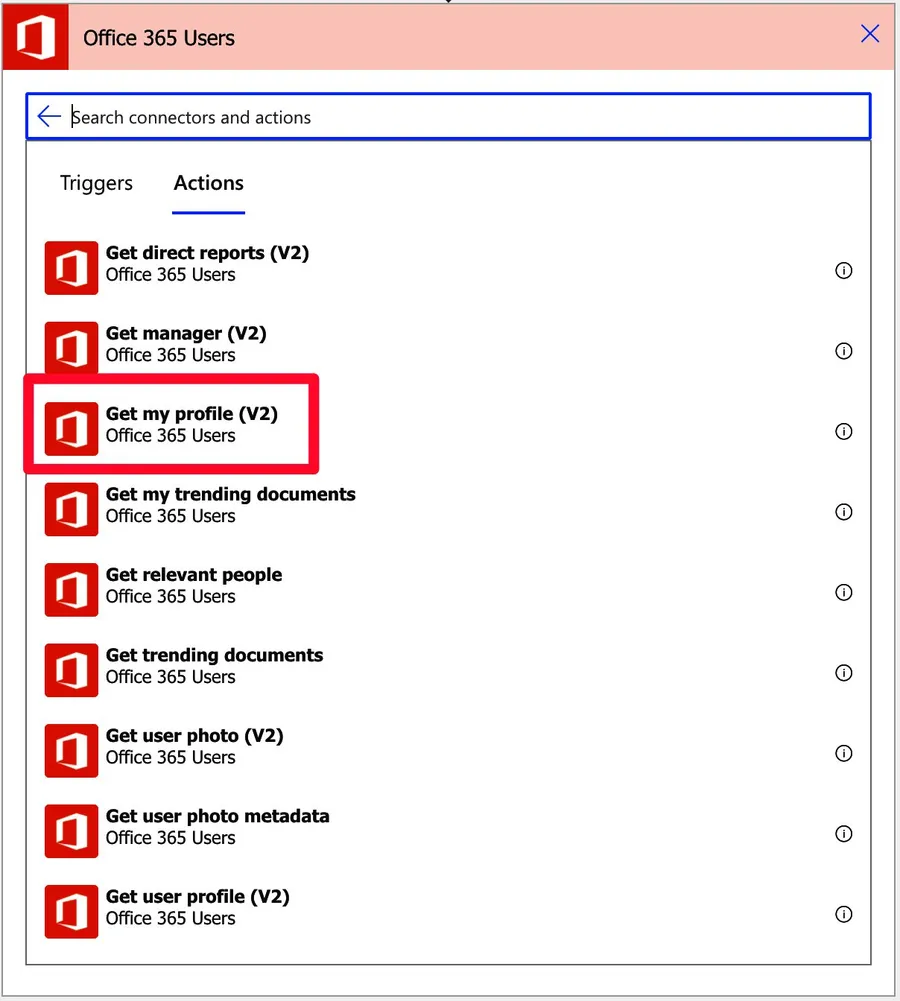
Here’s what it looks like:

If you expand the advanced options you’ll get.
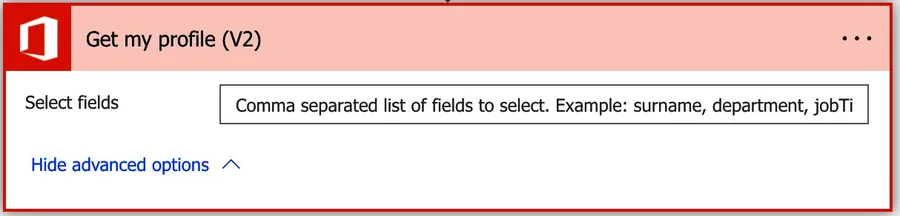
We'll discuss in more detail the "select fields" correctly, but it's important to stress that the properly will limit to only the fields that you add. To check the list of available fields, please check here.
Now that we know how to find it let's understand how to use it.
Usage
You can use it without parameters, and you'll get a lot of information. The advanced options will return fewer data. Microsoft has an excellent reference to what the values mean and details about each one. Since there's a lot, it doesn't make sense to replicate it here, so please check the official reference.
So let's see what information exists for my user:
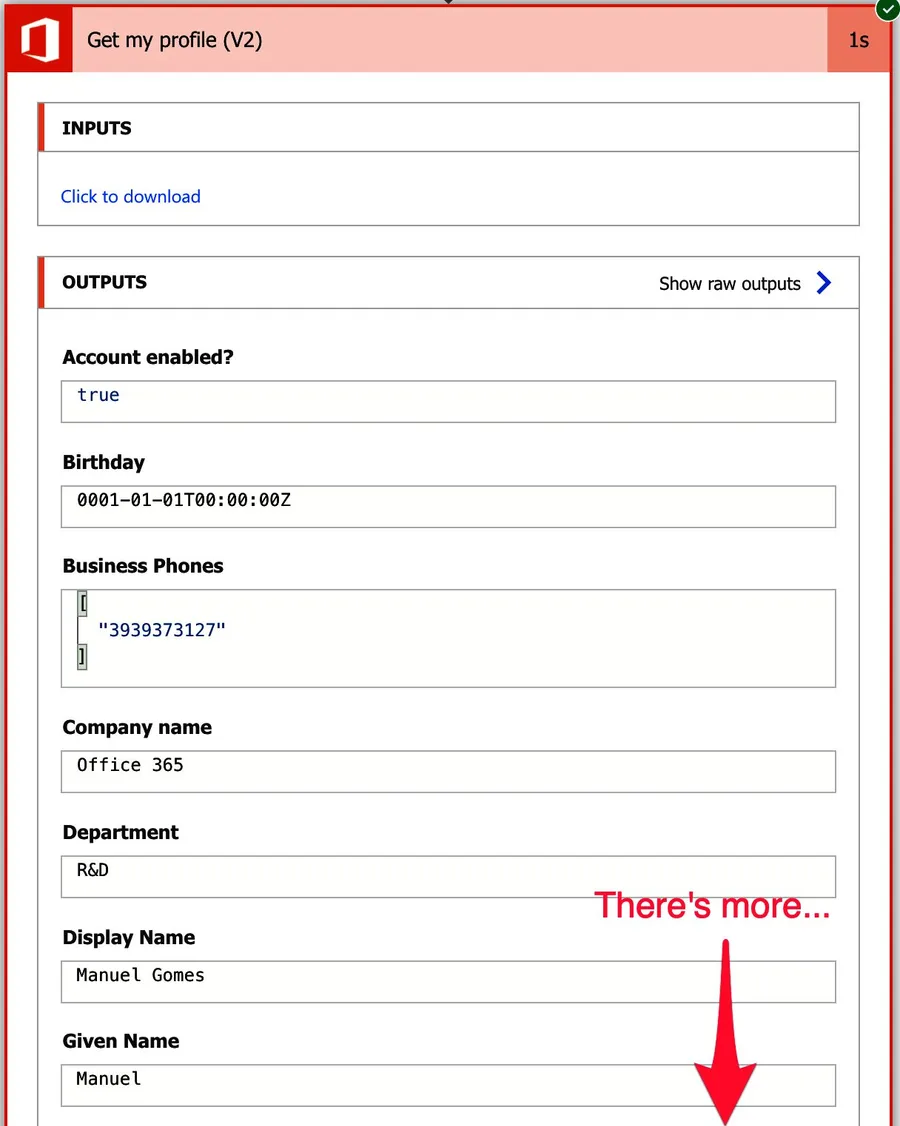
There's a lot of helpful information that we can use, but I want to show you an example so that things make sense.
Sometimes it's tricky to know exactly where you are in the organization. For example, departments change names, and things get shuffled around, so it's always good to have the last version of the department and job description. This can be good when you're generating documents based on templates where you can have Power Automate fill in the document automatically with this information.
There are more, but you get the point. It contains your information, so every time you want to use it, instead of adding variables with the data (like the address, for example), fetch it from your organization, and then, if things change, you don't need to change all your Flows.
Limitations
The major limitation of the "get my profile" action is that Microsoft can't help at all. The action is only as valuable as the information provided by HR or the IT department, so if your profile is empty (or close to it), this action won't be helpful. Microsoft is mitigating this by allowing users to fill in some information, but some departments will always need to fill in critical information. Here's the URL to check the users and edit their information if you're the admin.
Another limitation that makes sense, but I don't like how it works, is that some fields are only returned if you explicitly define them in the "selected fields".
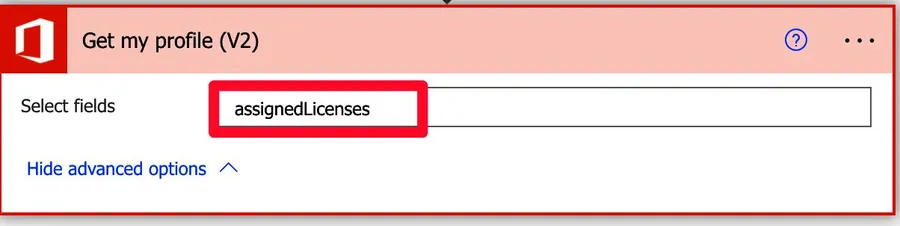
It will only return those fields, so if you have a list of fields and want an extra one, you need to define all of them. Please take care because the fields won't exist, meaning that your Flow won't return any information even if it exists.
Here's an example:
Here's the result.
This is quite dangerous so if you're using the "Select fields" please be aware of this. I see this happening all the time and results in the worst errors. Hidden ones.
Recommendations
Here are some things to keep in mind.
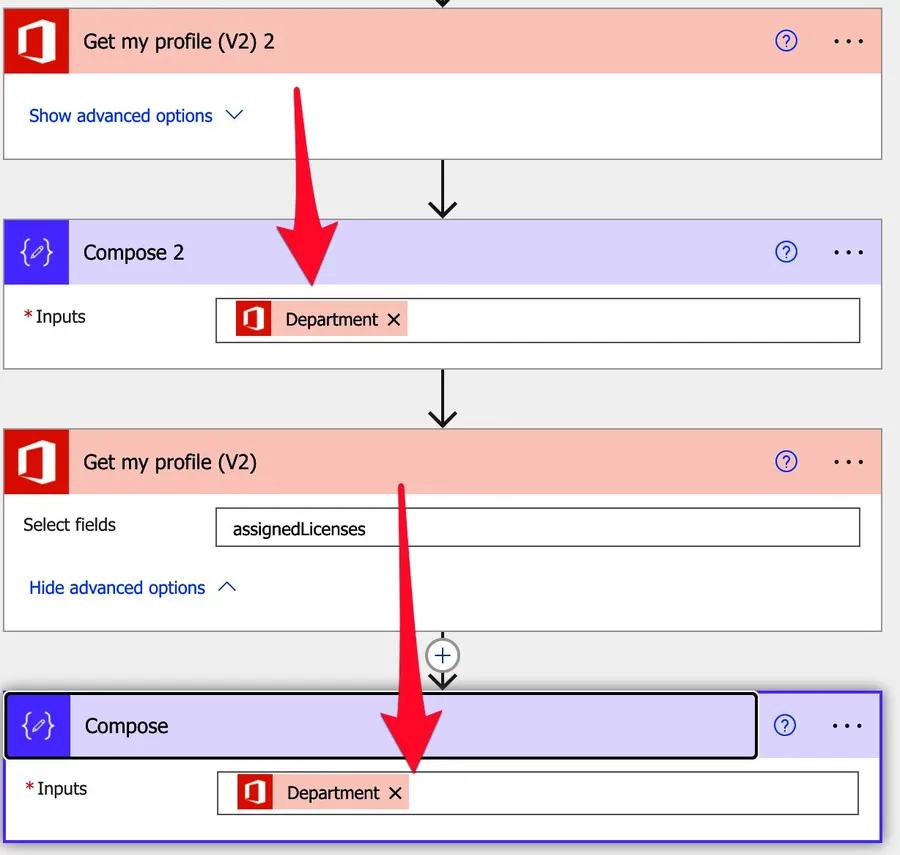
Avoid the "selected fields" issue.
I described the issue with the selected fields where the Flow won't get the information even if it exists. To avoid this, I recommend that you always have one "get my profile" action without any limitation to ensure that you're always getting the values for the properties. This way, you know that if there's no value, it means that someone did not fill it in. If you want to have an "extra" value, add a separate "get my profile" action to get it. By doing this, you're sure that you don't have any issues with how the action works.
Name it correctly
The name is super important in this case. One can argue that "get my profile" is super descriptive (and it is), but let's say that you share the Flow in the future. Since you're sharing your connection, another user who uses that Flow will not get their profile, won't they? Small things make the difference, so always build the name so that other people can understand what you are using without opening the action and checking the details.
Always add a comment.
Adding a comment will also help avoid mistakes. The comment will complement the name above for the same reasons. It's crucial to enable faster debugging when something goes wrong.
Always deal with errors.
Have your Flow fail graciously and notify someone that something failed. It's horrible to have failing Flows in Power Automate since they may go unlooked-for a while or generate even worse errors. I have a template, and a template that you can use that will help you make your Flow resistant to issues. You can check all details here.
Back to the Power Automate Action Reference.


No comments yet
Be the first to share your thoughts on this article!